Table of Contents
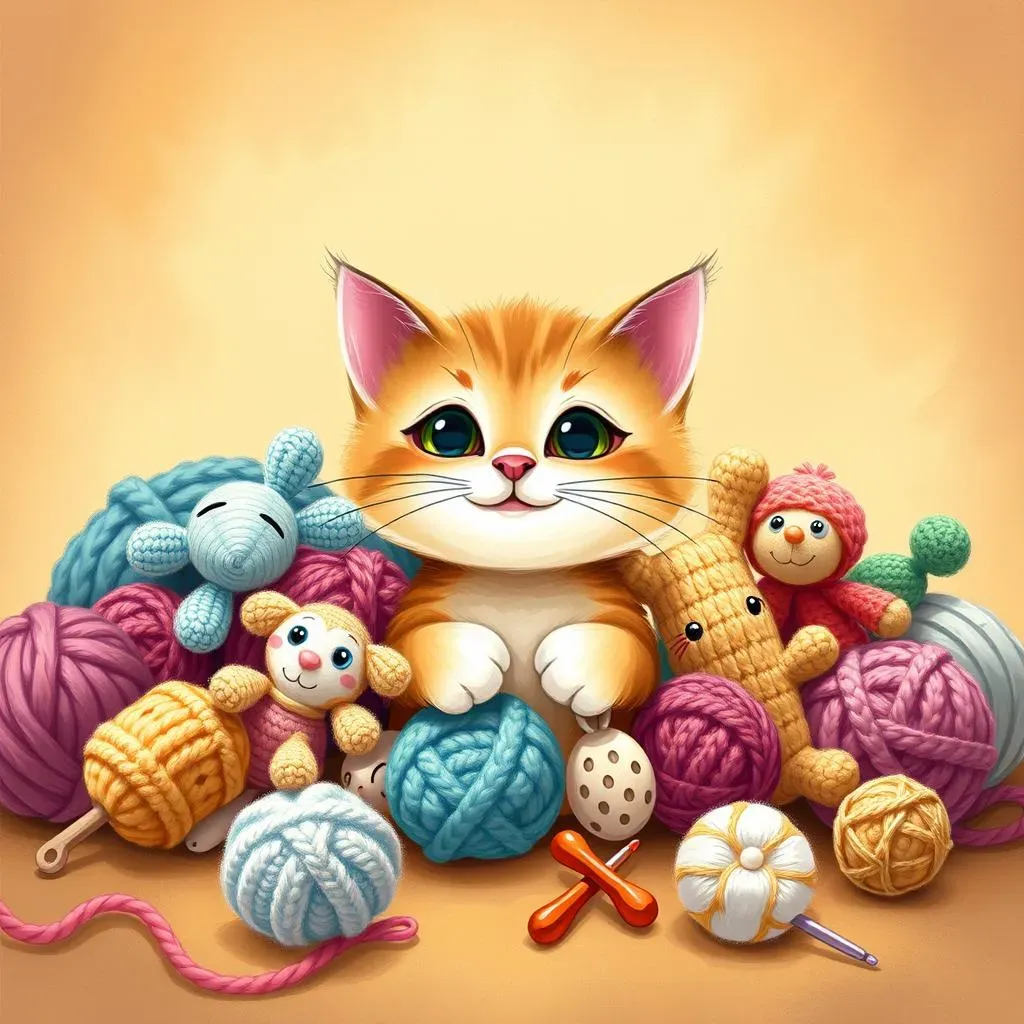
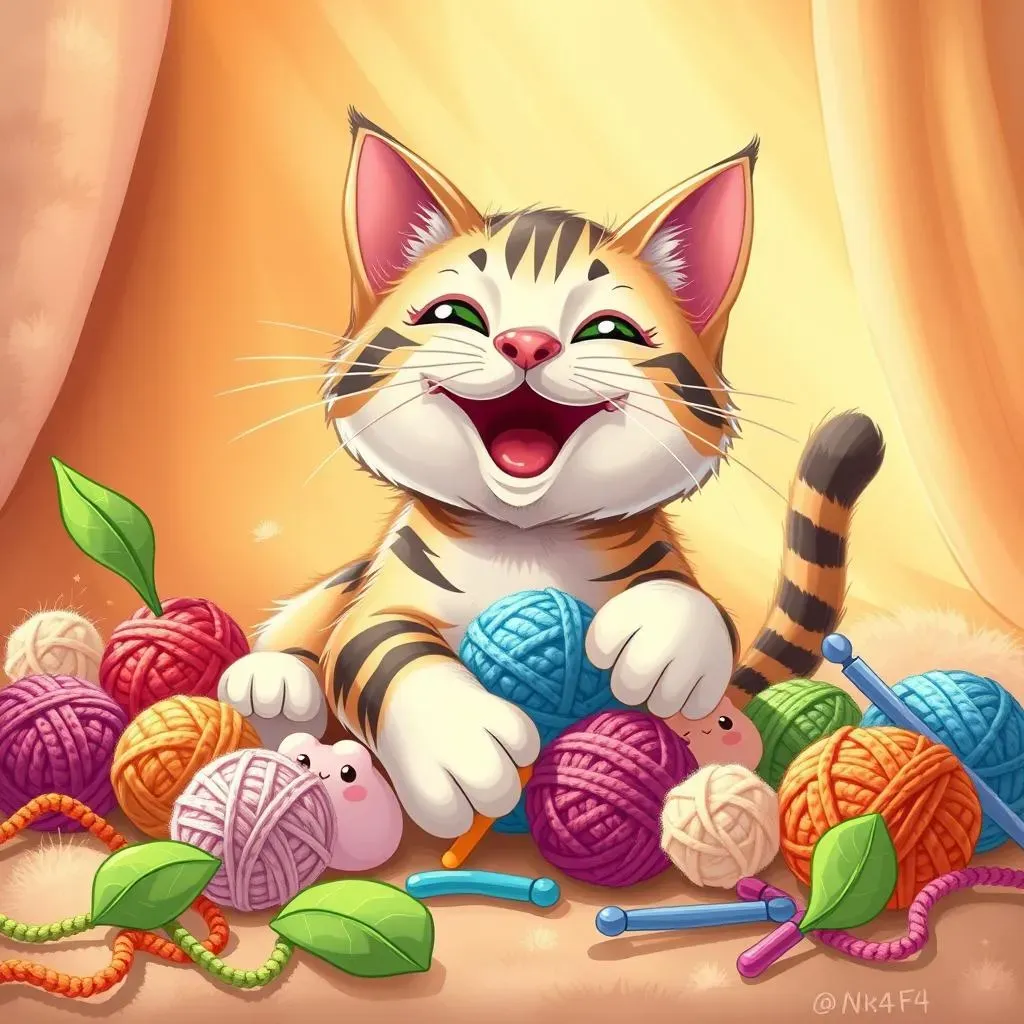
Want to make your feline friend the happiest cat on the block? Look no further than the world of beginner crochet cat toys! This isn't just about crafting; it's about creating personalized, safe, and utterly delightful playthings for your beloved kitty. Forget those mass-produced toys from the store – with a little yarn and a crochet hook, you can whip up a whole collection of fun.
Why Crochet Cat Toys? A Beginner's Delight
Why Crochet Cat Toys? A Beginner's Delight
Unleash Your Creativity (and Spoil Your Cat!)
Let's be honest, store-bought cat toys can be, well, a little boring. They're often the same generic shapes, made from the same materials. But when you crochet your own cat toys, the possibilities are endless! You get to choose the colors, the textures, and even the fillings. Want a bright pink mouse with a feathery tail? Go for it! How about a crinkly ball filled with organic catnip? You're the boss!
Beyond the creative freedom, crocheting cat toys is incredibly rewarding. There's something special about watching your cat bat around a toy that you made with your own two hands. It's a tangible expression of your love and care for your furry friend. Plus, you'll know exactly what went into the toy, giving you peace of mind about its safety. No more worrying about hidden toxins or small parts that could be a choking hazard.
Budget-Friendly Fun for Felines
Those trips to the pet store can really add up, especially if your cat is anything like mine – a connoisseur of destruction! Buying new toys every week can quickly drain your wallet. Crocheting your own cat toys is a fantastic way to save money. Yarn is relatively inexpensive, and you can often find scraps and leftovers from other projects that are perfect for making small toys.
Think about it: a single ball of yarn can make a whole bunch of cat toys! And if you're feeling thrifty, you can even repurpose old t-shirts or sweaters into yarn. It's a win-win situation: you get to be creative, your cat gets a mountain of new toys, and your bank account stays happy. Who knew being crafty could be so practical?
Essential Supplies for Beginner Crochet Cat Toys
Essential Supplies for Beginner Crochet Cat Toys
Gather Your Toolkit: The Bare Necessities
Alright, so you're ready to dive into the world of essential supplies for beginner crochet cat toys? Awesome! Before you get overwhelmed thinking about fancy gadgets and gizmos, let me assure you: you don't need much to get started. Really, just a few key items will have you crocheting up a storm in no time. Think of it like assembling a basic cooking kit – you don't need every spice in the world to make a delicious meal, just the essentials.
First up: yarn! This is where the fun begins. You'll want to choose a soft, durable yarn that's safe for your cat. Cotton yarn is a great option because it's natural, washable, and comes in a rainbow of colors. Avoid anything too fuzzy or with long strands that your cat could ingest. Next, you'll need a crochet hook. A size H/8 (5.0 mm) hook is a good starting point for most beginner projects. You'll also want a pair of scissors for snipping yarn, a yarn needle for weaving in ends, and some stuffing to give your toys that plump, irresistible shape. And, of course, don't forget the catnip! A little sprinkle of this magical herb will send your kitty into a frenzy of playful delight.
Supply | Why You Need It | Beginner-Friendly Options |
|---|---|---|
Yarn | Forms the body of the toy | Cotton yarn, acrylic yarn |
Crochet Hook | Used to create the stitches | Size H/8 (5.0 mm) |
Scissors | For cutting the yarn | Any sharp scissors will do! |
Yarn Needle | To weave in loose ends | Metal or plastic yarn needle |
Stuffing | Gives the toy its shape | Polyester fiberfill, cotton |
Catnip | Attracts and excites cats | Organic catnip is best |
Simple Crochet Cat Toy Patterns for Beginners
Simple Crochet Cat Toy Patterns for Beginners
The Classic Catnip Mouse
Let's kick things off with a timeless favorite: the catnip mouse! This pattern is so simple, you'll be whipping them up in your sleep. Seriously, it's just a basic oval shape with a little tail and some ears. You can find tons of free patterns online with a quick search for "crochet catnip mouse pattern." Don't be intimidated by the crochet jargon – most patterns use very basic stitches like single crochet and slip stitch. Just follow the instructions carefully, and you'll have a whole family of mice in no time.
The best part about the catnip mouse is that you can customize it to your heart's content. Use different colors of yarn to create a rainbow of mice, or add stripes and spots for extra flair. Get creative with the tail – try using a piece of ribbon, a length of yarn with knotted ends, or even a few feathers. And of course, don't forget the catnip! Stuff the mouse generously with this magical herb to send your kitty into a frenzy of playful delight.
Bouncy Balls of Fun
Next up, let's crochet some bouncy balls! These are super quick and easy to make, and cats absolutely love chasing them around. The basic pattern is just a simple sphere, which you can create using a technique called increasing and decreasing. Again, don't worry if that sounds complicated – there are plenty of beginner-friendly tutorials online that will walk you through the process step-by-step.
To make your bouncy balls even more enticing, try adding a small bell inside before you stuff them. The jingle will drive your cat wild! You can also experiment with different textures of yarn to make the balls more interesting to touch. A bumpy or fuzzy yarn can add an extra layer of sensory stimulation. Just make sure the yarn is still safe for your cat to play with.
StepbyStep: Crocheting Your First Cat Toy
StepbyStep: Crocheting Your First Cat Toy
The Slip Knot and Chain Stitch Foundation
deep breaths! This is where the magic begins. The first step in crocheting anything is creating a slip knot. It sounds fancy, but it's just a simple loop that you tighten on your hook. There are tons of videos on YouTube that can show you exactly how to do it, but the basic idea is to make a loop, pull the yarn through the loop, and then tighten it onto your hook. Easy peasy!
Once you've got your slip knot, it's time to learn the chain stitch. This is the foundation for most crochet projects. To make a chain stitch, you simply yarn over (wrap the yarn around your hook) and pull it through the loop on your hook. Repeat this process as many times as the pattern tells you to. The chain stitch creates a series of interconnected loops that will form the base of your cat toy. Think of it as the first row of bricks in a building – it's essential for a strong and stable structure.
Don't worry if your chain stitches look a little wonky at first. It takes practice to get them even and consistent. Just keep practicing, and you'll get the hang of it in no time. And remember, even if your stitches aren't perfect, your cat will still love the toy!
Here's a quick recap:
- 1. Make a slip knot and place it on your crochet hook.
- 2. Yarn over (wrap the yarn around your hook).
- 3. Pull the yarn through the loop on your hook.
- 4. Repeat steps 2 and 3 to create a chain stitch.
- 5. Continue until you have the desired number of chain stitches.
Mastering the Single Crochet Stitch
Now that you've got your chain stitch foundation, it's time to learn the single crochet stitch. This is the workhorse of the crochet world – it's simple, versatile, and used in countless patterns. To make a single crochet stitch, insert your hook into the second chain from the hook, yarn over, and pull the yarn through the chain (you'll now have two loops on your hook). Then, yarn over again and pull the yarn through both loops on your hook. Voila! You've just made a single crochet stitch.
Repeat this process in each chain stitch across your foundation chain. This will create your first row of single crochet stitches. At the end of the row, chain one (this is called a turning chain) and turn your work. This will position you to start the next row. Continue crocheting single crochet stitches back and forth, row after row, until you have the desired size and shape for your cat toy. Remember to count your stitches at the end of each row to make sure you're not accidentally adding or losing any stitches. Consistency is key to a neat and tidy finished product.
Pro Tip: Try to maintain even tension as you crochet. This means pulling the yarn through the stitches with the same amount of force each time. If your tension is too tight, your stitches will be small and dense, and your toy will be stiff. If your tension is too loose, your stitches will be large and floppy, and your toy will be flimsy. Finding the right balance takes practice, but it's worth it for a professional-looking result.
Step | Instruction | Visual Aid |
|---|---|---|
1 | Insert hook into the second chain from the hook. | [Imagine a simple diagram showing the hook being inserted] |
2 | Yarn over and pull the yarn through the chain (2 loops on hook). | [Imagine a diagram showing the yarn being pulled through] |
3 | Yarn over again and pull the yarn through both loops on your hook. | [Imagine a diagram showing the yarn being pulled through both loops] |
4 | Repeat across the row. | [Imagine a diagram showing a row of single crochet stitches] |
Stuffing, Sewing, and Finishing Touches
You've crocheted your basic shape – awesome! Now it's time to bring your cat toy to life with stuffing, sewing, and a few finishing touches. Start by gently stuffing your toy with polyester fiberfill or cotton. Be careful not to overstuff it, or it will be too firm for your cat to enjoy. You want it to be soft and squishy, but still hold its shape.
Once your toy is stuffed, it's time to sew it closed. Use a yarn needle and a length of yarn to stitch the opening shut. There are several different ways to do this, but a simple whip stitch or mattress stitch will work just fine. The key is to make sure the seam is secure and that there are no gaps where the stuffing could escape. Weave in the ends of your yarn to hide them and prevent them from unraveling.
Finally, add any finishing touches that will make your cat toy extra special. Sew on some felt eyes or embroider a cute little nose. Attach a feathery tail or add some jingle bells inside. The possibilities are endless! Just remember to keep safety in mind – make sure any embellishments are securely attached and won't pose a choking hazard to your cat.
Tips & Tricks for Safe and Fun Beginner Crochet Cat Toys
Tips & Tricks for Safe and Fun Beginner Crochet Cat Toys
Yarn Selection: Safety First!
When it comes to tips & tricks for safe and fun beginner crochet cat toys, the most important thing is your cat's safety. That starts with choosing the right yarn. Opt for natural fibers like cotton or wool, as these are less likely to contain harmful chemicals. Avoid yarns with long loops or fuzzy textures, as your cat could ingest these and potentially choke. Also, be mindful of dyes. Choose yarns that are labeled as non-toxic and colorfast to prevent any potential allergic reactions or staining.
Consider using organic cotton yarn for added peace of mind. It's a bit more expensive, but it's free from pesticides and other harmful substances. Always wash your finished toys before giving them to your cat to remove any residual chemicals or dust. A little extra caution goes a long way in ensuring your cat's safety and well-being.
Catnip Considerations: Quality and Quantity
Catnip is like cat crack – they go wild for it! But not all catnip is created equal. Look for organic catnip that's been grown without pesticides or herbicides. The fresher the catnip, the more potent it will be. Store your catnip in an airtight container in a cool, dark place to preserve its freshness. You can even grow your own catnip if you have a green thumb!
When stuffing your crochet cat toys with catnip, a little goes a long way. Start with a small amount and see how your cat reacts. Some cats are more sensitive to catnip than others. You can also create a catnip tea by steeping catnip leaves in hot water and then spraying it onto your toys. This is a great way to refresh the catnip scent and keep your cat interested.
Construction Techniques: Durability and Security
To ensure your crochet cat toys are durable and long-lasting, pay attention to your construction techniques. Use tight, even stitches to create a dense fabric that won't easily unravel. Reinforce any seams or attachments with extra stitching. If you're adding embellishments like eyes or noses, make sure they're securely attached and won't come loose. Consider using safety eyes, which have a locking mechanism that prevents them from being pulled out.
Regularly inspect your cat toys for any signs of wear and tear. If you notice any loose threads, holes, or damaged parts, repair them immediately or discard the toy. A little maintenance will help keep your cat safe and prevent any potential hazards. Remember, a well-made toy is a safe and fun toy!
Tip | Description |
|---|---|
Use tight stitches | Creates a durable fabric that won't easily unravel. |
Reinforce seams | Adds extra security to prevent the toy from falling apart. |
Secure embellishments | Ensures that eyes, noses, and other decorations won't come loose. |
Regularly inspect toys | Check for any signs of wear and tear and repair or discard as needed. |
Conclusion: Crochet Your Way to a Happy Cat
So, you've reached the end of our beginner's guide to crochet cat toys – congratulations! You're now armed with the knowledge and skills to create a treasure trove of fun for your feline friend. Remember, it’s not just about saving money or having a new hobby; it’s about crafting something special with love. Each stitch you make is a testament to the bond you share with your cat. Experiment with different yarns, colors, and patterns to keep things interesting, and always prioritize safety when choosing materials. Happy crocheting, and may your cat enjoy countless hours of play with your handmade creations!