Table of Contents
Looking for a fun and rewarding craft project that will also bring joy to your feline friend? This article dives into the world of the cat toy mouse crochet pattern, offering a comprehensive guide to creating these adorable toys. Whether you're an experienced crocheter or just starting out, you'll find everything you need to know to whip up a batch of these purr-fect playthings. We'll start with gathering the essential materials, from yarn scraps to stuffing and safety eyes (or embroidery floss for a safer, pet-friendly alternative). Then, we'll move on to a detailed, step-by-step guide to crocheting the mouse body, ears, and tail. Finally, we'll cover essential safety tips to ensure your cat can enjoy their new toy without any risks. Get ready to unleash your creativity and crochet your way to a happy, entertained kitty!
Essential Materials for Your Crochet Cat Toy Mouse
Essential Materials for Your Crochet Cat Toy Mouse
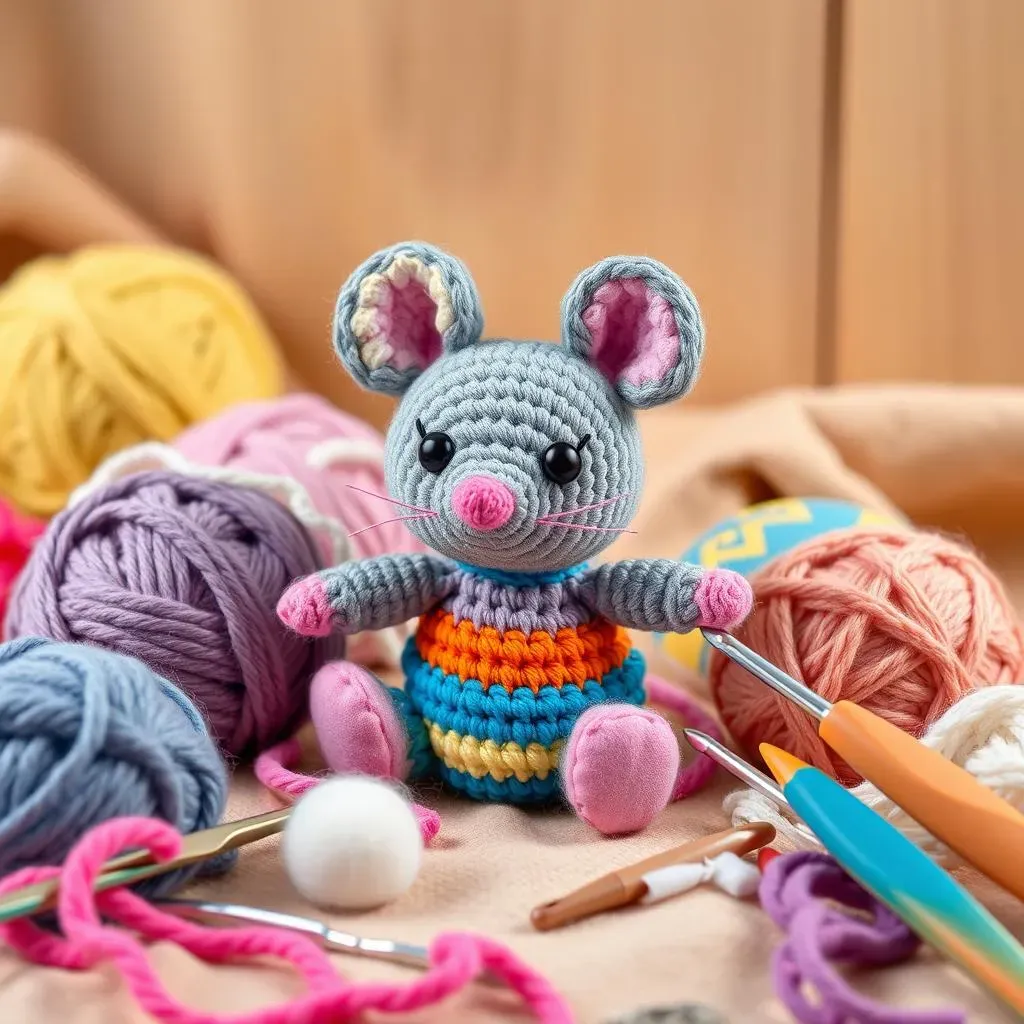
So, you're ready to dive into crocheting some adorable cat toy mice? Awesome! First, you'll need to gather your supplies. The beauty of this project is that it's perfect for using up those leftover yarn scraps from other projects. I usually raid my stash for DK or light worsted weight yarn – cotton or acrylic both work great. You won't need much, maybe around 20 yards per mouse, so it's a fantastic way to declutter and create something fun for your furry friend.
Material | Purpose | Alternatives |
|---|---|---|
DK or Light Worsted Weight Yarn | Main material for the mouse body | Worsted weight yarn (adjust hook size), cotton yarn |
3.5mm Crochet Hook | Creates the stitches | Adjust hook size to match yarn weight |
Polyester Fiberfill | Stuffing for the mouse | Cotton balls, fabric scraps (cut into small pieces) |
StepbyStep Guide to Crocheting a Cat Toy Mouse
StepbyStep Guide to Crocheting a Cat Toy Mouse
Getting Started: The Magic Ring and Body Base
Alright, let's get our crochet hooks ready! We're going to start with the magic ring (also known as the magic circle). If you're not familiar with it, don't sweat it – there are tons of great tutorials on YouTube. Basically, it's a way to start crocheting in the round without leaving a hole in the center. Once you've got your magic ring down, you'll crochet 6 single crochet stitches into the ring. Pull the tail tight to close the circle. Now, we're working in continuous rounds, so no need to join at the end of each round – just keep spiraling upwards!
Round 2: Increase in each stitch around (2 single crochet in each stitch). This will give you a total of 12 stitches. Round 3: *Single crochet in the next stitch, increase in the next stitch; repeat from * around (18 stitches). Round 4: *Single crochet in the next 2 stitches, increase in the next stitch; repeat from * around (24 stitches). Keep increasing like this for a few more rounds, until your mouse body is the size you want it to be. I usually go up to about 4 or 5 inches in diameter.
Shaping the Mouse and Adding Stuffing
Now comes the fun part – shaping our little mouse! Once you've reached the desired size, start decreasing to create the pointed nose. To decrease, you'll use the "single crochet two together" (sc2tog) stitch. This basically combines two stitches into one, reducing the overall stitch count.
Start decreasing gradually. For example, you could do *Single crochet in the next 2 stitches, decrease over the next two stitches; repeat from * around. Then, for the next round, *Single crochet in the next stitch, decrease over the next two stitches; repeat from * around. As you decrease, the opening will start to close up. Before it closes completely, stuff the mouse firmly with polyester fiberfill. You want it to be nice and plump, but not so overstuffed that it loses its shape.
Round | Stitch Pattern | Total Stitches |
|---|---|---|
Increase Rounds | *sc, inc* around | Varies (increase by 6 each round) |
Decrease Rounds | *sc, dec* around | Varies (decrease by 6 each round) |
Closing It Up and Adding the Tail
Once your mouse is stuffed to your liking, continue decreasing until the opening is completely closed. Fasten off, leaving a long tail of yarn. Use a yarn needle to weave the tail through the last few stitches, then pull tight to close the hole securely. Weave in the end to hide it. Now, let's add a tail! Using your leftover yarn, crochet a chain as long as you want the tail to be. I usually make mine about 6-8 inches long. Fasten off and weave in the ends.
Attach the tail to the back of the mouse using your yarn needle. Make sure it's securely attached, as cats love to grab and pull on tails! You can sew it on straight, or curl it up a bit for extra character. Congratulations, you've crocheted the main body of your cat toy mouse!
- Use a yarn needle to weave in all loose ends for a neat finish.
- Experiment with different yarn colors and textures for unique mice.
- Consider adding a small bell inside the mouse for extra stimulation.
Adding the Finishing Touches to Your Cat Toy Mouse
Adding the Finishing Touches to Your Cat Toy Mouse
Ears that Excite: Crocheting and Attaching the Ears
Alright, let's give our little mouse some ears! These are super simple to crochet. Chain 4. In the second chain from the hook, single crochet. In the next chain, half double crochet. In the last chain, double crochet. Fasten off, leaving a long tail for sewing. That's it! You've got one ear. Make another one just like it.
Now, position the ears on top of the mouse's head and use your yarn needle to sew them securely in place. I like to angle them slightly forward for a cute, alert look. Don't be afraid to experiment with placement – you can make them perky, floppy, or anything in between. It's all about giving your mouse its own unique personality!
Eyes and Noses: Adding Character Safely
Next up: the face! This is where you can really bring your mouse to life. You have a couple of options for the eyes. If you're using safety eyes, make sure they're securely attached. However, for extra safety, especially if you have a cat who likes to chew, I recommend embroidering the eyes instead. Use black embroidery floss to create small, simple eyes. You can do little dots, or tiny horizontal lines – whatever you think looks best.
For the nose, use pink embroidery floss to stitch a small triangle or a simple vertical line. Again, keep it simple and secure. Remember, safety is key! You don't want your cat swallowing any small parts. A sweet, simple face is all you need to make your cat toy mouse irresistible.
Feature | Material | Attachment Method | Safety Notes |
|---|---|---|---|
Eyes | Embroidery Floss (recommended) or Safety Eyes | Embroidery or Secure Attachment | Ensure secure attachment or use embroidery to avoid choking hazards. |
Nose | Embroidery Floss | Embroidery | Keep stitches small and secure. |
Optional Extras: Catnip, Bells, and More!
Want to take your cat toy mouse to the next level? Consider adding a pinch of catnip inside before you close it up. Most cats go wild for catnip, and it will make the toy even more enticing. You could also add a small bell inside for extra auditory stimulation. Just make sure the bell is securely encased in the stuffing so your cat can't get to it.
Another fun idea is to add some stripes or spots to your mouse using different colored yarn. Get creative and have fun with it! The possibilities are endless. Remember, the goal is to create a toy that your cat will love, so tailor it to their preferences. Does your cat like crinkly sounds? Try adding a bit of crinkly material inside. Does your cat prefer a certain texture? Use a yarn that they find appealing.
Safety and Care Tips for Your Crochet Cat Toy Mouse
Safety and Care Tips for Your Crochet Cat Toy Mouse
Prioritizing Your Cat's Well-being
so you've poured your heart and soul into crocheting these adorable mice. Now, let's talk safety! First and foremost, always supervise your cat while they're playing with their new toy. This is crucial, especially if your cat is a notorious chewer. While we've taken precautions, no toy is indestructible, and small parts can become a choking hazard if ingested.
Regularly inspect the toy for any signs of wear and tear. Check for loose threads, unraveling seams, or damaged parts. If you notice anything that could pose a risk to your cat, remove the toy immediately and either repair it or toss it out. It's always better to be safe than sorry when it comes to your furry friend's health.
Maintaining Your Crochet Creations
To keep your cat's toy mouse clean and fresh, spot clean it with a damp cloth and mild soap. Avoid using harsh chemicals or detergents, as these could be harmful to your cat. If the toy is heavily soiled, you can try hand-washing it in cool water. Be sure to rinse it thoroughly and allow it to air dry completely before giving it back to your cat. This will prevent mold and mildew from growing inside.
Also, consider rotating your cat's toys regularly. Just like us, cats can get bored with the same old things. By switching out their toys every few days, you can keep them engaged and entertained. This will also help to prolong the life of the toys, as they won't be subjected to constant wear and tear.
Aspect | Recommendation |
|---|---|
Supervision | Always supervise play, especially with chewers. |
Inspection | Regularly check for damage and repair or discard as needed. |
Cleaning | Spot clean or hand wash with mild soap; air dry thoroughly. |
Rotation | Rotate toys to maintain interest and reduce wear. |
Conclusion: Crochet Your Way to a Happy Cat
And there you have it! You've successfully navigated the world of the cat toy mouse crochet pattern. Armed with your hook, yarn, and a little bit of patience, you can create a mountain of these delightful toys, keeping your feline friend entertained for hours. Remember to prioritize safety by using durable materials and avoiding small parts that could be a choking hazard. Not only will you be providing your cat with stimulating playtime, but you'll also be reducing waste by using up those leftover yarn scraps. So, grab your crochet hook and start crafting some joy for your furry companion today!