Table of Contents
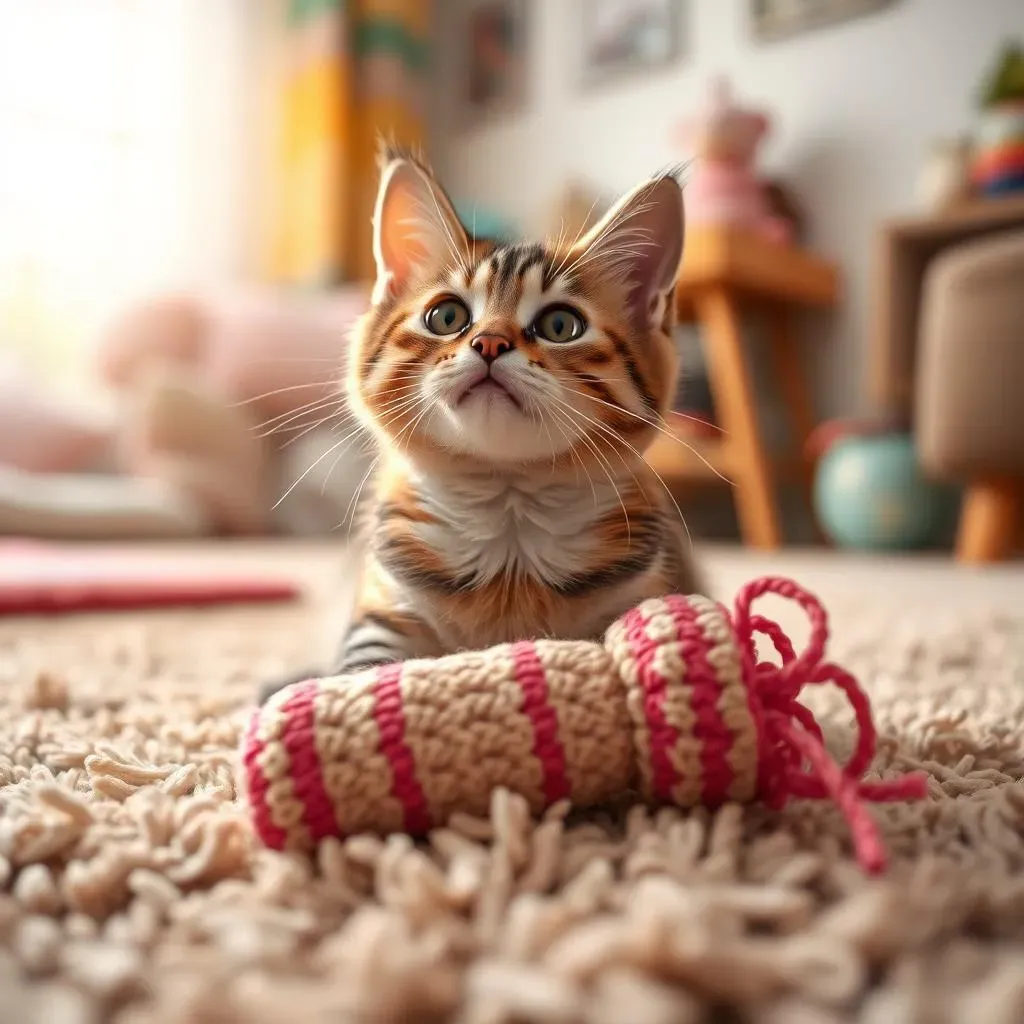
Is your cat bored with the same old toys? Do they need something to wrestle, hug, and bunny-kick to their heart's content? Then it's time to unleash your inner crafter and create a crochet cat kicker toy! This isn't just any cat toy; it's a customizable, cuddly, and catnip-ready creation that will have your feline friend purring with delight.
Why Your Cat Needs a Crochet Kicker Toy
Why Your Cat Needs a Crochet Kicker Toy
Physical and Mental Stimulation
Cats are natural hunters, and even the most domesticated feline still possesses that primal instinct to stalk, chase, and pounce. A crochet kicker toy taps into these instincts, providing an outlet for pent-up energy and a safe way to practice their hunting skills. The size and shape of the toy are perfect for grabbing with their front paws and kicking with their back legs, mimicking the motions they would use to subdue prey in the wild. This physical activity is essential for maintaining a healthy weight and preventing boredom, which can lead to destructive behaviors.
Beyond the physical benefits, a crochet kicker toy also provides much-needed mental stimulation. The act of "hunting" and "capturing" the toy engages their minds and keeps them entertained. Adding catnip to the toy further enhances this experience, stimulating their senses and encouraging playful interaction. A bored cat is an unhappy cat, and a kicker toy is a simple yet effective way to keep them happy, engaged, and mentally sharp. Think of it as a mini-workout and brain teaser all rolled into one adorable package!
A Safe and Customizable Play Option
Many commercial cat toys are made with questionable materials or contain small parts that can be a choking hazard. A crochet kicker toy, on the other hand, allows you to control exactly what your cat is interacting with. By choosing natural, non-toxic yarns and avoiding small embellishments, you can create a safe and worry-free play experience for your furry friend. Plus, you can customize the toy to perfectly suit your cat's preferences. Do they love crinkly sounds? Add some cellophane inside! Are they obsessed with a particular texture? Choose a yarn that appeals to their tactile senses. The possibilities are endless!
Moreover, a handmade crochet kicker toy is a unique and personal gift that shows your cat just how much you care. It's a labor of love that goes beyond simply buying a toy from the store. And let's be honest, who can resist the charm of a handcrafted item? Your cat will not only enjoy playing with their new toy, but they'll also appreciate the thought and effort that went into creating it. It's a win-win situation for both you and your feline companion.
Benefit | Description |
|---|---|
Physical Activity | Encourages kicking, pouncing, and wrestling, promoting exercise and healthy weight. |
Mental Stimulation | Engages hunting instincts and provides entertainment, preventing boredom. |
Safety | Allows control over materials, ensuring a non-toxic and hazard-free toy. |
Customization | Can be tailored to your cat's specific preferences and needs. |
Choosing the Right Yarn and Hook for Your Crochet Cat Kicker Toy
Choosing the Right Yarn and Hook for Your Crochet Cat Kicker Toy
Yarn Selection: Prioritizing Safety and Durability
When it comes to crocheting a cat toy, yarn choice is paramount. Forget the fancy, delicate stuff – we're aiming for durability and, most importantly, safety. Think about it: this toy is going to be clawed, chewed, and slobbered on. Natural fibers like cotton are generally your best bet. They're sturdy, washable, and less likely to cause allergic reactions than some synthetic options. Plus, cotton is breathable, which is a bonus if your cat tends to get a little too enthusiastic during playtime.
Avoid yarns with a fuzzy halo (like mohair) or those that shed easily. These can be a hazard if ingested. Also, steer clear of novelty yarns with beads, sequins, or other embellishments that could come loose. A good, sturdy worsted weight cotton yarn is the gold standard for crochet cat toys. Lily Sugar'n Cream is a popular and readily available option, but any similar yarn will do the trick. Just make sure it's 100% cotton and can withstand a bit of roughhousing!
Yarn Type | Pros | Cons | Considerations |
|---|---|---|---|
100% Cotton | Durable, washable, breathable, generally safe. | Can be slightly stiff. | Choose worsted weight for best results. |
Acrylic | Affordable, wide variety of colors. | Can be less breathable, may pill or shed. | Opt for a soft, high-quality acrylic. |
Wool | Natural, warm, can be durable. | May felt with washing, potential allergen. | Superwash wool is easier to care for. |
Hooking It Up: Size Matters (But Not Too Much)
Now, let's talk hooks. The hook size you'll need depends on the yarn you choose, but as a general rule, a 2.5 mm (US size C/2) hook works well with worsted weight cotton yarn. However, the most important thing is to achieve a tight gauge. You want your stitches to be close together so that the stuffing doesn't peek through. If your stitches are too loose, try going down a hook size.
Don't stress too much about being precise. Unlike garments, where gauge is crucial for fit, a cat toy is much more forgiving. The goal is simply to create a dense fabric that can withstand some wear and tear. Experiment with different hook sizes until you find one that gives you the desired result. And remember, comfort is key! Choose a hook that feels good in your hand, as you'll be spending some time crocheting.
StepbyStep Guide: Crocheting Your Own Cat Kicker Toy
StepbyStep Guide: Crocheting Your Own Cat Kicker Toy
Getting Started: The Magic Circle and Initial Rounds
Alright, let's dive into the fun part: actually crocheting your cat's new favorite toy! We'll start with the magic circle (or adjustable ring), which is a fantastic way to begin projects worked in the round without leaving a hole in the center. If you're not familiar with the magic circle, don't worry, there are tons of great tutorials on YouTube. Once you've got your magic circle, chain one (this doesn't count as a stitch), and then work six single crochet stitches into the ring. Pull the tail tight to close the circle. This forms the first round.
For the second round, you'll increase in each stitch. That means you'll work two single crochet stitches into each stitch from the previous round. This will give you a total of 12 stitches. Place a stitch marker at the beginning of each round to help you keep track. Now, for round three, you'll alternate between single crocheting in one stitch and then increasing in the next. This means you'll *single crochet in one stitch, then two single crochet in the next stitch* and repeat from * to * all the way around. You should have 18 stitches at the end of this round. These first few rounds establish the base of your kicker toy, so take your time and make sure your stitches are nice and tight!
Here's a quick recap of the first three rounds:
- Round 1: 6 single crochet into magic circle (6 stitches)
- Round 2: Increase in each stitch (12 stitches)
- Round 3: *Single crochet in one stitch, increase in next stitch* repeat around (18 stitches)
Building the Body: Increasing and Maintaining the Shape
Now that you've established the base, it's time to build the body of the kicker toy. This is where you'll start to see the rectangular shape emerge. For round four, you'll continue the increase pattern, but this time, you'll single crochet in two stitches, then increase in the next. So, it's *single crochet in two stitches, then two single crochet in the next stitch* repeat from * to * all the way around. This will give you 24 stitches at the end of the round. Round five will be *single crochet in three stitches, then two single crochet in the next stitch* repeat from * to * all the way around (30 stitches).
Continue this pattern of increasing by one single crochet stitch between each increase round until you reach your desired width. A good size for a kicker toy is about 4-5 inches wide. Once you've reached the desired width, you'll simply work single crochet stitches in each stitch around for the remaining rounds. This will create the length of the kicker toy. Keep crocheting until the toy is about 8-10 inches long, or whatever length you think your cat will enjoy. Remember to maintain a tight gauge throughout this process to prevent the stuffing from escaping.
To summarize the process:
- Increase rounds: Continue the increase pattern (SC in X stitches, INC) until desired width.
- Straight rounds: SC in each stitch around until desired length.
Closing It Up: Stuffing, Seaming, and Adding Catnip
You're almost there! Once you've reached your desired length, it's time to finish off the kicker toy. Fasten off, leaving a long tail for seaming. Now, it's stuffing time! Use your chosen stuffing material (polyfill, cotton scraps, etc.) to fill the toy firmly but not too tightly. You want it to be squishy and huggable, but not so overstuffed that it's hard for your cat to grip.
Before you completely close up the toy, this is the perfect time to add some catnip! Sprinkle a generous amount of catnip into the center of the stuffing. The more the merrier, right? Now, using the long tail you left earlier, seam the opening closed. Use a whip stitch or mattress stitch for a neat and invisible finish. Once the opening is completely closed, weave in the ends to secure them. And that's it! You've created your very own crochet cat kicker toy. Now, stand back and watch your feline friend go wild!
Here's a checklist for the final steps:
- Stuff the toy firmly but not too tightly.
- Add a generous amount of catnip.
- Seam the opening closed with a whip stitch or mattress stitch.
- Weave in the ends to secure them.
Adding Catnip and Finishing Touches to Your Crochet Toy
Adding Catnip and Finishing Touches to Your Crochet Toy
Choosing the Right Catnip: Potency and Purity
let's talk catnip! Not all catnip is created equal. You want to find a high-quality catnip that's potent and pure. Look for catnip that's bright green in color and has a strong aroma. Avoid catnip that's brown or dusty, as it's likely lost its potency. You can find catnip at most pet stores or online. Some people even grow their own! If you're using dried catnip, make sure it's fresh. Over time, catnip loses its effectiveness, so it's best to use it within a few months of opening the package.
Consider organic catnip if you're concerned about pesticides or other chemicals. Organic catnip is grown without the use of harmful substances, making it a safer option for your furry friend. Also, think about the form of catnip you're using. You can buy it loose, in tea bags, or even as a spray. Loose catnip is great for stuffing into toys, while catnip tea bags can be used to make a catnip tea for soaking the toy (just make sure it's completely dry before giving it to your cat!). Ultimately, the best catnip is the one that your cat enjoys the most!
Here is a guide for selecting catnip:
- Color: Bright green is best.
- Aroma: Strong and fresh.
- Form: Loose, tea bags, or spray – choose what works best for you.
- Organic: Consider organic for a safer option.
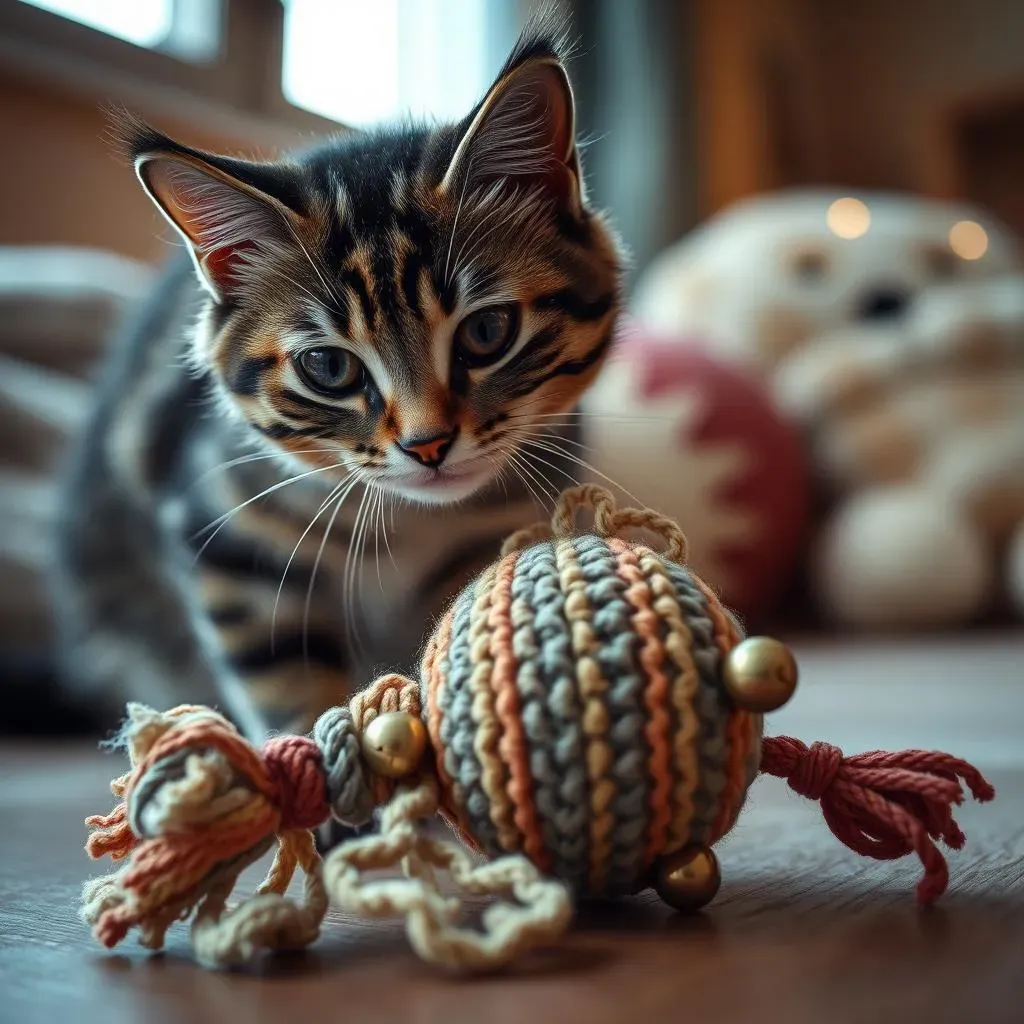
Adding Extra Sensory Fun: Crinkle Material, Bells, and More
Want to take your crochet cat kicker toy to the next level? Consider adding some extra sensory elements to make it even more enticing for your cat. Crinkle material is a popular choice. The sound of crinkling can be incredibly stimulating for cats, triggering their hunting instincts. You can buy crinkle material specifically for toys, or you can repurpose a clean chip bag or water bottle (just make sure to cut it into small pieces and wrap it securely in stuffing to prevent your cat from swallowing it).
Bells are another great option. The jingle of a bell can pique your cat's interest and encourage them to play. Use small, lightweight bells that are securely attached to the toy. You can also add different textures to the toy by using different types of yarn or by crocheting in different stitch patterns. Some cats love the feel of nubby yarn, while others prefer smooth cotton. Experiment and see what your cat enjoys the most!
Here is a quote to remember:
Finishing Touches: Weaving in Ends and Ensuring Safety
Before you hand over your masterpiece to your eager feline, take a few minutes to add those all-important finishing touches. The most important thing is to make sure that all the ends are securely woven in. Use a yarn needle to weave the ends back into the toy, making sure to go in different directions to prevent them from coming loose. Trim any excess yarn close to the surface of the toy.
Give the toy a good once-over to make sure there are no loose threads, small parts, or other potential hazards. Remember, your cat will be chewing, clawing, and generally roughhousing with this toy, so it needs to be as safe as possible. If you've added any embellishments, make sure they're securely attached and can't be easily pulled off. And finally, give the toy a good wash before giving it to your cat. This will remove any dirt or debris and ensure that it's clean and ready for playtime!
Crafting Happiness: The Joy of a Homemade Crochet Cat Kicker Toy
So there you have it! You've gone from yarn and hook to a purr-fectly delightful crochet cat kicker toy. Not only have you created a fun and engaging plaything for your feline friend, but you've also tapped into the joy of crafting something special with your own two hands. Remember, each stitch is made with love, and every catnip-infused kick is a testament to your dedication to your furry companion's happiness. Now, sit back, relax, and watch your cat enjoy their new favorite toy. You deserve it!