Table of Contents
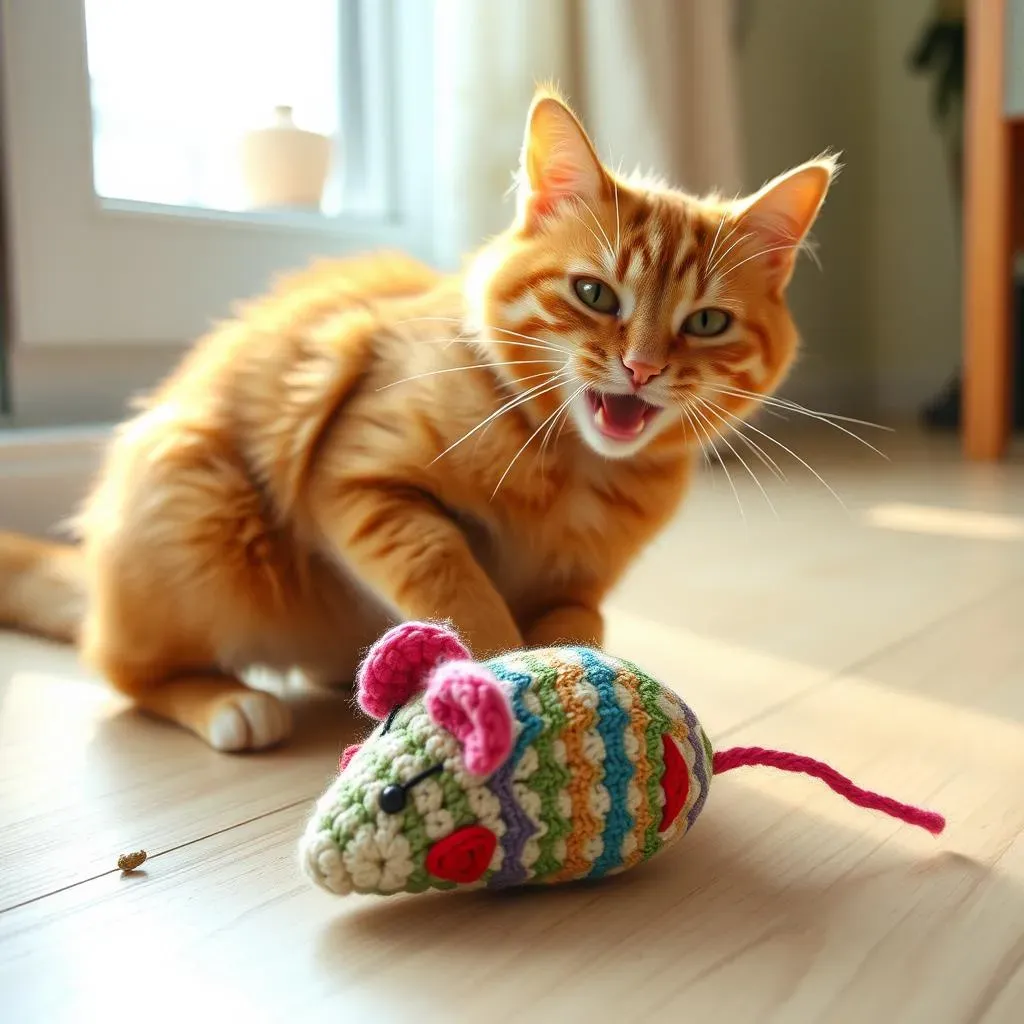
Meet Whiskers, my rescue kitten, a tiny ball of fluff with a penchant for mischief. His absolute favorite thing in the world? A simple knitted mouse. It's battered, slightly chewed, and missing an ear, but he carries it everywhere. Seeing his joy sparked an idea: why not create a more durable, customizable version? That's where the crochet cat toys mouse pattern comes in. This isn't just any pattern; it's a chance to create a safe, engaging toy your feline friend will adore, and a great way to use up leftover yarn. In this guide, I'll walk you through a simple, step-by-step crochet cat toys mouse pattern that even beginners can master. We'll cover everything from the materials you'll need to the finishing touches that will make your handmade mouse irresistible to your cat. Plus, I'll share some essential safety tips to ensure playtime is always fun and worry-free. So, grab your hook and yarn, and let's get started on creating the purr-fect toy for your furry companion!
Why Crochet a Mouse Toy for Your Cat?
Why Crochet a Mouse Toy for Your Cat?
Endless Entertainment for Feline Friends
Let's face it, cats can be picky. One minute they're scaling the curtains, the next they're napping in a sunbeam. But one thing most cats agree on is the allure of the hunt. A crochet mouse toy taps into that primal instinct, providing hours of batting, chasing, and pouncing fun. Unlike store-bought toys that can quickly lose their appeal, a handmade mouse offers a unique texture and scent that keeps cats engaged.
And the best part? You can customize it! Add catnip for an extra dose of excitement, or use different yarn textures to create a sensory experience. It's like crafting a personalized amusement park, tailored specifically to your cat's preferences. Plus, you get the satisfaction of knowing you created something special for your furry pal, ensuring they have a toy that's as unique as they are.
Is your cat bored with their current toys? Consider these benefits of crocheted toys:
- Encourages Exercise: Promotes activity and helps maintain a healthy weight.
- Satisfies Hunting Instincts: Provides a safe outlet for natural behaviors.
- Reduces Boredom: Keeps cats entertained and prevents destructive behavior.
Safety and Customization
Safety should always be your top priority when it comes to cat toys. Store-bought toys can sometimes contain small parts that pose a choking hazard. Crocheting your own mouse allows you to control the materials and construction, ensuring a safe and durable toy for your cat. You can choose non-toxic yarns and securely stitch everything together, minimizing the risk of small pieces coming loose.
Beyond safety, crocheting offers endless possibilities for customization. Experiment with different colors, textures, and sizes to create a truly unique toy. Add crinkle material inside for a stimulating sound, or embroider a cute little face for added charm. The options are limited only by your imagination. And who knows, you might even discover a new creative outlet for yourself in the process!
Quote: "A happy cat is a healthy cat, and a crochet mouse toy is a small investment that can bring a whole lot of joy." - Crafty Cat Lover
Materials You'll Need for Your Crochet Cat Toys Mouse Pattern
Materials You'll Need for Your Crochet Cat Toys Mouse Pattern
Gathering Your Supplies
Alright, so you're ready to dive into this adorable crochet cat toys mouse pattern? Awesome! Before you start, let's make sure you have everything you need. Don't worry; it's a pretty simple list. Think of it like gathering ingredients for your favorite recipe, except instead of cookies, you're baking up a whole lot of fun for your feline friend. Having all your materials prepped and ready will make the whole process smoother, allowing you to focus on the joy of creating.
The Essential Toolkit
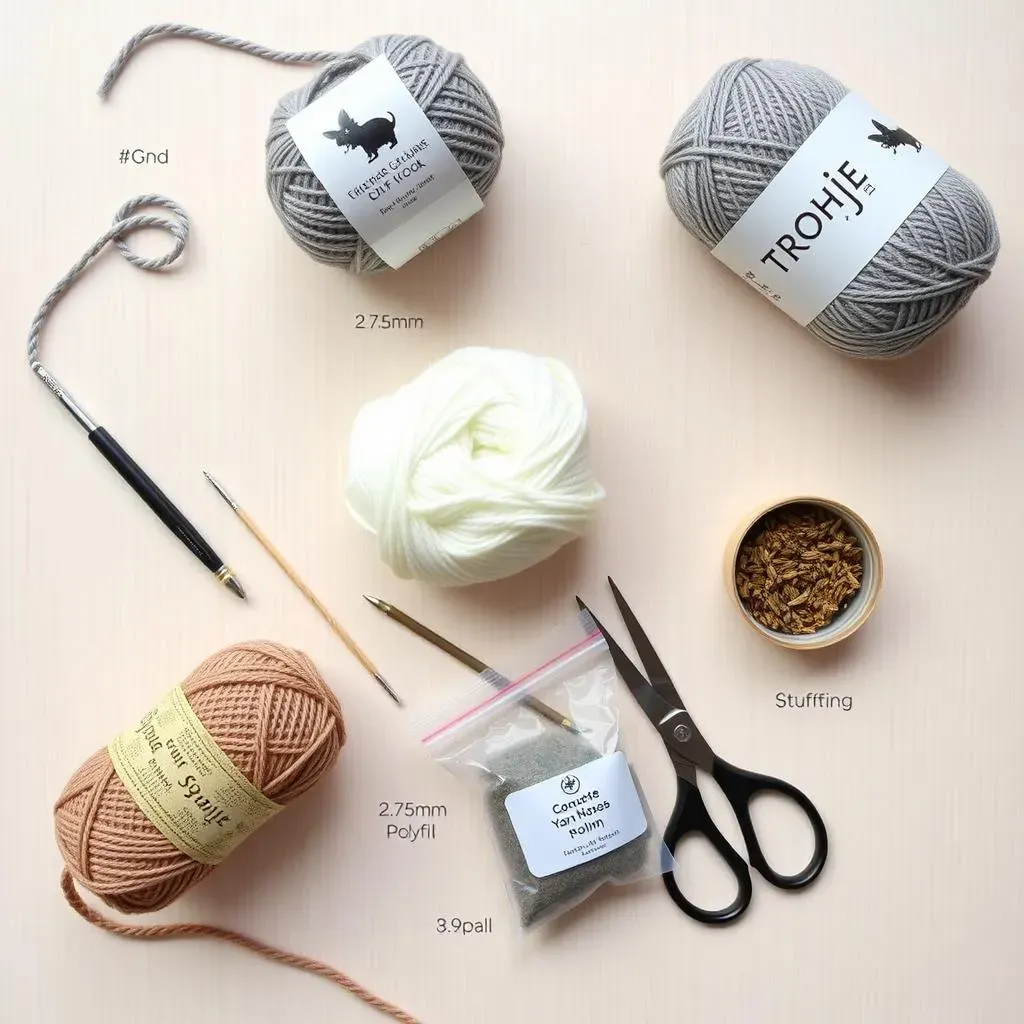
First up, you'll need yarn! I recommend a DK or light worsted weight yarn, as it strikes a nice balance between durability and softness. Cotton or acrylic blends work great, but feel free to experiment with textures! Just make sure it's safe for your cat – no fuzzy yarns that could be easily ingested. A 2.75 mm crochet hook is usually a good match for this yarn weight, but check your yarn label for recommendations. You'll also need a yarn needle for weaving in those pesky ends, some stuffing (polyfill is perfect), and a pair of scissors. Optional, but highly recommended, is some catnip to really get your kitty excited!
Material | Recommendation | Why? |
|---|---|---|
Yarn | DK or Light Worsted Weight (Cotton or Acrylic Blend) | Durable, soft, and safe for cats |
Crochet Hook | 2.75 mm (or size recommended on yarn label) | Suitable for the yarn weight |
Yarn Needle | Metal or Plastic | For weaving in ends |
Stuffing | Polyfill | Safe and washable |
Scissors | Any kind | For cutting yarn |
Catnip (Optional) | Dried Catnip | To make the toy extra enticing |
Beyond the Basics
Want to add a little extra flair? Consider using different colored yarns to create stripes or patterns. You could also embroider a cute little face onto your mouse using embroidery floss. Just remember to keep it simple and avoid any small embellishments that could be a choking hazard. Remember, the goal is to create a safe and engaging toy that your cat will love. With a little creativity and the right materials, you'll be well on your way to crocheting the purr-fect mouse!
Crochet Cat Toys Mouse Pattern: StepbyStep Guide

Crochet Cat Toys Mouse Pattern: StepbyStep Guide
Getting Started: The Magic Circle
let's get our hands busy with this crochet cat toys mouse pattern! We're going to start with what's called a magic circle (or adjustable ring). Don't let the name intimidate you; it's just a fancy way of starting a crochet project in the round without leaving a hole in the center. If you're not familiar with the magic circle, there are tons of great tutorials on YouTube. Trust me, once you get the hang of it, you'll be using it for all sorts of amigurumi projects!
Once you've made your magic circle, chain 1 (this doesn't count as a stitch), and then work 6 single crochet stitches into the circle. Pull the tail of the yarn tight to close the circle. This forms the base of your mouse. Now, get ready to increase! Increasing is how we shape the mouse's body, making it wider as we go. Each round will involve working more stitches into each stitch of the previous round.
Building the Body
Round 2: 2 single crochet in each stitch around (12 stitches total). Round 3: *Single crochet in the next stitch, 2 single crochet in the next stitch; repeat from * around (18 stitches total). Round 4: *Single crochet in the next 2 stitches, 2 single crochet in the next stitch; repeat from * around (24 stitches total). Round 5: *Single crochet in the next 3 stitches, 2 single crochet in the next stitch; repeat from * around (30 stitches total). Rounds 6-10: Single crochet in each stitch around (30 stitches total). This creates the main body of the mouse. If you're using different colors, now's a great time to switch it up! Get creative and add some stripes or patterns to your mouse.
Now it's time to start decreasing, which will shape the head. Decreasing is essentially the opposite of increasing; it involves working two stitches together to reduce the number of stitches in a round. This will give your mouse its cute, rounded head shape. Here's how it's done:
- Round 11: *Single crochet in the next 3 stitches, single crochet 2 stitches together; repeat from * around (24 stitches total).
- Round 12: *Single crochet in the next 2 stitches, single crochet 2 stitches together; repeat from * around (18 stitches total).
- Round 13: *Single crochet in the next stitch, single crochet 2 stitches together; repeat from * around (12 stitches total).
Finishing Touches & Safety Tips for Your Crochet Mouse Cat Toy
Finishing Touches & Safety Tips for Your Crochet Mouse Cat Toy
Adding the Final Flourishes
Alright, you've crocheted the body, now it's time to bring your crochet cat toys mouse pattern to life. Before you close up the opening completely, stuff your mouse firmly with polyfill. You want it to be nice and plump, but not so overstuffed that it loses its shape. If you're adding catnip, now's the time to sprinkle some in with the stuffing. Trust me, your cat will thank you! Once you're happy with the stuffing, continue decreasing until the opening is closed. Fasten off and weave in the end, making sure it's secure.
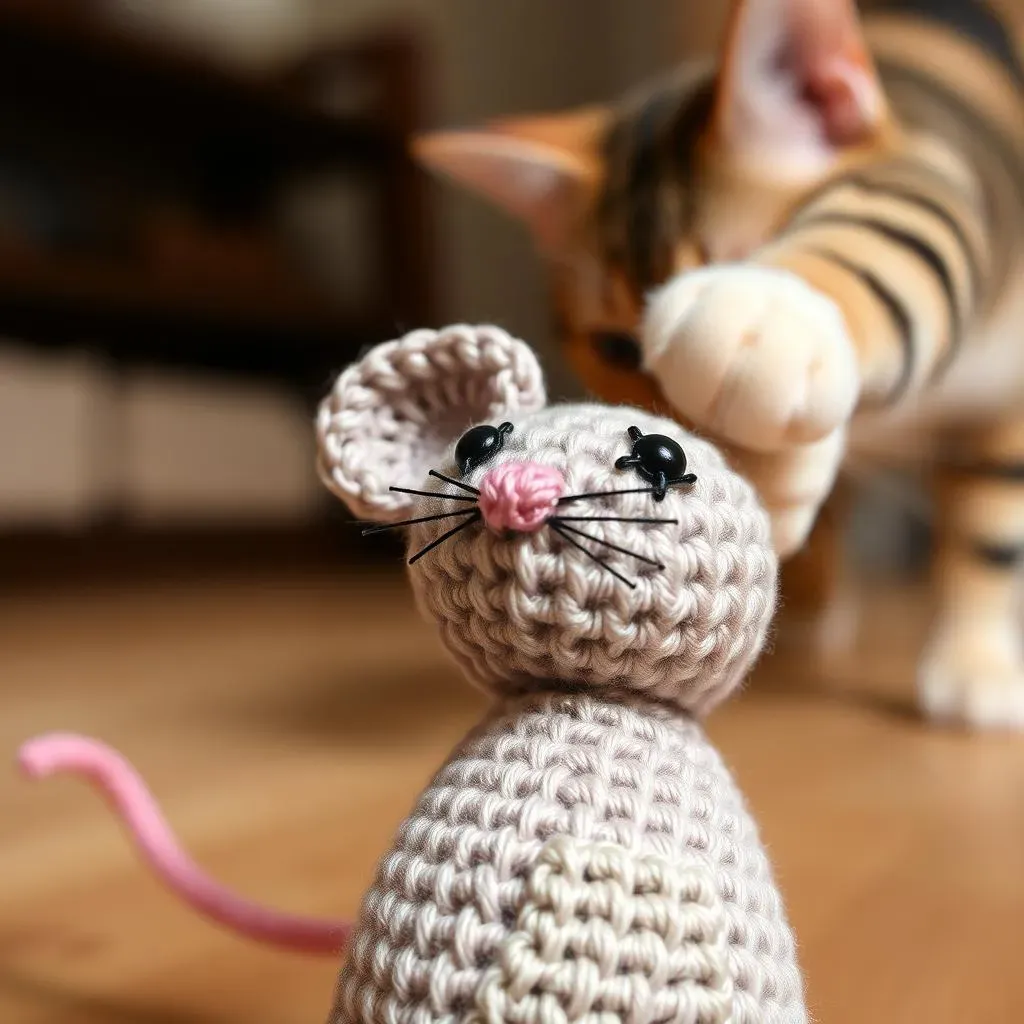
Next up, the ears! Crochet two small triangles and attach them to the top of the mouse's head using your yarn needle. Get creative with placement! Some cats prefer floppy ears, while others like them perky. Finally, embroider a cute little face onto your mouse using embroidery floss. A simple "x" for the nose and a couple of stitches for the eyes is all you need. Remember, safety first! Avoid using any beads or buttons that could be a choking hazard.
Here are some creative ideas for your finishing touches:
- Tail Variations: Braid the yarn for a thicker tail or use a contrasting color.
- Embroidery Details: Add whiskers or a playful expression to the face.
- Crinkle Material: Insert a small piece of crinkle material inside for added stimulation.
Prioritizing Your Cat's Well-being
While a crochet cat toys mouse pattern can provide hours of fun, it's crucial to prioritize your cat's safety. Always supervise your cat during playtime, especially when introducing a new toy. Regularly inspect the toy for any signs of wear and tear, such as loose stitches or tears. If you notice any damage, discard the toy immediately to prevent your cat from ingesting small pieces. Choose your yarn carefully, avoiding any materials that could be harmful if swallowed.
Also, remember that catnip doesn't affect all cats. If your cat doesn't seem interested in the catnip-infused mouse, don't force it. Some cats simply don't have the gene that makes them susceptible to catnip's effects. Ultimately, the best way to ensure your cat's safety is to be vigilant and use common sense. With a little care and attention, you can create a safe and engaging toy that your feline friend will cherish for years to come.
Important Safety Checklist:
Safety Measure | Why It's Important |
|---|---|
Supervise Playtime | Prevents accidents and allows you to monitor toy condition. |
Inspect Regularly | Identifies wear and tear to prevent ingestion of small parts. |
Choose Safe Materials | Avoids toxic substances and potential choking hazards. |
Properly Dispose of Damaged Toys | Prevents your cat from playing with unsafe, broken items. |
Happy Hooking and Happy Cats!
So there you have it, a simple and satisfying crochet cat toys mouse pattern to bring joy to your feline friend. Whether you're a seasoned crocheter or just starting out, this project is a fun and rewarding way to create something special for your pet. Remember to always prioritize safety by using durable materials, securely attaching all parts, and supervising playtime. Now, go forth and create a mountain of mice for your kitty to conquer!