Table of Contents
Ever watched your cat bat around a crumpled piece of paper or go absolutely bonkers for a shoelace? Sometimes the simplest things bring them the most joy. But let's be honest, buying endless plastic toys can feel a bit... wasteful, and often, they lose interest fast. What if you could whip up a toy that's not only engaging but also uses up some yarn scraps and maybe a pinch of catnip? Enter the world of the crochet joint cat toy.
Why Cats Go Crazy for a Crochet Joint Cat Toy

Why Cats Go Crazy for a Crochet Joint Cat Toy
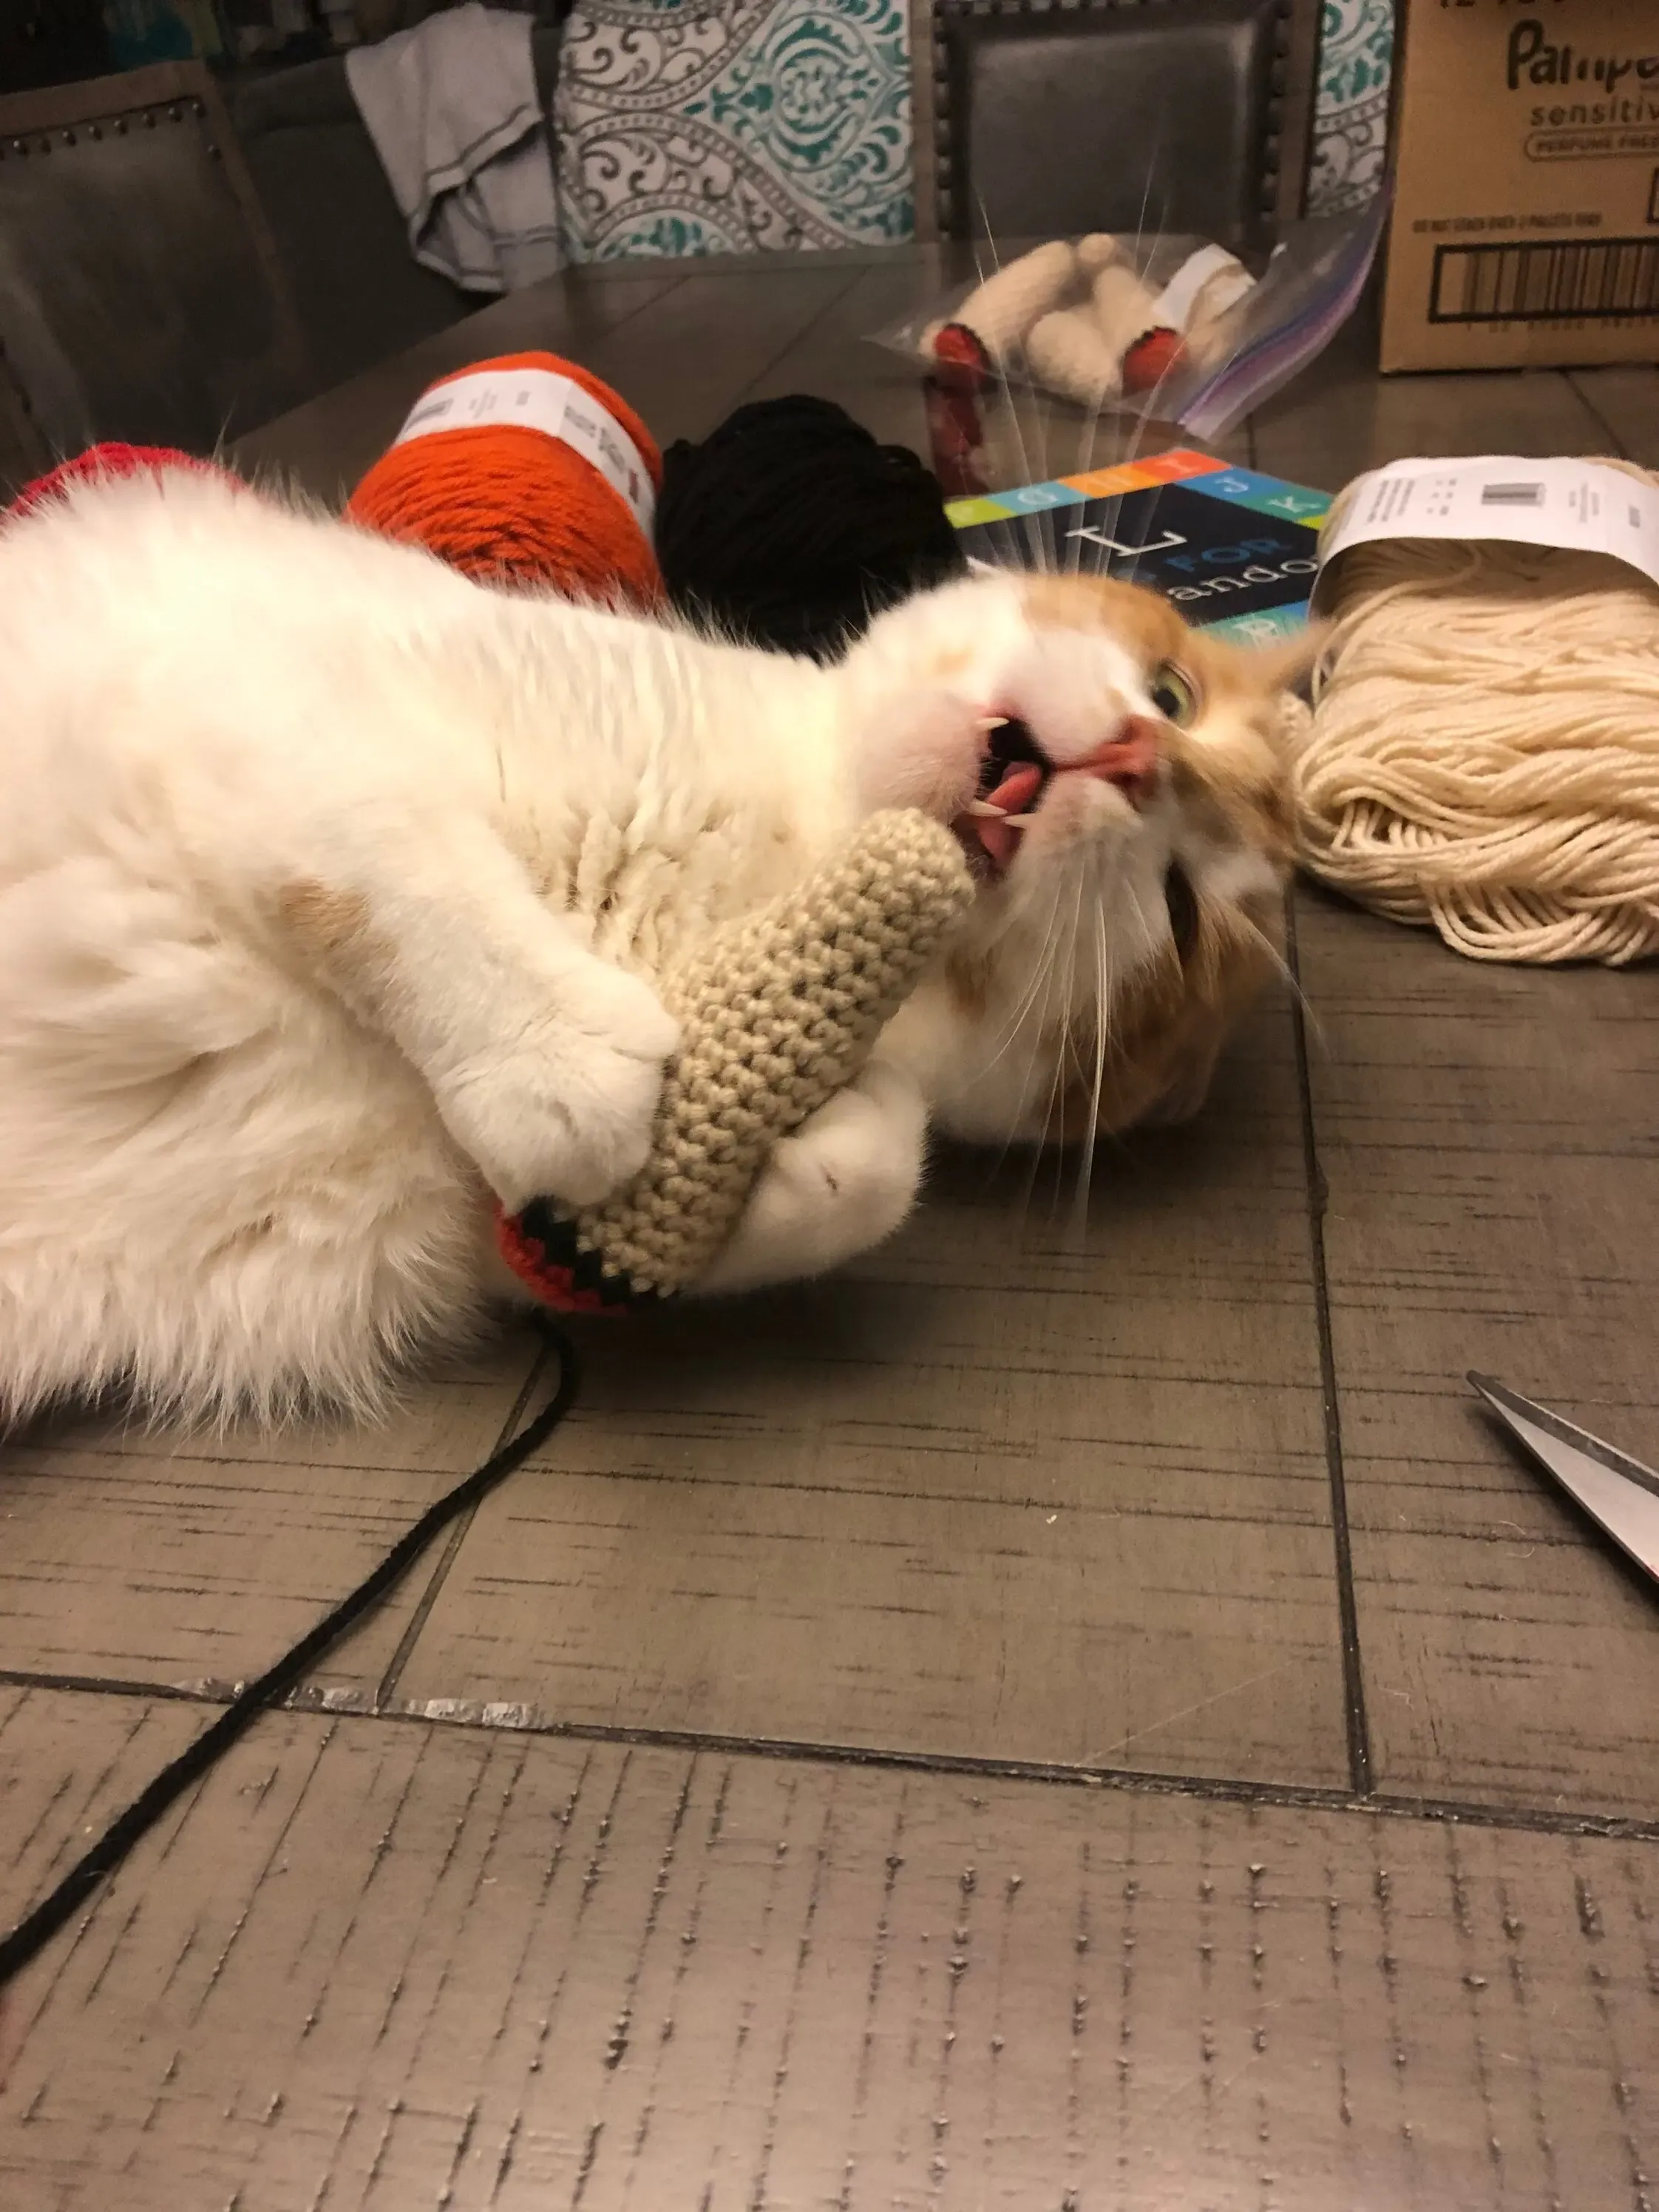
So, you're wondering why cats, creatures of discerning taste (or sometimes, no taste at all, if my cat eating a dust bunny is any indication), absolutely lose their minds over something as simple as a crochet joint cat toy? It's not just the shape, though that cylindrical form factor is perfect for their hunting instincts – easy to grab, easy to carry, great for a good old-fashioned bunny kick. It's also the texture. Unlike hard plastic, the crocheted surface has a slight give and a varied feel under their paws and teeth. This mimics prey more closely than a smooth, rigid object. Plus, when you add catnip inside, it's game over. That potent herb, paired with a toy that's just the right size and texture for stalking and pouncing, creates an irresistible combination. It's the perfect storm of sensory stimulation and natural hunting behavior, which is Why Cats Go Crazy for a Crochet Joint Cat Toy.
Gathering Your Supplies for Your Crochet Joint Cat Toy Project

Gathering Your Supplies for Your Crochet Joint Cat Toy Project
Alright, so you're convinced your cat needs one of these, and now you're ready to get your hands on the goodies. Gathering Your Supplies for Your Crochet Joint Cat Toy Project is thankfully pretty straightforward. You won't need a trip to a specialized craft store unless you just want an excuse to go. Grab some yarn – cotton is usually best because it's natural and less likely to shred into tiny plastic bits your cat might ingest compared to acrylic. Medium weight is perfect. You'll also need a crochet hook that matches your yarn size (check the yarn label for a suggestion, probably around a G or H hook), a tapestry needle for weaving in ends, and some sharp scissors. And the secret ingredient, if your cat is into it: catnip! A small bag of dried catnip is more than enough for several toys. Polyester fiberfill, the stuffing you use for pillows or stuffed animals, is also essential to give the toy its shape.
StepbyStep: Crocheting Your Kitty Joint

StepbyStep: Crocheting Your Kitty Joint
Getting Started: The Magic Ring and Base
let's get this show on the road! The best way to start a stuffed toy like this, avoiding a hole at the bottom, is with a magic ring (sometimes called a magic circle). If you've never done one, don't sweat it – there are tons of quick video tutorials online. Basically, you create an adjustable loop, work your first few stitches into it, and then pull it tight. For your crochet joint cat toy, you'll typically start with 6 single crochet stitches into that magic ring. After you pull it closed, you're going to work in continuous rounds, meaning you don't join the end of one round to the beginning with a slip stitch. This creates a seamless tube. Use a stitch marker (even just a scrap piece of yarn in a different color) to keep track of where each round ends and the next begins. Trust me, forgetting where you are is a rookie mistake we've all made, and it's annoying to frog back!
Building the Body: Increasing Rounds
Once you have that tight little base, it's time to start shaping the 'joint' part of your crochet joint cat toy. This is where you'll begin increasing your stitches. The typical pattern involves increasing in the next few rounds to gradually widen the tube. A common way to do this is to single crochet in the first stitch, then do two single crochets in the next stitch, repeating that around. Or, you might increase evenly around the circle each round for a few rounds. The pattern you're following will tell you exactly where and how many times to increase. As you work, you'll see the flat circle start to cup and form a tube. Keep those stitches tight, especially if you plan on adding catnip, to prevent little bits from escaping.
- Start with a magic ring (6 sc)
- Use a stitch marker to track rounds
- Increase stitches evenly over the next few rounds
- Work in continuous rounds for a seamless look
Working the Straight Section and Stuffing
After you've completed the increase rounds and reached the widest part of your crochet joint cat toy, you'll work several rounds without any increases or decreases. This creates the main cylindrical body of the toy. Just single crochet in each stitch around, round after round. This is the easy, meditative part! As the tube gets longer, you'll want to start adding your stuffing. Don't wait until the end, or it'll be a pain to get it packed in evenly. Add small handfuls of polyester fiberfill, pushing it down firmly with your fingers or the back of your crochet hook. If you're using catnip, tuck a pinch or two into the center of the stuffing as you go. Make sure it's stuffed enough to be firm but not so much that the stitches are stretched wide open.
Finishing Touches and Customizing Your Crochet Joint Cat Toy

Finishing Touches and Customizing Your Crochet Joint Cat Toy
Closing Up Shop: Decreases and Fastening Off
You're on the home stretch now! Once your crochet joint cat toy body is the length you want, it's time to start decreasing stitches to close up the end, mirroring how you increased at the beginning. This usually involves single crocheting two stitches together (sc2tog) evenly around the round. The pattern will guide you on the exact decrease schedule. Keep stuffing as you decrease, making sure the end is firm but not bulging awkwardly. When you have just a few stitches left, cut your yarn, leaving a tail about 6-8 inches long. Thread this tail onto your tapestry needle. Now, weave the needle through the front loop of each remaining stitch. Pull the yarn tail tight, like a drawstring. This cinches the hole closed neatly. Poke the needle through the center of the cinched hole into the toy, bring it out somewhere else, and pull gently before snipping the yarn. This hides the tail inside.
Weaving Ends and Adding the Final Punch
With the toy closed, you have a few yarn tails to deal with – the starting tail from the magic ring (make sure that's pulled tight and woven in securely) and the fastening-off tail you just hid. Weaving these ends in properly is crucial. You don't want them popping out after a few enthusiastic play sessions, becoming a tempting string to chew on. Use your tapestry needle to thread the tail through several stitches on the inside of the toy, changing direction a couple of times. This locks the yarn in place. If you haven't added enough catnip during stuffing, you can sometimes gently poke a bit more into the toy through the stitches with a skewer or the back of your hook, though adding it while stuffing is usually more effective. Give the crochet joint cat toy a good squeeze to distribute the stuffing and catnip.
- Weave starting tail from magic ring securely.
- Thread finishing tail onto tapestry needle.
- Weave finishing tail through stitches inside the toy.
- Change weaving direction to lock the yarn.
- Snip excess yarn close to the fabric.
- Add extra catnip if needed (carefully!).
Making it Yours: Colors, Styles, and Extras
The beauty of making your own crochet joint cat toy is that you're not stuck with basic beige. This is your chance to get creative! Use different colors for the different sections – maybe a brown base and tip with a greenish-yellow body? Or go wild with stripes, variegated yarn, or even sparkly fiber if your cat isn't the type to try and eat glitter. You can adjust the length by adding or subtracting rounds in the straight section. Some people like to add a small jingle bell or a crinkle material insert *before* stuffing for extra auditory stimulation, just make sure it's securely enclosed within the stuffing and stitches. Think about your cat's personality. Are they attracted to bright colors? Do they like noise? Tailor the toy to their preferences. After all, you're the one who has to watch them ignore it if you get it wrong (just kidding... mostly).
Your Cat's New Favorite (Probably)
So there you have it. You've taken some yarn and a hook and created a crochet joint cat toy. It wasn't brain surgery, and hopefully, you didn't lose your mind wrestling with tiny stitches (though we make no guarantees about catnip-fueled chaos). The real test, of course, is handing it over to the discerning critic – your cat. Will they immediately pounce, or give you that slow blink of mild disinterest before walking away? That's the gamble, isn't it? But when they do latch onto it, batting it across the floor or clutching it tight for a good bunny-kick session, there's a certain satisfaction in knowing you made that happen. Plus, you used up some stash yarn. Win-win, if you ask me.