Table of Contents
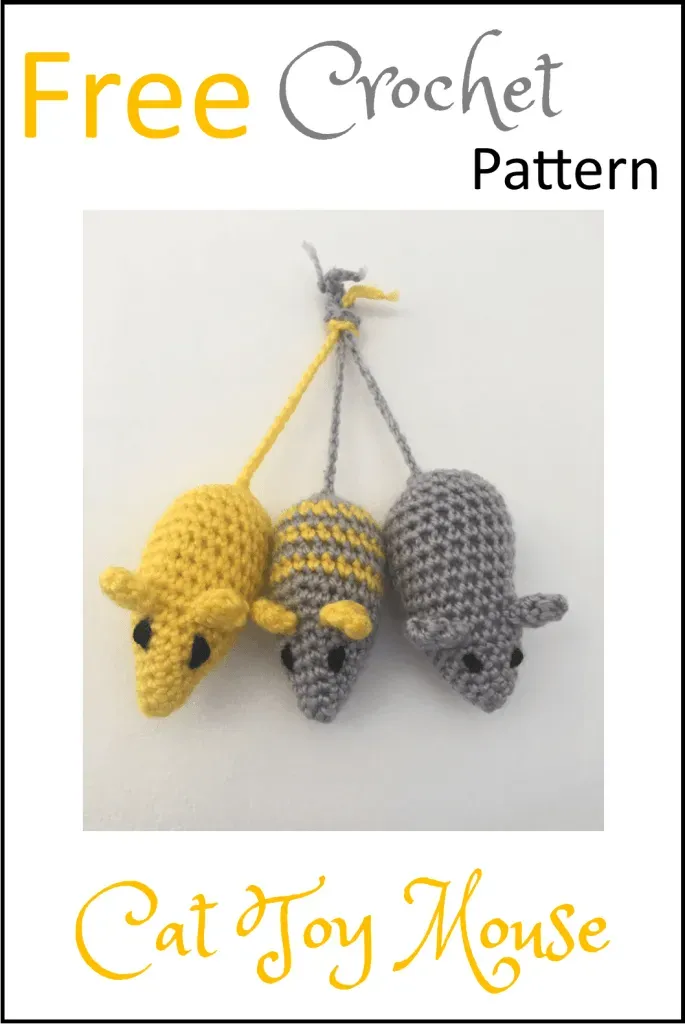
Let's be honest, our feline overlords can be picky. You drop serious cash on the latest light-up, self-wiggling contraption, only for them to ignore it and bat around a dust bunny. It's a familiar story. But what if you could create something they might actually adore, something simple, classic, and made with your own two hands? That's where the humble crochet mouse cat toy comes in. And even better? We're talking about a crochet mouse cat toy free pattern.
Why Your Cat Needs a Crochet Mouse Toy (And Why Free Patterns Rule)

Why Your Cat Needs a Crochet Mouse Toy (And Why Free Patterns Rule)
Look, cats are predators at heart, even the fluffy couch potatoes among them. Their brains are hardwired to chase, stalk, and pounce on things that scurry. A little mouse toy, especially one with a tail, taps directly into that primal instinct. It’s not just about entertainment; it’s about fulfilling a natural need. And while the pet store aisles are overflowing with plastic junk, a handmade crochet mouse cat toy offers something different. They're soft, they have texture, and frankly, they survive the enthusiastic mauling much better than those flimsy felt things. Plus, finding a good crochet mouse cat toy free pattern means you can whip up a whole army of these little critters without spending a fortune. Why pay five bucks for one when you can make ten for the cost of some yarn scraps?
Gathering Your Supplies for the Crochet Mouse Cat Toy Free Pattern

Gathering Your Supplies for the Crochet Mouse Cat Toy Free Pattern
Picking the Right Yarn and Hook
first things first, you need yarn and a hook. For a crochet mouse cat toy free pattern, you don't need anything fancy. In fact, this is the perfect project for using up those leftover bits and bobs from other projects. Acrylic yarn is usually a safe bet – it's durable, washable, and comes in every color imaginable. Avoid anything super fuzzy or with loose fibers that a cat might ingest. A worsted weight yarn (that's your standard medium weight) works great for getting a decent mouse size. As for the hook, check your yarn label, but usually a G (4.0 mm) or H (5.0 mm) hook pairs well with worsted weight. Don't stress too much; a slightly different hook size just means your mouse will be a little bigger or smaller.
Stuffing and Other Essentials
Next up, the guts of the mouse – stuffing. Polyester fiberfill is the standard for toys. It’s soft, squishy, and holds its shape. You know, the stuff inside pillows and stuffed animals. You won't need a ton for one mouse, maybe just a small handful. You'll also need a yarn needle (sometimes called a tapestry needle) to sew the pieces together and weave in ends. Scissors are, of course, non-negotiable for cutting yarn. A stitch marker is helpful, especially if you're working in rounds, to keep track of where you started. Trust me, trying to count stitches while a cat bats at your yarn is a special kind of chaos.
Basic Supply Checklist
- Worsted weight yarn (acrylic recommended)
- Crochet hook (size G/4.0mm or H/5.0mm)
- Polyester fiberfill stuffing
- Yarn needle
- Scissors
- Stitch marker (optional but helpful)
Making it Safe and Fun (Optional Additions)
Safety is key when you're making toys for your furry friend. Skip buttons or plastic eyes; they're choking hazards. You can embroider eyes and a nose with yarn instead, which is much safer. For the tail, a simple chain of crochet stitches works perfectly. Some people like to add a little crinkle material inside the stuffing for extra sensory fun, or even a tiny bit of catnip. If you go the catnip route, make sure it's sealed well within the stuffing. Remember, the goal is a sturdy, engaging toy your cat can safely enjoy. Getting these supplies ready is the first concrete step towards completing your crochet mouse cat toy free pattern project.
Hooking Up Happiness: Your Crochet Mouse Cat Toy Free Pattern Guide

Hooking Up Happiness: Your Crochet Mouse Cat Toy Free Pattern Guide
Starting the Mouse Body: Magic Ring and Increases
Alright, let's get down to the actual hooking. Most crochet patterns for small amigurumi, like our crochet mouse cat toy free pattern, start with a magic ring (or magic circle). If you've never done one, don't sweat it. There are tons of quick videos online showing you how to make that adjustable loop. It's the neatest way to start a piece that needs to be closed tightly, preventing stuffing from poking out. Once you've got your ring, you'll typically work a set number of single crochet stitches into it – maybe 6 or 8. Pull the tail tight to close the ring, and you've finished Round 1.
Round 2 usually involves increasing in each stitch. An increase just means working two single crochets into one stitch from the previous round. This makes your circle bigger and lays the foundation for the widest part of your mouse body. You'll continue increasing over the next few rounds, following the specific instructions in your crochet mouse cat toy free pattern. Each round adds more stitches, gradually shaping a flat-ish circle that will soon start to curve into the mouse's body.
Shaping the Body: Straight Rounds and Decreases
After your increase rounds, most patterns will have you work several rounds without any increases or decreases. You'll just work one single crochet in each stitch around. This is where the magic happens – the flat circle starts to cup and form the body of the mouse. It will look less like a flat coaster and more like a little bowl. Work enough of these straight rounds to get the length you want for the main part of the mouse body before it tapers.
Once the body is long enough, it's time to start decreasing. Decreasing is the opposite of increasing; you're making two stitches into one to reduce the stitch count in the round. This tapers the work, forming the nose end of the mouse. Your crochet mouse cat toy free pattern will tell you where and how often to decrease. As you get close to the end, you'll stuff the mouse firmly but not so much that the stitches pull apart. Continue decreasing until the opening is small enough to close neatly.
Common Crochet Abbreviations You'll See:
- ch: Chain
- sc: Single Crochet
- inc: Increase (usually 2 sc in one stitch)
- dec: Decrease (making 2 stitches into 1)
- sl st: Slip Stitch
- st(s): Stitch(es)
- rnd(s): Round(s)
- FO: Fasten Off
Tips, Tricks, and Variations for Your Handmade Cat Toy

Tips, Tricks, and Variations for Your Handmade Cat Toy
Tips, Tricks, and Variations for Your Handmade Cat Toy
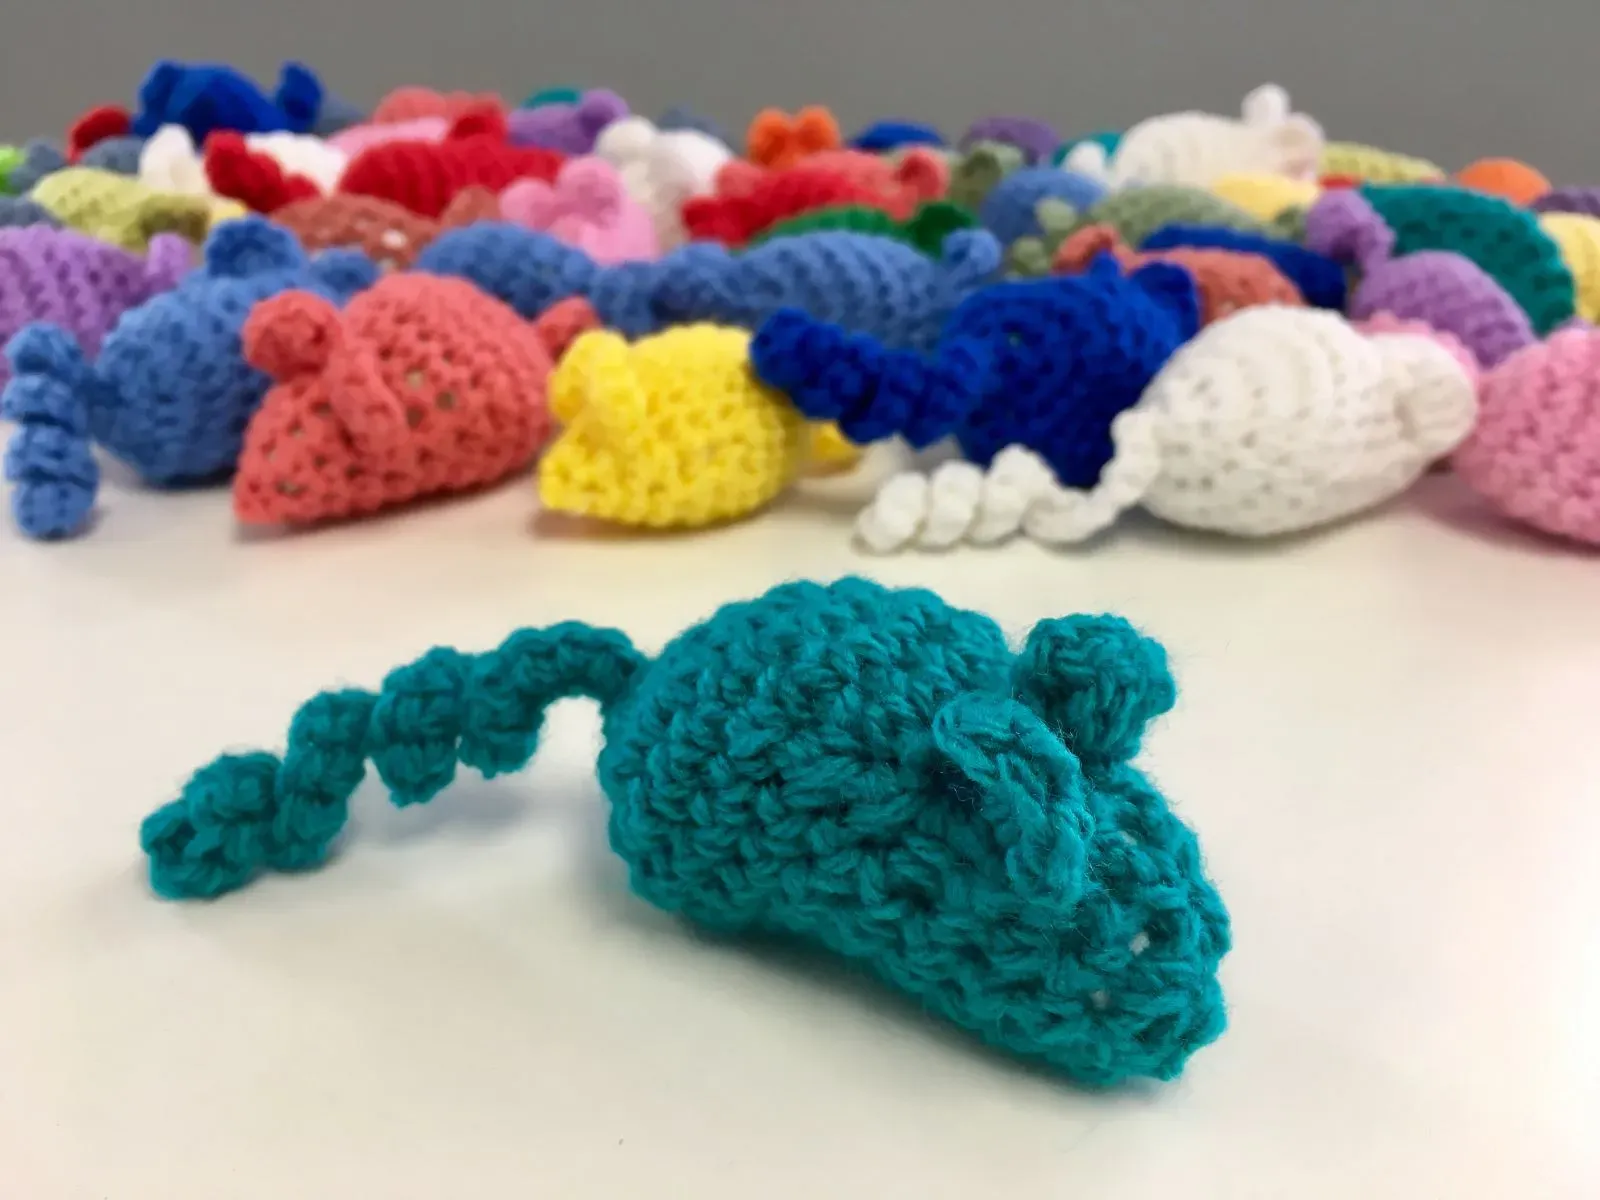
So you've whipped up your first crochet mouse cat toy using the free pattern. Nice work! Now, let's talk about making it even better, or just mixing things up. One obvious variation is size – use a chunkier yarn and bigger hook for a larger mouse, or finer yarn and a smaller hook for a tiny one. Cats have preferences, you know? Some like a substantial toy to really get their claws into, others prefer something small and scurry-like. Don't be afraid to experiment with yarn colors either. While natural mouse colors seem logical, I once made a neon green mouse that became a favorite for months. Adding a touch of dried catnip inside the stuffing before closing is practically mandatory for many felines; just make sure it's well-sealed so it doesn't leak out. You can also try different tail styles – a simple chain, a braided tail, or even a short length of cord securely attached.
Thinking about making your next mouse? Consider these simple variations:
- Change yarn color (bright colors can be visually stimulating)
- Adjust hook size and yarn weight for different mouse sizes
- Add a small amount of catnip inside the stuffing (optional)
- Try a different tail type (braid, cord, etc.)
- Embroider simple features like eyes or whiskers
The Final Stitch: What Your Cat *Might* Do
So there you have it. You've navigated the stitches, wrestled with the stuffing, and perhaps even chased a runaway yarn ball or two. You've put in the effort, following the crochet mouse cat toy free pattern to the best of your ability. Now comes the moment of truth: presenting your creation to its intended recipient. Will they immediately pounce, batting it into oblivion with gleeful abandon? Or will they sniff it disdainfully, turn their back, and resume staring at the wall? With cats, it's always a coin toss. But hey, at least you made something cool, and you've got a new skill under your belt. If nothing else, it's a conversation starter, or maybe just another object for them to ignore artistically.