Table of Contents
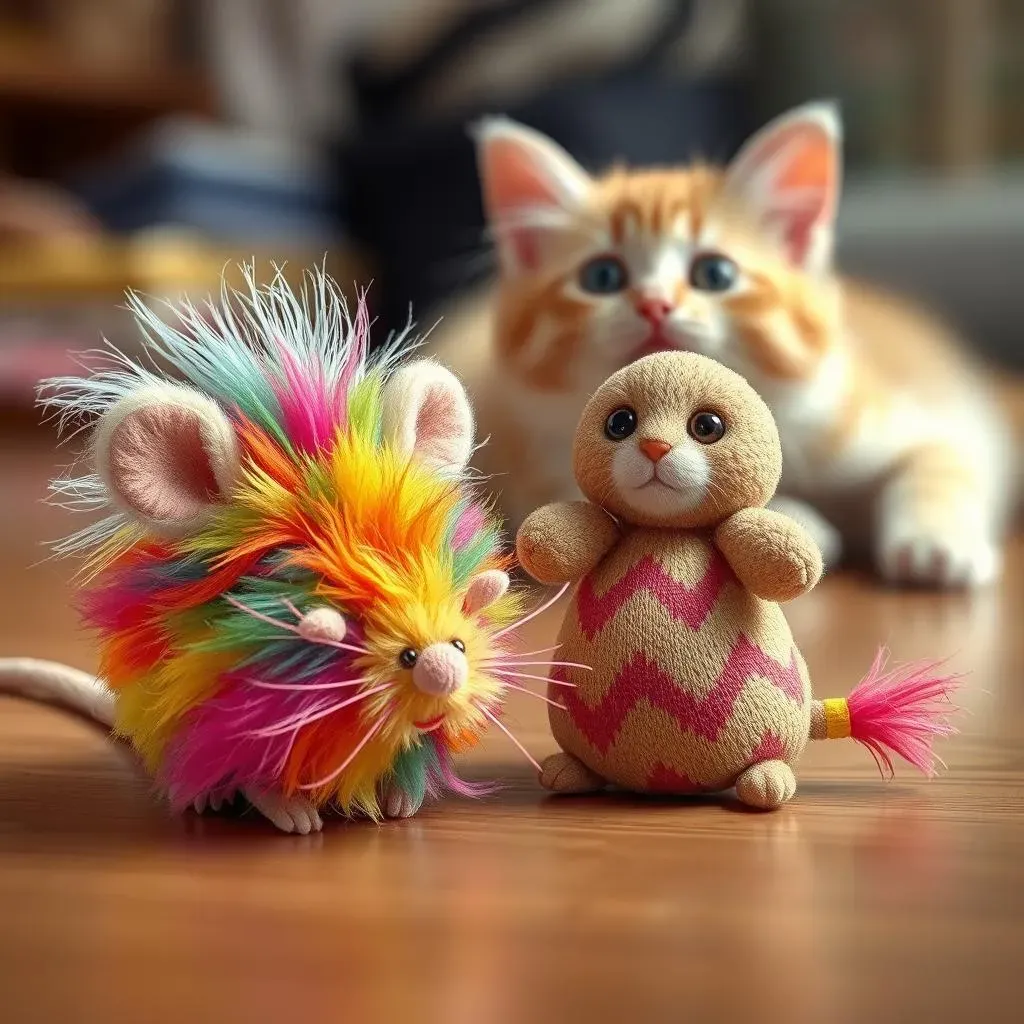
Ever watched your cat stalk a dust bunny with the intensity of a lion on the Serengeti? Yeah, me too. It's hilarious, but sometimes they need a more… suitable prey. That's where this DIY cat toy mouse project comes in. Forget those flimsy, store-bought toys that fall apart in five seconds. We're making a catnip-infused, durable, and utterly irresistible mouse that your feline friend will adore. This isn't just about saving a few bucks; it's about crafting something special, something made with love (and maybe a little bit of catnip-induced madness). This guide will walk you through each step, from gathering your materials to sewing the final stitch, ensuring you create a toy that's both fun to make and safe for your cat to enjoy. Think of it as a mini-adventure in crafting, ending with a happy, purring companion and a durable, custom madediy cat toy mouse. So, grab your supplies, and let's get started on this fun project!
Project Overview: Why Make a DIY Cat Toy Mouse?

Project Overview: Why Make a DIY Cat Toy Mouse?
The Joy of DIY
Okay, so you could just buy a cat toy, right? Sure. But where's the fun in that? Making your owndiy cat toy mouseisn't just about saving money; it's about the satisfaction of creating something with your own two hands. It's like baking a cake from scratch versus buying one at the store. One is just a thing, the other has a story and a little bit of your soul baked right in. Plus, you get to customize it exactly how you want. Want a super fluffy tail? Go for it. Need extra catnip? You're the boss! It's a chance to get creative and make something unique for your furry friend.
And let's be real, cats are picky. They have opinions, strong ones. Store-bought toys often miss the mark. They might be too big, too small, or just plain boring. Adiy cat toy mouselets you tailor the toy to your cat’s specific preferences. Do they like to pounce? Make it light and easy to bat around. Are they a cuddler? Make it soft and huggable. It's about creating a toy that’s not only fun but also engaging for your particular feline. And honestly, watching them go nuts for something you made is just the best feeling.
Reason | Store-Bought Toy | DIY Cat Toy Mouse |
|---|---|---|
Customization | Limited | Unlimited |
Satisfaction | None | High |
Cost | Can be expensive | Low, using scrap material |
Engagement | Hit or miss | Tailored to your cat |
A Gift of Love (and Catnip)
Beyond the fun and customization, making adiy cat toy mouseis a real act of love. It's like saying, "Hey, I care about you, and I spent time and effort making this just for you." Your cat might not understand the sentiment in human terms, but they'll definitely appreciate the new toy. And let's be honest, seeing them happily playing with something you crafted is a reward in itself. It's a tangible way to show your affection and bond with your furry companion. It's more than just a toy, it's a symbol of the connection you share.
Plus, think of the bragging rights! You can proudly tell everyone, "Yeah, I made that." It's a great conversation starter and a chance to share your crafting skills. And who knows, maybe you'll inspire others to create their owndiy cat toy mouse! You could start a whole movement of handcrafted cat toys. It's a win-win: your cat gets an awesome toy, and you get to feel like a crafting superstar. So, let's get to it!
"The smallest feline is a masterpiece." - Leonardo da Vinci
Materials and Equipment: Gathering Your Supplies

Materials and Equipment: Gathering Your Supplies
The Fabric: Choosing Wisely
Okay, so you're ready to start thisdiy cat toy mouseadventure, right? First things first, let's talk fabric. You don't need anything fancy, but you do want something that's going to hold up to some serious kitty playtime. I'd suggest wool felt. It's durable, it's easy to work with, and it has a nice texture that cats seem to love. Plus, it's pretty easy to find in most craft stores. You could also use cotton, but I find that felt tends to last longer against those sharp little claws. Avoid anything too stretchy or flimsy, or you might end up with a shredded mess in no time. We're aiming for a toy that can withstand some roughhousing, not a one-time wonder.
Now, about colors. You can go wild here, but keep in mind that cats see colors differently than we do. They're more attracted to blues, yellows, and greens. So, if you want to really grab their attention, stick with those hues. You can also choose colors that complement your cat’s fur or your home decor, if that's your jam. It's your project, so have fun with it! Just make sure it's a color that won't easily stain or bleed, especially if it’s going to be near water or your cat's mouth.
The Essential Tools: What You'll Need
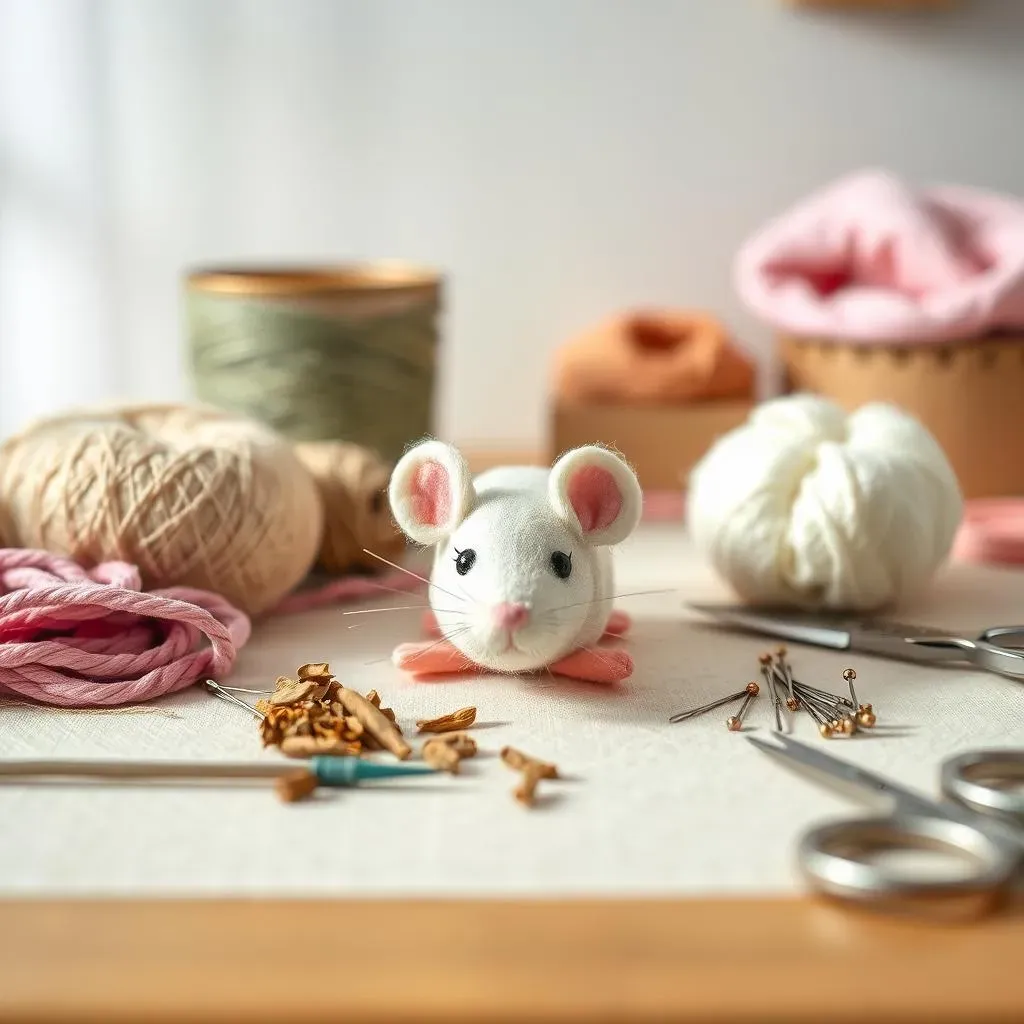
Alright, fabric is sorted, let’s talk tools. You won't need a whole sewing studio here, just some basic supplies. First, grab a good pair of scissors that are sharp enough to cut fabric cleanly. Dull scissors will just make you frustrated, trust me. Next, you'll need some embroidery floss. This is what you'll use to sew thediy cat toy mousetogether. Pick a color that matches or contrasts nicely with your fabric. You'll also need a needle. Make sure it has a large enough eye to thread the embroidery floss easily. A sewing needle will work, but a tapestry needle is easier to thread. And of course, you'll need a pattern. Don't worry, I've got you covered in the next section. Lastly, some pins are super helpful for holding the fabric pieces together while you sew.
And what’s a cat toy without the catnip? Make sure you have some dried catnip ready to go. You don’t need a ton, just a pinch or two is enough to drive your cat wild. You could also use stuffing, like the kind you would use in pillows or stuffed animals. This will help give the mouse its shape and squishiness. Make sure it’s something that won't clump up or get messy. And that’s it! Gather your supplies, and let's get ready to craft!
Item | Purpose |
|---|---|
Wool Felt | Durable and cat-friendly fabric |
Embroidery Floss | Sewing the toy together |
Needle | To thread the floss |
Scissors | Cutting the fabric |
Pins | Holding fabric in place |
Dried Catnip | For cat-attracting fun |
Stuffing | To give the toy shape |
The Pattern: Your Blueprint
Now, about that pattern. You can find a freediy cat toy mousepattern online with a quick search, or you can even draw your own. It doesn't need to be super complicated. Think simple shapes: a body, a tail, and some ears. The body is basically an oval, the tail a thin strip, and the ears small semi-circles. You could even use a cookie cutter as a guide if you're feeling lazy. I always prefer to print out the pattern and cut it out of paper first. This makes it easy to trace onto the fabric. Or if you are feeling extra confident draw directly onto the fabric. Whatever you do, make sure it is a size that is appropriate for your cat. We don't want a mouse that's too small to bat around or too big to cuddle.
Once you have your pattern, it’s time to cut the fabric. Pin the pattern to the felt using your pins. Then, carefully cut out the pieces. You’ll need two identical pieces for the body, two for the ears, and one for the tail. I like to cut out all the pieces at once. This way, I can see everything I need and make sure I haven’t missed anything. It keeps the process streamlined and less prone to errors. Now you have all the elements ready. Next up: sewing!
“The best way to predict the future is to create it.” - Peter Drucker
StepbyStep Instructions: Sewing Your Cat Toy Mouse

StepbyStep Instructions: Sewing Your Cat Toy Mouse
Cutting the Fabric
Alright, you've got your pattern, your fabric, and your scissors. Now, it's time to get cutting! Lay your felt flat on a table, and pin your paper pattern pieces on top. Make sure to pin them securely. You don't want them shifting around while you cut. I like to use a few pins on each piece, just to be safe. Now, carefully cut around each piece. Go slowly and try to follow the lines of your pattern as closely as possible. I like to use small, controlled snips for this, especially around the curves. You should end up with two body pieces, two ears, and one tail. These are the building blocks of yourdiy cat toy mouse, so treat them with care.
Once you have your pieces, take a moment to admire them. They might look a little rough around the edges, but don't worry, they'll come together beautifully. It's like assembling a puzzle, except the pieces are soft and fuzzy. Before we move on to sewing, double check that you have all of your pieces. It’s super annoying to get halfway through a project and realize you're missing an ear or something. Now, let's move on to the next step: attaching those tiny little ears!
Attaching the Ears
Okay, so those little ears? They're surprisingly important. They give the mouse character! Grab one of your body pieces and one of your ear pieces. Position the ear on the side of the body piece, near the top. I usually like to put them about a quarter of the way from the top edge. Now, using your embroidery floss, sew the ear onto the body piece. A simple vertical line stitch works well here. Just make a few stitches to secure it in place. Don't worry about making it perfect; it's a cat toy, not a masterpiece. Repeat this process for the other ear on the same body piece, and then do it all over again for the other body piece. This is where thediy cat toy mousestarts to look like something, and it's super exciting.
Pro-tip: I like to tie a knot at the end of my thread and then use the needle to bury the knot. This way, the knot is hidden and less likely to come undone. It also makes the toy look a little more polished. Once both ears are attached to both body pieces, you should have two mouse body pieces that look like they have tiny, adorable antlers. Now, it’s time to bring the two sides together and start sewing the body. So, get ready to join these two pieces and start forming the body of your mouse!
Step | Action |
|---|---|
1 | Pin pattern pieces on fabric |
2 | Cut out fabric pieces |
3 | Position ear on body piece |
4 | Sew ear onto body piece |
5 | Repeat for all ears |
Keeping Your Cat Safe: Monitoring Wear and Tear

Keeping Your Cat Safe: Monitoring Wear and Tear
Sewing the Sides
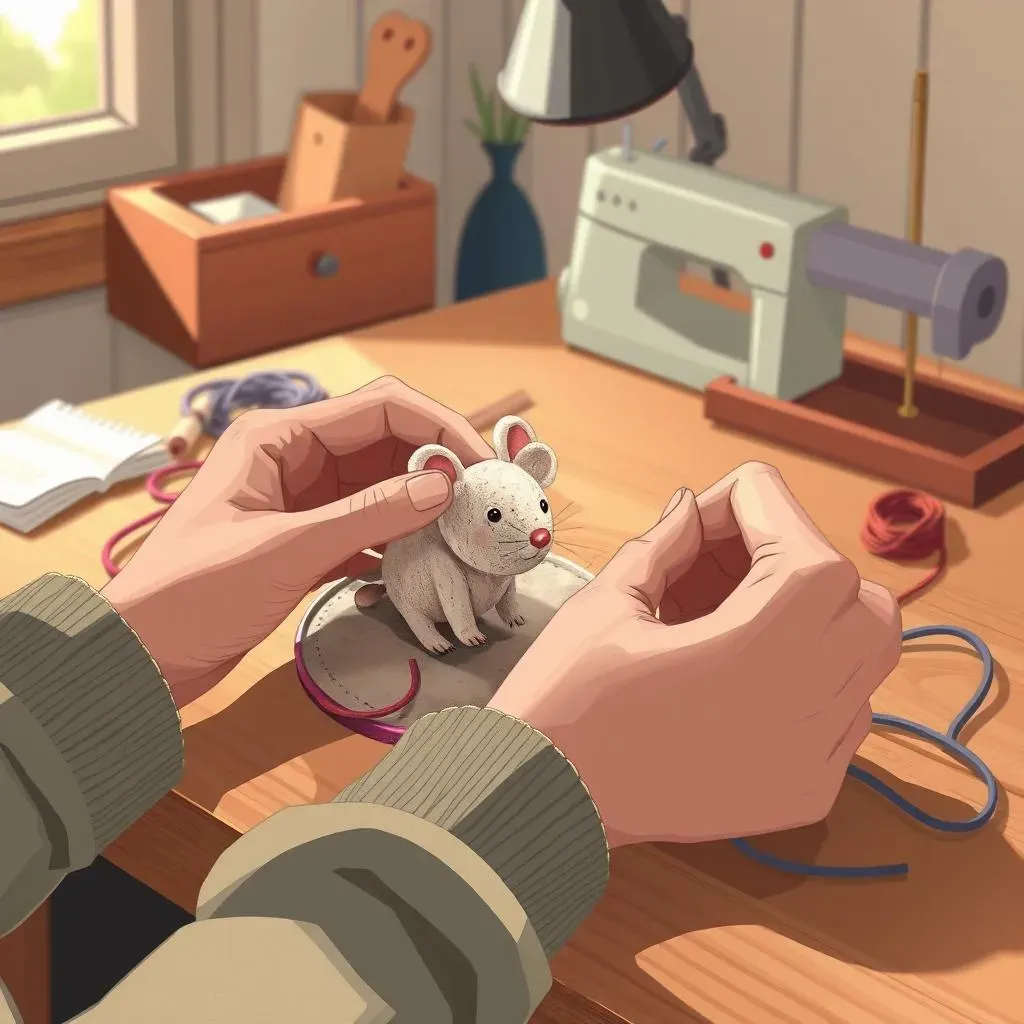
Alright, ears are on, and it's time to bring those two body pieces together. Place one body piece on top of the other, making sure the ear sides are facing out. Now, start sewing the edges together using a simple running stitch. I like to start at the bottom and go all the way around, leaving a small opening at the bottom. This opening is important because it’s how we will stuff thediy cat toy mouselater on. Think of it like a little door for the fluff. As you sew, try to keep your stitches even and close together. This will make the toy more durable and less likely to fall apart. If you're new to sewing, don't worry about being perfect. The goal is to make a fun toy for your cat, not a museum piece.
Keep sewing all the way around until you're almost back to where you started. Make sure you leave a gap big enough to fit your fingers and stuffing. Now, before you close up this little mouse, it’s time to give it some life. Let's move on to stuffing and catnip!
Adding Stuffing and Catnip
Okay, now for the fun part: stuffing and catnip! This is where yourdiy cat toy mousereally starts to come to life. Take your stuffing and start filling the mouse through the opening you left. I like to use small bits of stuffing at a time, and push them down into the toy using your finger or the end of a pen. Make sure you fill it up enough to give it a nice, plump shape, but don't overstuff it. You want it to be squishy, not rock hard. Once you've got the stuffing in, sprinkle in a pinch or two of catnip. This is the magic ingredient that will send your cat into a frenzy of playful excitement. You don't need a ton of catnip, just enough to make it irresistible. I like to gently shake the mouse to distribute the catnip evenly.
Once you’re happy with the amount of stuffing and catnip, it's time to close up the opening. Use your needle and thread to stitch the opening closed. Use the same running stitch you used before. Make sure you pull the stitches tight to close it securely. Tie a knot and bury the end of your thread to keep it hidden. And just like that, your mouse is stuffed and ready for action!
Finishing the Mouse
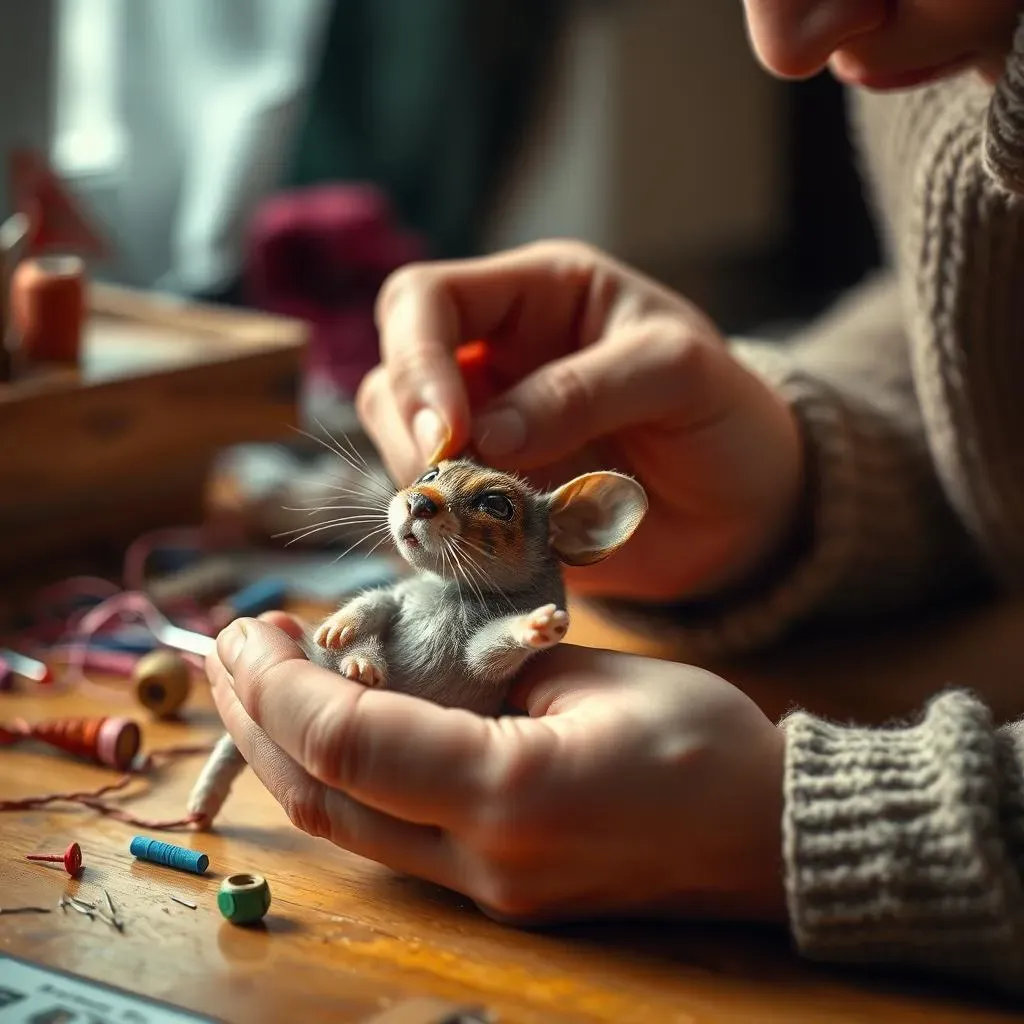
Almost there! Now that the mouse is stuffed and closed, it’s time to add the tail. Take your tail piece and sew one end to the back of the mouse. Use a few stitches to secure it in place. You can use a simple running stitch or a backstitch for this. Once the tail is on, give yourdiy cat toy mousea final once-over. Make sure there are no loose threads or sharp edges that could hurt your cat. If you see anything that needs fixing, take a few moments to tidy it up. And that’s it! Your cat toy mouse is complete!
Now, take a moment to admire your work. You made this! You crafted a fun toy from scratch that your cat is going to love. It’s a great feeling. Now, let’s move on to the final section: how to keep your cat safe while they play.
- Sew the edges together, leaving a small opening
- Stuff the toy with filling
- Add a pinch of catnip
- Stitch the opening closed
- Attach the tail
- Check for loose threads
Okay, so you’ve crafted this amazingdiy cat toy mouse, and your cat is going wild for it. But here’s the thing: cat toys aren't invincible. They take a beating, and sometimes, they can become dangerous if they’re not properly monitored. It’s like having a car, it needs regular check-ups to make sure it's safe. You need to keep an eye on your handiwork to make sure it stays safe for your furry pal. Regularly check the toy for any signs of wear and tear. Look for loose threads, ripped seams, or any parts that might be coming off. These little bits can become choking hazards, especially if your cat is an aggressive chewer. If you see any of these problems, it's time to either repair the toy or replace it.
And let's be real, sometimes, no matter how well you make something, it just reaches the end of its lifespan. If the toy is looking particularly ragged or is starting to lose its shape, it's time to say goodbye. It’s better to be safe than sorry. And that’s okay! It just means it’s time to make another one! Think of it as a good excuse to get crafty again! And who knows, maybe your next mouse will be even better than the last. It’s all part of the process of learning and creating. And remember, a happy and safe cat is the best reward for all your hard work.
"The key is not to prioritize what's on your schedule, but to schedule your priorities." - Stephen Covey
Wrapping Up: Happy Cats and Crafty Humans
So, there you have it – a custom-made, catnip-powered mouse, ready to be pounced on. This simple project proves you don't need to be a master crafter to create something special for your furry friend. Not only have you potentially saved some money, but you've also made a toy that's durable and filled with love (and a healthy dose of catnip, let's be honest). Remember to keep an eye on your cat's new toy and replace it when it starts showing signs of wear. Now, go forth and enjoy the chaos and cuteness that's about to ensue. Your cat will thank you, probably by leaving a half-eaten mouse at your feet as a token of their appreciation.