Table of Contents
Walk into any animal shelter and you'll see it: cages. Lots of them. Inside, cats wait. They're safe, fed, and cared for, but it's a far cry from a home. Boredom and stress are real problems in these environments. Shelter budgets are stretched thin, often prioritizing food and medical care over enrichment items like toys.
Why DIY Cat Toys for Shelters Matter
Why DIY Cat Toys for Shelters Matter
The Daily Grind of Shelter Life
Imagine being stuck in a small room, day in and day out. You get fed, you get clean water, but there's not much else going on. That's the reality for many cats waiting in shelters. Boredom isn't just annoying; it can lead to stress, anxiety, and even physical issues.
Cats are natural hunters and explorers. They need stimulation – things to chase, stalk, bat at, and hide in. Without it, they can become withdrawn, destructive, or overly agitated. These behaviors, while understandable given the circumstances, don't exactly make a great first impression on potential adopters walking by.
More Than Just Fun and Games
Providing toys isn't just about keeping a cat entertained for a few minutes. It's about enriching their environment and helping them cope with a stressful situation. A simple wand toy or a crinkle ball can provide a much-needed outlet for their energy and predatory instincts. It allows them to engage with their surroundings in a positive way.
Furthermore, toys can reveal a cat's true personality. A cat batting playfully at a toy is far more likely to catch someone's eye than one huddled fearfully in the back of the cage. These little interactions can be the key to showing off their potential as a loving companion, increasing their chances of finding a permanent home. That's why **Why DIY Cat Toys for Shelters Matter** isn't just a nice idea, it's a practical need.
- Shelter life causes stress and boredom for cats.
- Lack of stimulation leads to negative behaviors.
- Toys provide essential mental and physical enrichment.
- Play helps reveal a cat's personality.
- Engaged cats are often more adoptable.
Getting Started with DIY Cat Toys for Shelters
Getting Started with DIY Cat Toys for Shelters
Contacting Your Local Shelter: First Steps
Before you even think about cutting up that old t-shirt, the absolute first thing you need to do is connect with your local animal shelter. Seriously, pick up the phone or send an email. Ask them if they even accept donated homemade toys. Not all shelters do, and the last thing you want is to spend hours crafting only to find out they can't take them.
If they do accept donations, ask them specifically what they need. Are there certain types of toys they're short on? Are there materials they absolutely cannot accept for safety reasons? Some shelters have specific protocols about what can go into a cat's cage. Getting this info upfront ensures your efforts are actually helpful and don't create more work for the staff.
Gathering Materials and Enlisting Help
the shelter said yes! Now for the fun part: scavenging for supplies. Look around your house. Old t-shirts, fleece scraps, cardboard tubes from paper towels or toilet paper, empty plastic bottles (cleaned thoroughly!), yarn remnants, felt pieces – these are all potential toy components. The beauty of **Getting Started with DIY Cat Toys for Shelters** is that it often uses things you already have.
Don't feel like you have to do this alone. Making toys can be a great group activity. Call up some friends, family, or neighbors. Host a "craft night for cats." Put on some music, lay out the materials, and turn it into a social event with a purpose. More hands mean more toys, and it's a lot more fun than crafting solo on your couch.
- Old t-shirts (cotton or fleece)
- Cardboard tubes
- Felt or fleece scraps
- Yarn (use cautiously, see safety tips)
- Empty, clean plastic bottles
- Empty cereal boxes
- Toilet paper/paper towel rolls
- Scissors
- Non-toxic glue or sewing supplies
Safety First: What to Avoid
While enthusiasm is great, safety is paramount when making **diy cat toys for shelters**. Avoid anything small that a cat could easily chew off and swallow, like buttons, googly eyes, or small plastic pieces. These can be serious choking hazards or cause internal blockages. Think sturdy construction.
Be wary of yarn or string used unsupervised. While great for wand toys, loose strands can be ingested and cause severe intestinal damage. If using yarn in a standalone toy, make sure it's securely woven or braided with no loose ends. Also, steer clear of toxic materials, sharp edges, or anything that could easily unravel into dangerous threads. When in doubt, leave it out.
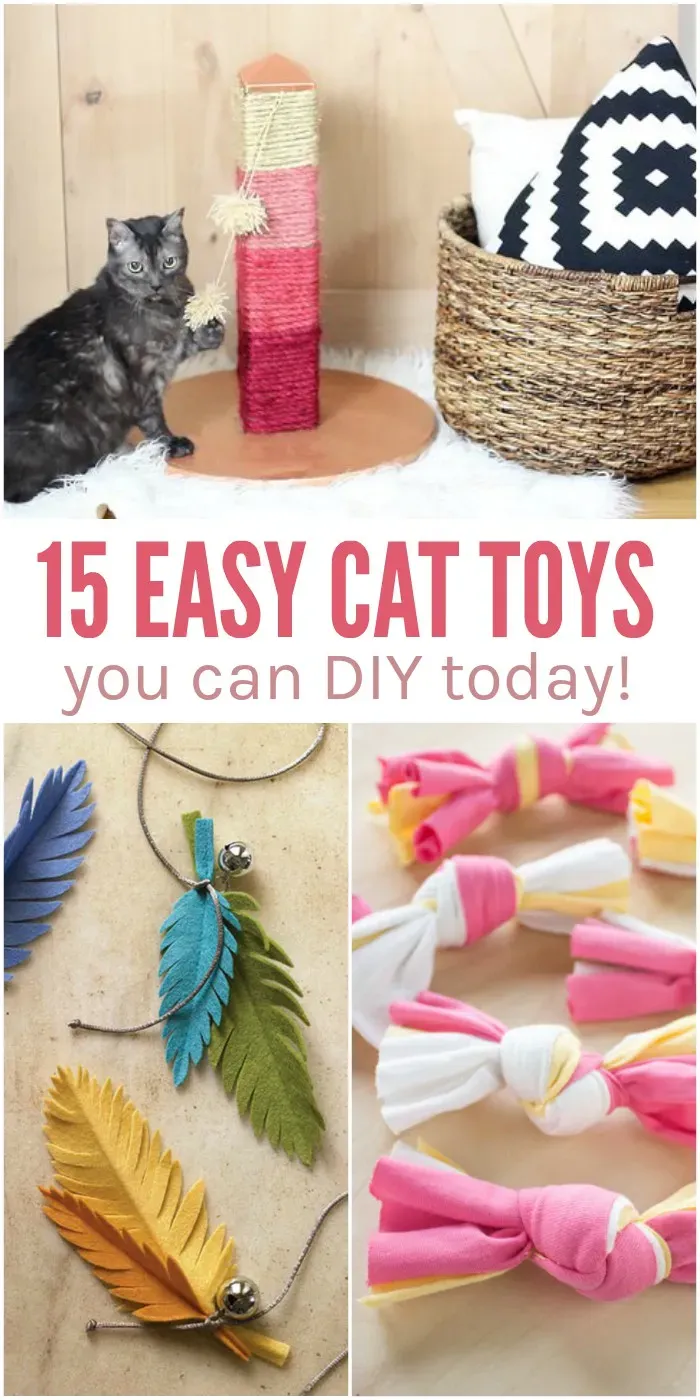
Simple DIY Cat Toys for Shelters Using Household Items
Simple DIY Cat Toys for Shelters Using Household Items
The Mighty T-Shirt Strips
let's start with the absolute easiest. Got an old t-shirt you were planning to use for rags? Perfect. Cotton or cotton blend works best, especially if it's a bit worn and soft. Lay it flat and cut off the bottom hem. Then, slice the shirt horizontally into strips about 1-1.5 inches wide. Don't worry about making them perfectly straight; the cats won't care.
Once you have a pile of loops, gather a few strips together – maybe 3-5 depending on how thick you want the toy. Tie a knot at one end. Now, you can do a simple braid or just tie knots along the length of the strips, about an inch or two apart. Keep knotting until you're near the end, then tie off with a final secure knot. Trim any long, dangly ends that could be a hazard. You've just made a simple, chewable, bat-able toy. It's shockingly effective for something that took less than five minutes and cost you nothing.
Cardboard Tube Wonders
Don't toss those empty toilet paper or paper towel rolls! They are goldmines for making **Simple DIY Cat Toys for Shelters Using Household Items**. The simplest version? Just pinch the ends of the tube flat and fold them over. Instant crinkle tunnel/kicker toy. You can also cut the tube into rings and string them together with sturdy twine (ensure knots are tight and ends are trimmed) to make a different shape.
Want to get slightly fancier? Cut slits partway down the sides of the tube, all around. Then, fold those strips outwards to create a star or flower shape at each end. This makes a fun, rollable toy they can bat around. For an extra touch, you can drop a few dry treats inside before folding the ends – instant puzzle toy! Just make sure the openings aren't so large that all the treats fall out immediately.
Household Items for Easy Cat Toys:
- Old T-shirts or fleece
- Cardboard paper towel/toilet paper rolls
- Empty, clean plastic water bottles
- Wine corks
- Paper bags (handles removed!)
Beyond the Basics: More Creative DIY Cat Toys for Shelters

Beyond the Basics: More Creative DIY Cat Toys for Shelters
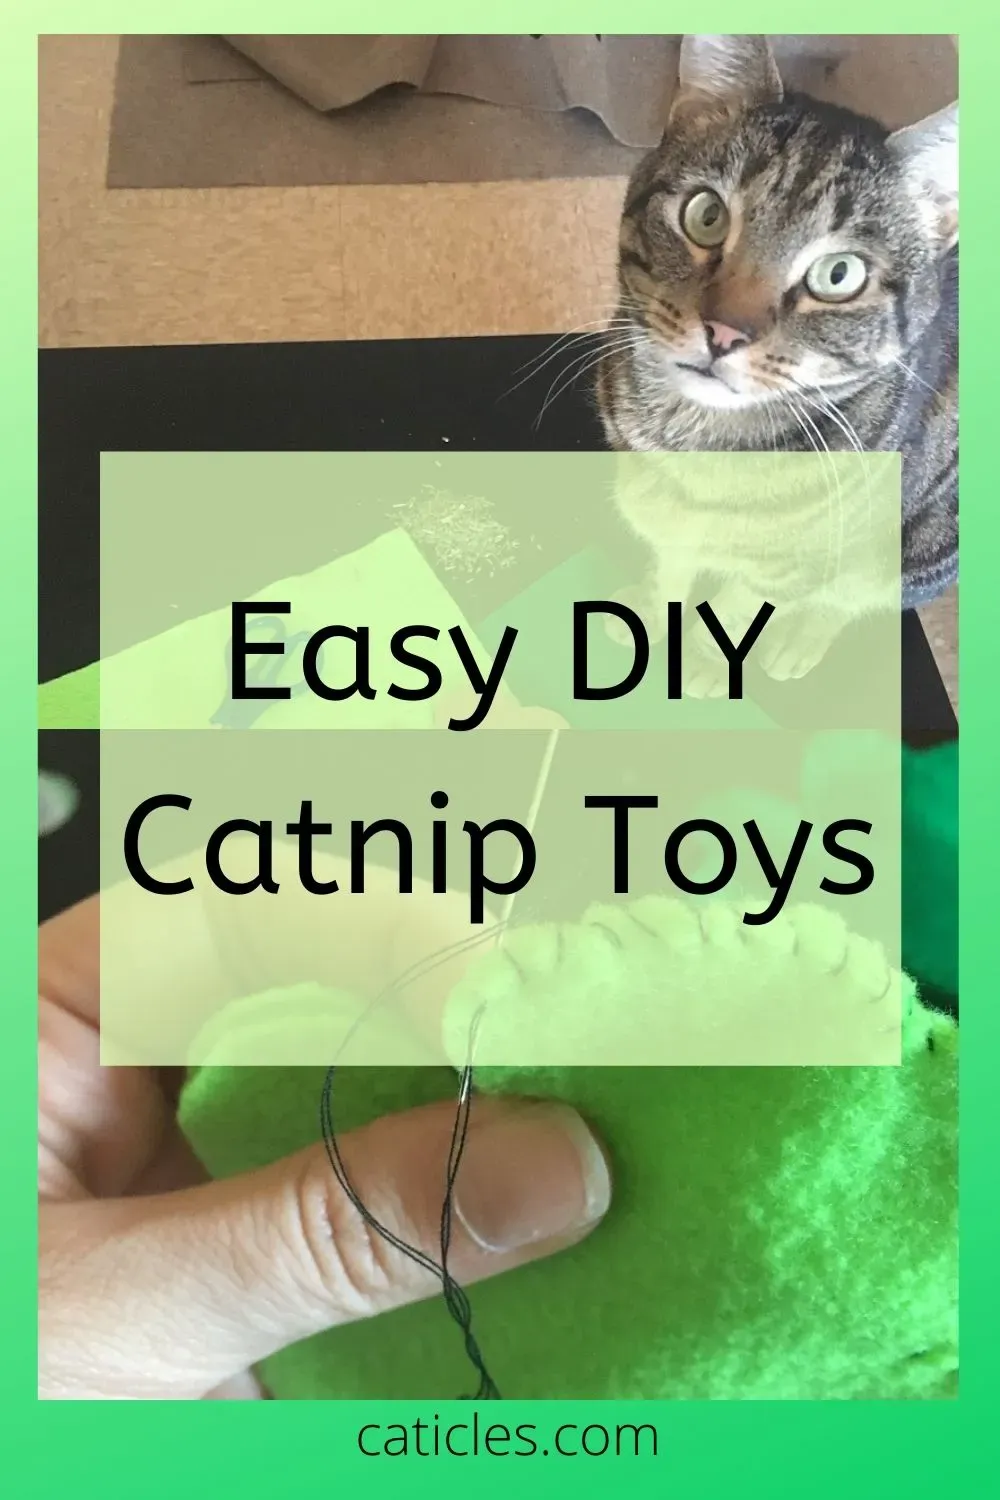
Felt Mice and Stuffed Shapes
so you've mastered the t-shirt strips and cardboard tubes. Ready to level up your **Beyond the Basics: More Creative DIY Cat Toys for Shelters** game? Let's talk about felt or fleece. These fabrics are forgiving, don't fray much when cut, and cats generally love the texture.
You can easily cut out simple mouse shapes, fish shapes, or just squares and circles. Cut two identical pieces for each toy. You can whip stitch or use a simple running stitch around the edges, leaving a small opening. Stuff it with fabric scraps (more old t-shirt bits!), polyester fiberfill, or even some crinkled-up plastic from a clean food bag for extra auditory appeal. Stitch the opening closed securely. Want to add a tail? Braid some yarn or a thin strip of felt and stitch it firmly into the seam before you close it up. Just make sure that tail is *really* attached, like Fort Knox attached.
DIY Puzzle Feeders and Treat Dispensers
Shelter cats don't just need things to chase; they need mental challenges too. Puzzle feeders are fantastic for this, turning mealtime or treat time into an engaging activity. You can make a simple one from a clean plastic bottle. Cut several small holes around the sides, large enough for a few kibble pieces or small treats to fall out when the bottle is batted around, but not so big that everything spills at once. Make sure the bottle cap is screwed on tight or removed entirely if it's a small choking risk.
Another option uses a small cardboard box (like a clean tissue box or small shipping box). Cut several holes in the top or sides. Cats have to work to bat the treats out. You can make it harder by adding some cardboard tubes or crumpled paper inside to create obstacles. It's not rocket science, just making them work a little for their reward. It breaks up the monotony and satisfies some of that natural foraging instinct.
Ideas for More Creative DIY Cat Toys:
- Felt or fleece stuffed shapes (mice, fish, simple squares)
- Cardboard box puzzle feeders
- Plastic bottle treat dispensers
- Wand toys with securely attached fabric or felt streamers
- Crinkle tunnels from large cardboard boxes
- Braided fleece rings or knots
Making Safe and Engaging Wand Toys
Wand toys are great because they encourage interactive play with shelter staff or volunteers, which helps cats build confidence and social skills. You'll need a sturdy stick or dowel (about 12-18 inches long) and something dangly to attach to the end. Avoid thin string or yarn here; opt for strips of fleece, felt, or sturdy cotton fabric. Cut strips about 1 inch wide and 8-12 inches long.
Gather several strips together and tie them *very* securely to one end of the stick. Add extra knots, maybe even a bit of non-toxic glue under the knot for good measure. The key is that nothing should be able to easily detach and become a swallowing hazard when the cat inevitably tries to 'catch' its prey. You can add a few large, securely attached felt shapes to the ends of the streamers if you like. These toys must *only* be used during supervised play sessions and stored away afterward, which is crucial for safety in a shelter setting.
Donating Your DIY Cat Toys to Local Shelters
Donating Your DIY Cat Toys to Local Shelters
Getting Your Creations Ready
Alright, you've crafted a pile of fantastic, cat-safe toys. Now comes the satisfying part: getting them to the shelter. But don't just shove them in a plastic grocery bag and show up unannounced. Shelters are busy places, often running on tight schedules and minimal staff. Take a little time to prepare your donation properly. This makes it easier for the shelter staff to receive and distribute your items.
First, give everything a quick once-over. Check for any loose threads, sharp edges, or potential hazards you might have missed during the crafting frenzy. It’s better you find it now than a cat find it later (the hard way). Bag the toys up neatly. Clear bags or boxes are often preferred so staff can easily see what's inside. Label the bags simply: "DIY Cat Toys - Safe for Shelter Use". This tiny step saves them guesswork and ensures your hard work doesn't end up in the wrong donation pile.
Coordinating the Drop-Off
Remember that initial contact you made with the shelter? Now's the time to follow up. Call or email them to arrange a drop-off time. Ask if they have specific hours for accepting donations or a particular entrance you should use. Showing up during feeding time or a medical emergency isn't going to win you any points, and frankly, it's just inconvenient for them.
When you arrive, be prepared for a quick hand-off. Shelter staff are usually juggling a dozen things at once. They'll likely be grateful, but they probably won't have time for a lengthy chat about your crafting process or how adorable you imagine the cats will look playing with your creations. Be polite, drop off your donation, and thank them for the incredible work they do. That's the smooth way to handle **Donating Your DIY Cat Toys to Local Shelters**.
- Contact shelter to confirm donation acceptance.
- Ask about preferred items and safety guidelines.
- Clean and inspect finished toys carefully.
- Package toys in clear, labeled bags or boxes.
- Schedule a specific drop-off time.
- Be prompt and respectful of staff time during drop-off.
Seeing the Impact (Maybe) and Spreading the Word
Don't expect a parade or a personal thank-you note from every cat. Shelters are often overwhelmed, and while they appreciate *every* donation, individual acknowledgments can be tough. Your reward is knowing you've provided a bit of joy and stimulation to animals who truly need it. Sometimes shelters post photos on social media of cats playing with toys – keep an eye out, you might spot one of yours!
Consider sharing your experience online. Post photos of your crafting process or the pile of toys you're donating. Tag the shelter if they're okay with it. This isn't about bragging; it's about inspiring others. Let people know how easy it is to make **diy cat toys for shelters** and the real difference it makes. Encourage friends, family, or local groups to get involved. Your simple act of crafting might just spark a wave of toy donations in your community.
A Small Toy, A Big Difference
So there you have it. Making **diy cat toys for shelters** isn't rocket science, and you're not solving world hunger, but you are making a concrete, positive impact on a creature stuck in a cage. A simple felt mouse or a cardboard scratcher might seem insignificant, but for a cat facing the stress and monotony of shelter life, it's a piece of normalcy, a chance to play, and maybe, just maybe, the thing that helps them catch the eye of their future family. It's a small effort with potentially life-changing results for a deserving cat.