Table of Contents
Ever wonder what makes your cat go wild? It's often the simplest things, like a crinkly sound or a fuzzy texture. Instead of buying expensive store-bought toys, why not try your hand at making them? This article is all about "diy cat toys sewing," and trust me, it’s easier than you think! We’ll start with some super simple projects that even a sewing newbie can handle. Then, we’ll walk you through making a crinkle toy that cats adore. After that, I'll share some more ideas to keep your kitty entertained. Finally, we’ll chat about how to keep your homemade toys safe and fun. So, grab your fabric scraps, get your sewing machine ready, and let’s make some awesome toys that your cat will absolutely love. This isn’t just about saving money; it's about creating something special for your furry best friend. Ready to get started?
Simple Sewing Projects for DIY Cat Toys

Simple Sewing Projects for DIY Cat Toys
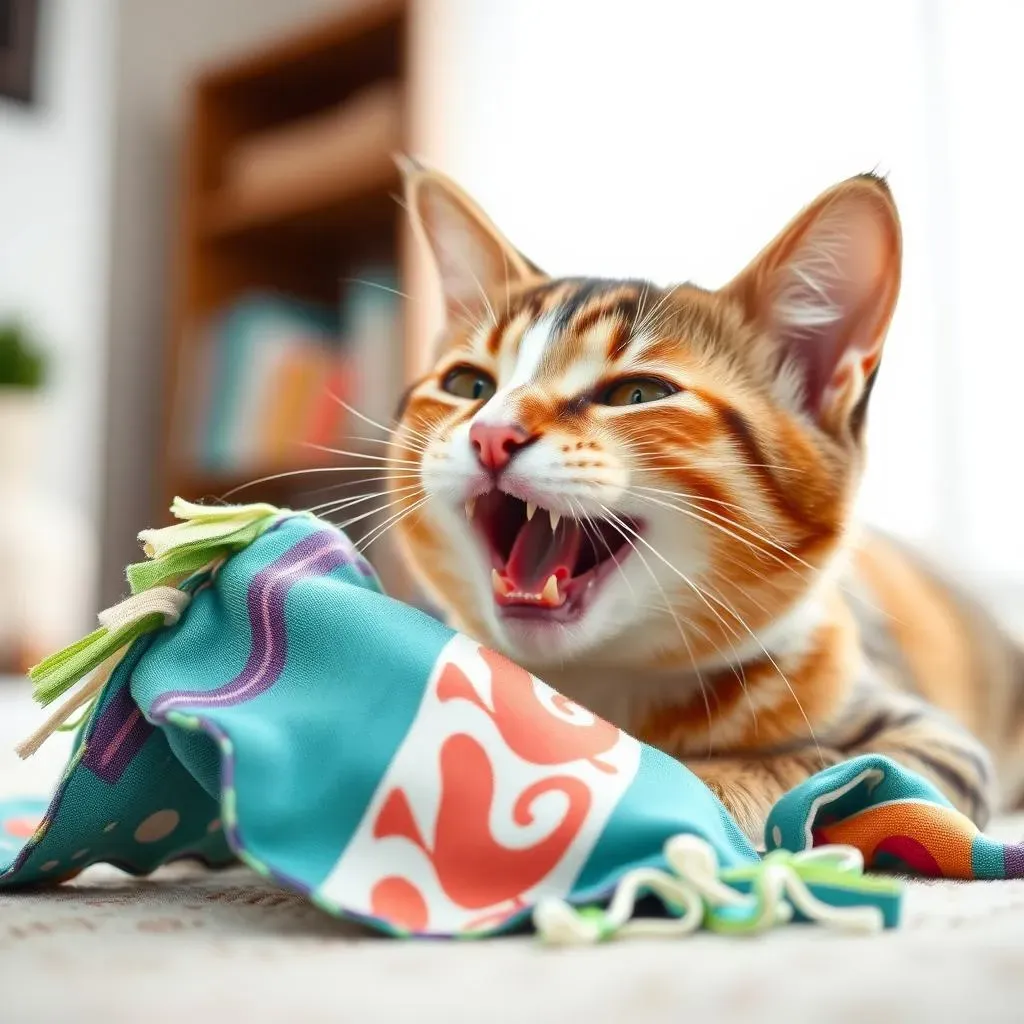
Okay, so you wanna make some cool stuff for your cat, right? Let's start super simple. We're talking projects that don't need you to be a sewing master. Think about those little fabric scraps you have lying around. Perfect! One super easy idea is a simple fabric square. Just cut out a square or rectangle, sew around the edges, and leave a small gap. Stuff it lightly with some batting or even just some crumpled paper for that satisfying crinkle sound, then sew the gap closed. Boom, instant cat toy! Another idea? Fabric strips! Cut some long strips of fabric, tie them together in a knot, and you've got a great dangly toy. Cats love to bat at those.
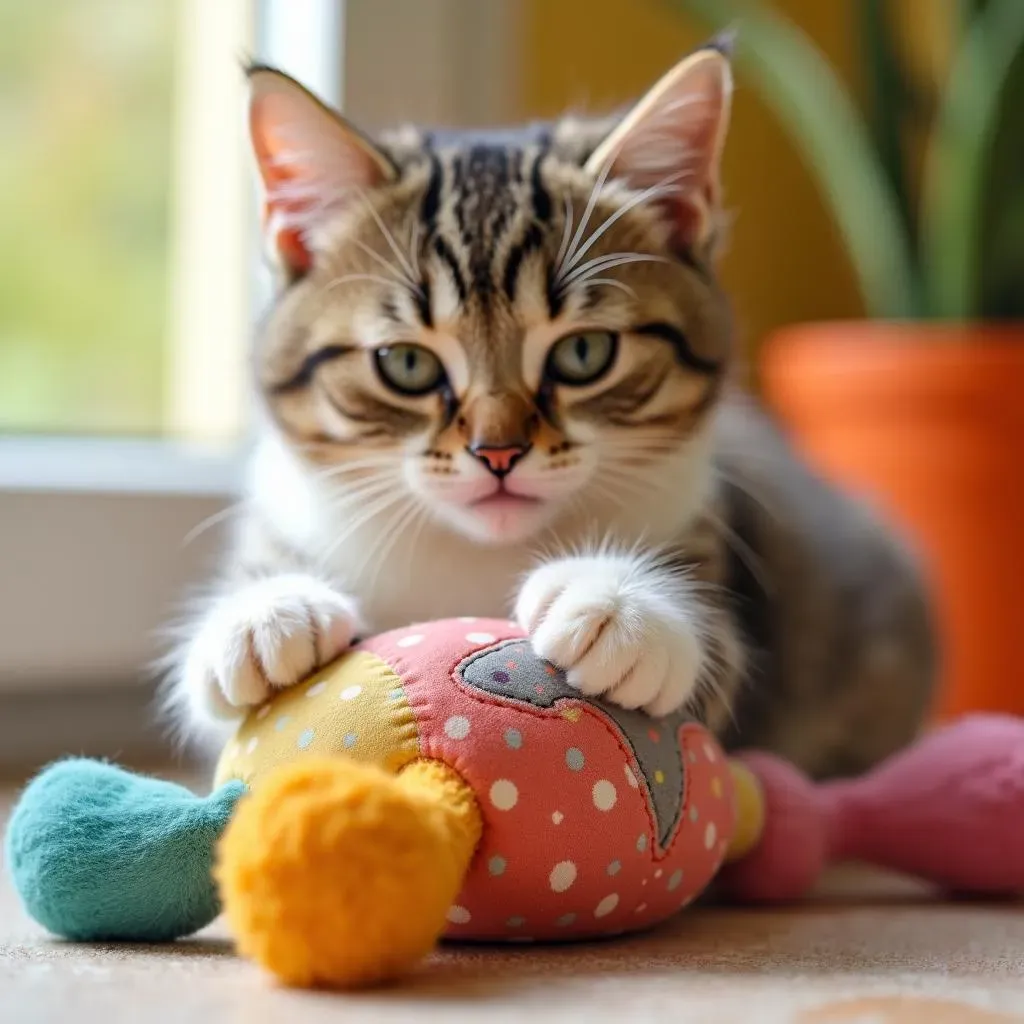
Another really simple project involves using felt. Felt is great because it doesn't fray, so you don't have to worry about finishing the edges. You could cut out simple shapes like circles or squares and sew them together to make a little pouch, add some catnip before you close it completely. Then, you can sew a few of these little felt pouches together to create a fun cluster of toys. It's like a catnip piñata, but without the mess. These are all about using what you have and making something fun and engaging without overcomplicating it. Remember, cats aren’t picky. They just want something they can bat, chase, or chew on, so don't over think it.
Toy Idea | Materials | Difficulty |
|---|---|---|
Fabric Square | Fabric scraps, stuffing | Very Easy |
Fabric Strips | Fabric scraps | Very Easy |
Felt Pouch | Felt, catnip | Easy |
StepbyStep Guide to Sewing a Crinkle Cat Toy

StepbyStep Guide to Sewing a Crinkle Cat Toy
Gathering Your Supplies
Alright, let's get down to business and make a crinkle toy that'll drive your cat bonkers in the best way. First things first, you need to gather your gear. You'll want some fabric, and cotton works great because it's durable and easy to sew. You don't need a lot, just enough for a small toy, maybe two squares about 5 inches each. Then, you'll need some crinkle material. A clean chip bag or candy wrapper works perfectly; just make sure it's clean and dry. If you are feeling fancy, you can buy crinkle material. Grab your scissors, thread, a sewing machine (or a needle if you’re doing it by hand), and some pins. Oh, and don't forget the catnip if you want to add a little extra something for your feline friend.
Once you have everything ready, you are ready to start the project. Lay out your fabric and grab your scissors. Cut two identical shapes from your fabric. You can do a square, a circle, a rectangle, or even a fish shape if you’re feeling ambitious. Remember, cats are not judging your artistic skills. After you cut your shapes, set them aside and get your crinkle material ready. If you're using a chip bag, make sure to cut it into a smaller size that fits inside your fabric shape. Now, let's move to the sewing machine!
Sewing It All Together
Now for the fun part, sewing! Place your two fabric pieces right sides together, making sure the edges line up nicely. Pin them together to keep them from shifting while you sew. Using a straight stitch, sew around the edges, leaving a small opening, about 2 inches, so you can turn the toy right side out. It’s important to backstitch at the beginning and end to secure the seam. Once you've sewn around the edges, trim the corners to reduce bulk, then carefully turn the toy inside out through the opening. Poke out the corners with a pencil or a chopstick so the toy has nice, crisp edges.
Next, insert the crinkle material into the toy. Make sure it’s spread out so it makes a nice sound when your cat plays with it. If you're adding catnip, sprinkle some in now too. Now, fold in the edges of the opening and pin them together. You can hand sew the opening shut with a blind stitch or run it through the sewing machine using a topstitch close to the edge. And there you have it, a crinkle toy that is ready for your cat to enjoy! I’m sure your cat will appreciate your hard work.
Step | Description |
|---|---|
1 | Gather materials: fabric, crinkle, sewing supplies |
2 | Cut two identical fabric shapes. |
3 | Sew fabric pieces right sides together, leaving an opening. |
4 | Turn the toy right side out. |
5 | Insert crinkle material and catnip (optional). |
6 | Close the opening. |
More DIY Cat Toy Sewing Ideas

More DIY Cat Toy Sewing Ideas
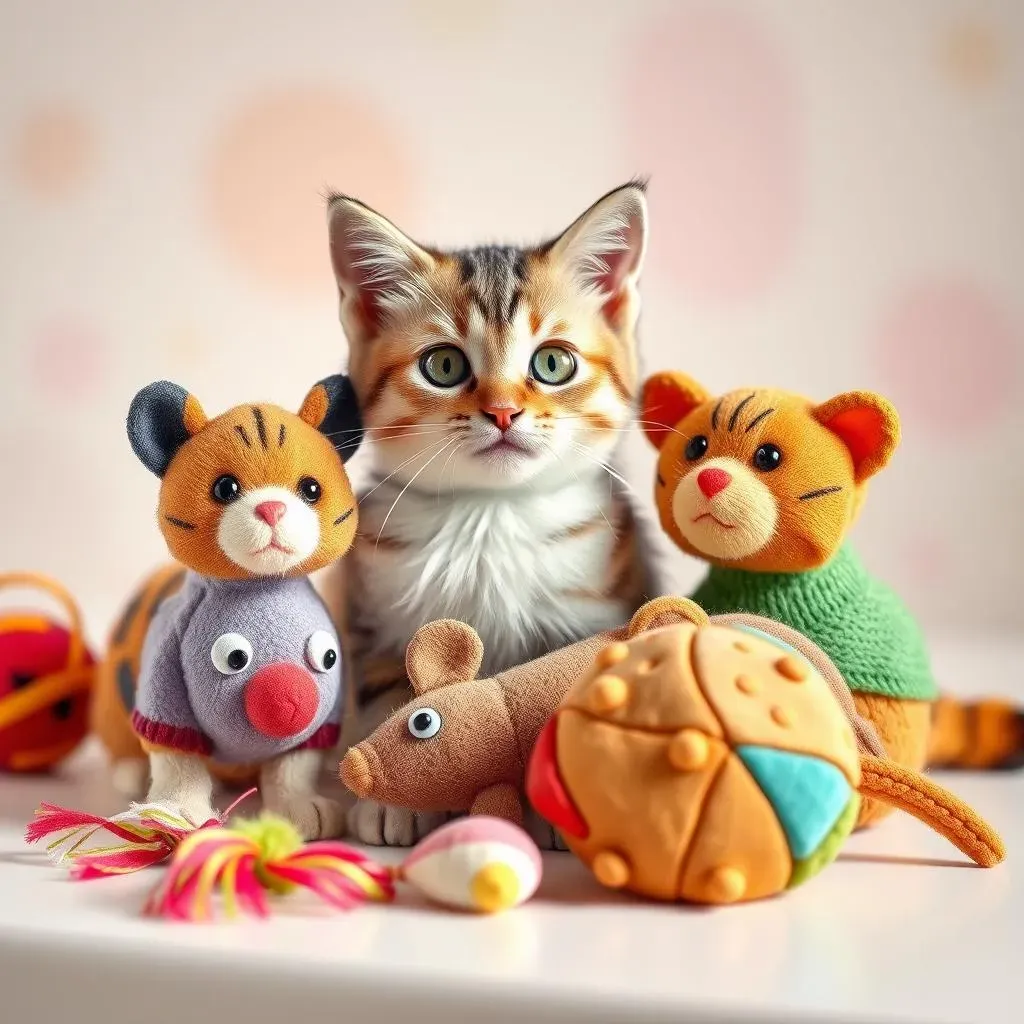
Alright, let's kick it up a notch! You've nailed the basics, so now it’s time to explore some other awesome “diy cat toy sewing” ideas. How about a catnip kicker toy? Those are always a hit! It’s basically a long, thin pillow that cats can grab with their front paws and kick with their back legs. You just sew a long tube of fabric, stuff it with a good amount of catnip and some batting, and sew the ends closed. Super simple and cats go crazy for them. Or, what about a little mouse toy? Cut out two mouse shapes from felt or fabric, sew them together, stuff it, add some string for a tail and voila. Your cat will love to chase it around.
If you are feeling a little more advanced, you can also try making a puzzle toy. Sew a few small fabric pouches together and leave openings in some of them. Hide treats inside the closed pouches, and let your cat figure out how to get to them. It’s like a little treasure hunt for your furry friend. You can also make a dangly toy with different textures attached to it. Use fabric scraps, ribbons, and even some crinkly material to make it fun and engaging. Remember, the key is to use a variety of textures and shapes to keep your cat interested. Let your imagination run wild and see what you can create! It’s so much fun to see how much they love the toys you’ve made for them.
Toy Type | Description | Difficulty |
|---|---|---|
Catnip Kicker | Long, stuffed pillow for kicking | Easy |
Mouse Toy | Small, stuffed mouse shape | Easy |
Puzzle Toy | Fabric pouches with hidden treats | Medium |
Textured Dangly Toy | Variety of fabrics and textures | Medium |
Tips for Safe and Fun DIY Cat Toys Sewing

Tips for Safe and Fun DIY Cat Toys Sewing
Okay, so you're making all these awesome toys, but let's talk safety first, because we want our furry friends to have fun without any problems. First off, always make sure to use sturdy fabric. You don't want your cat tearing into it and swallowing pieces. Cotton is a good choice, but avoid anything that can easily unravel or has small parts that can come off. When you're sewing, make sure to use a strong stitch and double backstitch to secure your seams. You don't want your hard work falling apart after just a few minutes of playtime. Always check your toys regularly for any loose threads or parts and fix them or toss them out right away.
Also, be careful with what you stuff your toys with. Avoid using anything that could be toxic or harmful if swallowed. Crinkle material is great, but make sure it's clean, and the pieces are big enough that they won't be a choking hazard. Catnip is awesome, but don't overdo it. A little goes a long way. And always, always, supervise your cat when they're playing with a new toy, especially one you just made. It's the best way to make sure they're safe and having a blast. Plus, you get to see them enjoy your creations, which is the best part!
Safety Tip | Why It's Important |
|---|---|
Use sturdy fabric | Prevents tearing and swallowing small pieces |
Secure seams | Keeps the toy from falling apart |
Check toys regularly | Fix any loose threads or parts |
Safe stuffing materials | Avoids toxic or harmful substances |
Supervise playtime | Ensures safe and fun play |
Wrapping Up Your DIY Cat Toy Sewing Adventure
So, there you have it! Making your own cat toys is not only a blast, but it's also a great way to show your cat some love. From simple fabric squares to crinkly fish, the possibilities are endless. Remember, safety is key, so always supervise playtime and check toys for wear and tear. I hope this article inspired you to get creative with your sewing machine and fabric scraps. Don’t be afraid to experiment with different shapes, textures, and fillings. Your cat will appreciate the effort, and you’ll get the satisfaction of knowing you made something special just for them. Happy sewing, and even happier playing!