Table of Contents
Ever watched your cat go bonkers for a simple piece of crumpled paper? It's that irresistible crinkly sound that drives them wild. Instead of letting them tear up your important documents, why not make a custom "diy crinkle cat toy"? It's easier than you think, and it's a fantastic way to bond with your furry friend. This article isn't about complicated crafts; it's about simple steps to create a toy that will provide endless entertainment. We'll start with gathering the basic materials, then walk you through the assembly process. We'll also touch on crucial safety tips to ensure your cat's playtime is safe and fun. Plus, we’ll sprinkle in some creative ideas to make your toy extra special. Get ready to unleash your inner crafter and make a "diy crinkle cat toy" that will be your cat's new favorite thing.
Materials for Your DIY Crinkle Cat Toy
Materials for Your DIY Crinkle Cat Toy
The Crinkle Factor
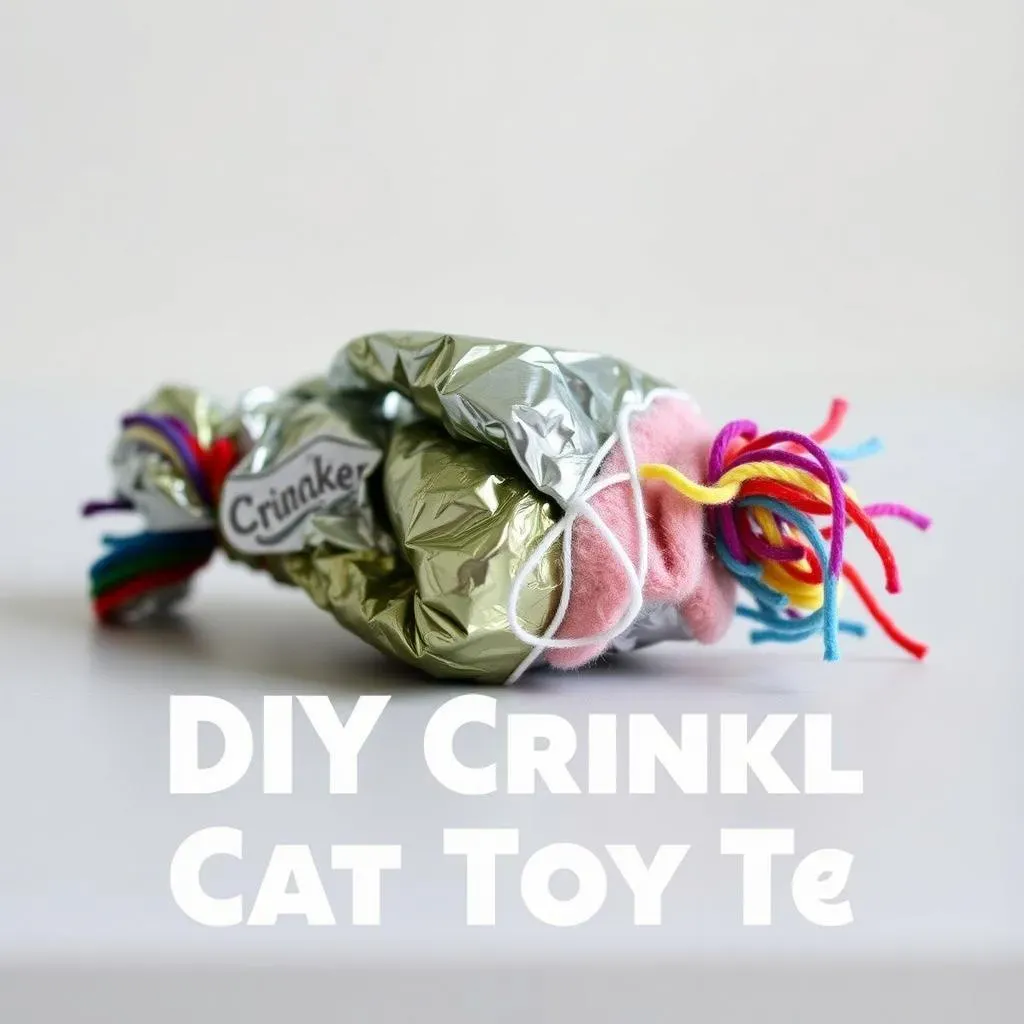
First, let's talk about the magic ingredient: the crinkle! You're not going to believe how simple this is. Forget buying fancy crinkle fabric. We're going for the stuff that's already hanging around your house. Think about those shiny, metallized plastic wrappers from chocolate bars or chip bags; they're perfect! The crinklier, the better. The sound is like catnip for most felines. You know, that irresistible rustle and crunch that makes their ears perk up and their eyes go wide? Yeah, that's what we're after. We want a symphony of crinkles in our DIY creation.
Also, consider those silver sunshades for your car windshield. You know, the ones that look like giant foil? They are a great alternative. They're super easy to cut and fold, making them a great option for this project. Just make sure to grab the ones that you are not using and not the ones that are still in use. If you are using the car sunshade, cut them into smaller pieces before you start. Small pieces are easier to work with.
The Soft Stuff and Securing Tools
Now that we've got the crinkle sorted, we need something soft to contain it. Yarn is a classic choice – any kind will do, really. I've used leftover bits from knitting projects, and it works great. You could also use strips of old fleece fabric or even felt. The idea is to make something soft and cuddly on the outside, so your cat will want to bat it around. Don't overthink this part; just use what you have.
Lastly, you will need a bit of dental floss to tie it all together. Yes, you heard me right, dental floss! It's strong, thin, and perfect for cinching up our toy. If you're worried about the floss, you can use hemp string or even a very strong thread, but I've found floss to be the most reliable for this project. You'll also need a pair of scissors to cut the foil and yarn. And that's it! No need for fancy tools or expensive materials. This is all about using what you have on hand.
Material | Purpose | Alternatives |
|---|---|---|
Metallized plastic wrappers | To create the crinkly sound | Car windshield sunshades |
Yarn or fabric strips | To create the soft outer layer | Fleece scraps, felt pieces |
Dental floss or string | To tie the toy together | Hemp string, strong thread |
Scissors | To cut materials | Utility knife (with caution) |
StepbyStep Guide to Making Your Crinkle Cat Toy
StepbyStep Guide to Making Your Crinkle Cat Toy
Prepare the Crinkle Filling
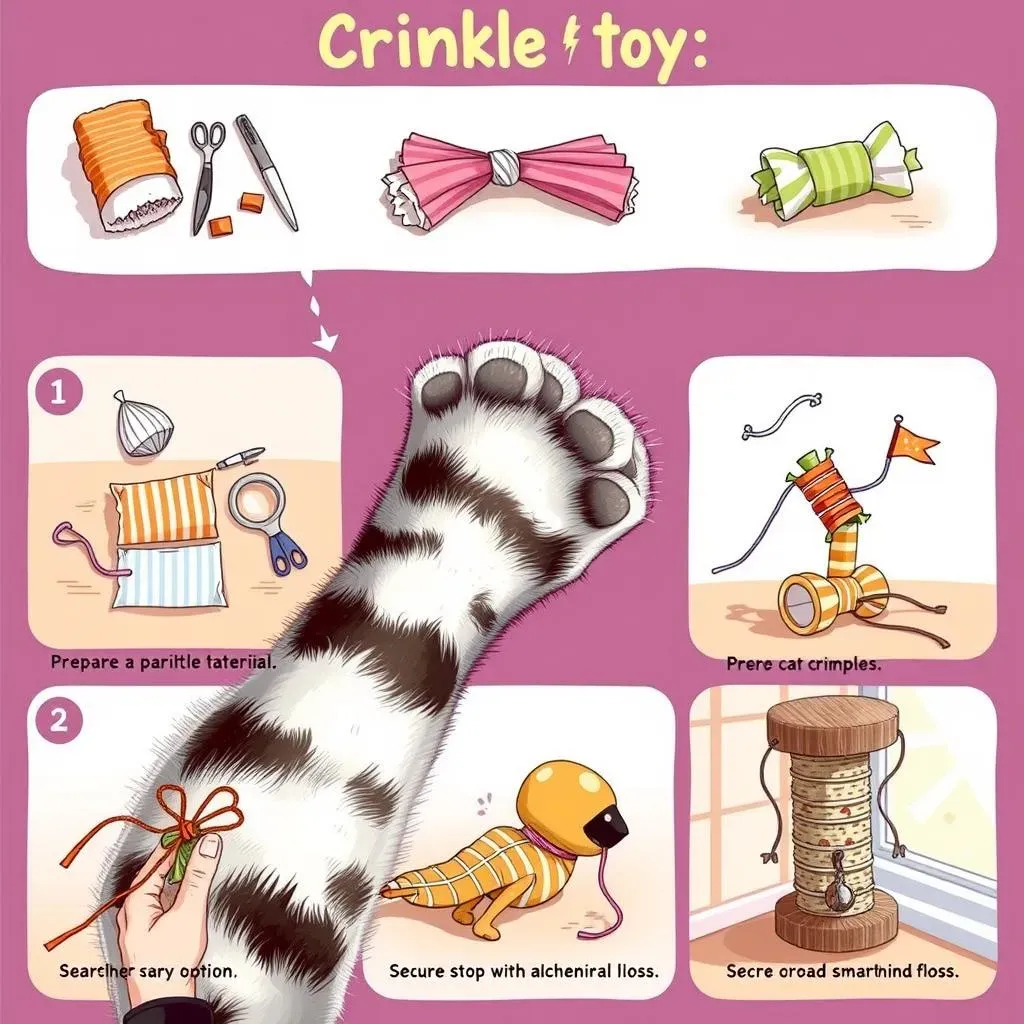
Alright, let's get this show on the road! First, grab your chosen crinkle material. If you're using wrappers, flatten them out a bit. If you're using a car sunshade, cut it into smaller, manageable squares or rectangles, about 2-3 inches each. You don’t want huge chunks; smaller pieces make a better crinkle and are easier to wrap. Now, take a handful of these pieces and scrunch them up into a loose ball. Don’t make it too tight; you want air pockets in there for maximum crinkly effect. Think of it like making a tiny, noisy snowball.
This is the heart of your toy, so make sure it’s got that satisfying crunch. If you’re using a few different types of wrappers, mix them up for a variety of sounds and textures. It's like a little surprise for your cat with every bat and bite. Remember, the more crinkle, the better!
Wrapping it Up
Now for the soft part! Take your yarn, fleece, or whatever soft material you're using. Start wrapping it around the crinkled ball you just made. Don't be shy; use a generous amount to create a nice, squishy outer layer. You want it to be soft enough for your cat to enjoy, but also secure enough to keep the crinkle bits inside. Think of it like building a nest around your noisy core. As you wrap, tuck the ends of your soft material into the layers to keep them from unraveling.
If you're using yarn, you can wrap it in different directions to make it more secure and create an interesting texture. If you're using fabric strips, you can tie them around the ball in a knot. The goal is to fully enclose the crinkle filling in a soft, inviting package. Keep wrapping until you're happy with the size and feel. It should be something your cat can easily grab and carry around.
Step | Action | Tips |
|---|---|---|
1 | Prepare the crinkle material | Flatten wrappers, cut sunshades into small pieces |
2 | Scrunch the crinkle pieces into a loose ball | Don't pack it too tight; leave air pockets for crinkles |
3 | Wrap the crinkle ball with soft material | Use a generous amount, tuck ends in |
Securing the Toy
Once you’ve got your crinkle ball all wrapped up, it’s time to secure it. Take a length of dental floss (about 12 inches should do it) and carefully tie it tightly around the middle of the wrapped ball. You want to cinch it in, like tying a tiny sack. Make sure the knot is very tight and secure; you don’t want it coming undone during playtime. Tie a couple of knots for extra security. If you're using string or thread, make sure it’s strong enough to withstand some serious cat play.
After tying it, trim the excess floss or string, making sure to leave no sharp bits that could hurt your cat. Give your new toy a good squeeze and tug to make sure everything feels secure. And there you have it, your very own "diy crinkle cat toy"! It’s ready for some serious feline fun. Now, just watch your cat go wild for the crinkly goodness you've just created.
Safety Tips and Creative Ideas for Your DIY Crinkle Cat Toy
Safety Tips and Creative Ideas for Your DIY Crinkle Cat Toy
Keeping Playtime Safe
Okay, so we've made this awesome crinkle toy, but safety first, right? The biggest thing to watch out for is that dental floss. It's great for securing the toy, but it's a no-no if your cat decides to chew and swallow it. So, after you've tied everything up, make sure you've trimmed the ends really short. And keep an eye on the toy. If you see any loose strings or bits of floss, trim them off right away. You can even use a dab of pet-safe glue on the knot to make super sure it won’t unravel. And if you're still worried, hemp string is a good alternative, as it's generally safer if accidentally ingested. Another thing to keep an eye on is the crinkle material itself. If you notice the wrappers or sunshade pieces starting to break down, it's time to make a new toy. We don't want any sharp edges or small pieces that could be swallowed.
Also, think about the size of the toy. It should be big enough that your cat can't swallow it whole. A good rule of thumb is to make it bigger than their mouth. If you have a tiny kitten, then a smaller toy will do. It's all about using common sense and keeping an eye on your furry friend. Remember to avoid any materials that might be toxic or contain small parts that could come off easily. We want playtime to be fun, but also safe and worry-free. This is especially important if you have a kitten, they are more likely to eat a lot of things that they shouldn't. Always supervise your cat when they are playing with any toy, especially a new one.
Safety Concern | Solution | Alternative |
|---|---|---|
Loose dental floss | Trim ends short, use pet-safe glue on the knot | Hemp string or strong thread |
Degrading crinkle material | Replace the toy when worn | Use durable, non-toxic materials |
Small toy size | Make toy larger than cat's mouth | Supervise play, especially with kittens |
Creative Twists
Now that we've covered safety, let's talk about making these toys extra fun! You can totally jazz up your "diy crinkle cat toy" with some creative additions. First off, catnip. A little sprinkle of catnip inside the toy or even on the outside can send your cat into a frenzy of happy play. You can buy catnip in dried form or even use a catnip spray. If you don’t want to put it inside, you can spray the outside and let it dry a little before giving it to your cat. Another idea is to add a little bell inside the toy along with the crinkle material. That little jingle along with the crinkle will make the toy even more irresistible. Just make sure that the bell is securely inside so your cat doesn't swallow it. You can also experiment with different textures on the outside. Use a mix of soft fabrics, like fleece and felt, or even add some ribbons for your cat to grab.
Another cool idea is to make a variety of toys with different crinkle sounds. Use different types of wrappers to create different noises. Some cats prefer a loud crinkle, while others like a softer sound. It's all about figuring out what your cat loves. You can also make the toys different shapes and sizes. Some cats like to carry small toys, while others like to wrestle with bigger ones. You can also add some feathers to the outside for some extra fun. The possibilities are endless. Let your imagination run wild and create some super cool toys for your feline friend. The best part about this is that you can create a toy that is unique and personalized for your cat.
Creative Idea | Description | Benefits |
|---|---|---|
Add catnip | Sprinkle dried catnip inside or spray on outside | Increases playfulness and engagement |
Include a bell | Add a small bell inside the toy | Provides extra auditory stimulation |
Mix textures | Use different fabrics, ribbons, or feathers | Adds variety and interest |
Vary crinkle sounds | Use different types of wrappers | Caters to different cat preferences |
Wrapping Up Your DIY Crinkle Cat Toy Adventure
So, there you have it – a simple yet satisfying project that will bring joy to your feline friend. Making a DIY crinkle cat toy isn't just about saving money, it's about creating something special with your own hands. From gathering the crinkly bits to watching your cat pounce with delight, it's a rewarding experience. Remember, the key is to keep it safe and fun. Now go forth, experiment with different materials, and let your creativity shine. Your cat will thank you, probably by batting it under the sofa.