Table of Contents
Ever wished you could conjure up a cute, cuddly companion with your own two hands? Well, grab your hooks and yarn because we're diving into the delightful world of the diy crochet cat! This isn't just about crafting; it's about bringing a little handmade happiness into your life. Whether you’re a crochet newbie or a seasoned stitcher, this guide will walk you through creating your very own purrfect pal. We'll start by gathering the essentials, then move onto a simple, step-by-step pattern that even a beginner can master. I will share some sneaky tips and tricks to make your crochet cat look extra special. Plus, I'll show you how you can add your own personal touch. Get ready to unleash your creativity and create a unique, huggable friend. So, are you ready to embark on this fun crafting adventure and make your own diy crochet cat? Let's get started!
Materials and Tools for Your DIY Crochet Cat

Materials and Tools for Your DIY Crochet Cat
Yarn: The Cozy Core
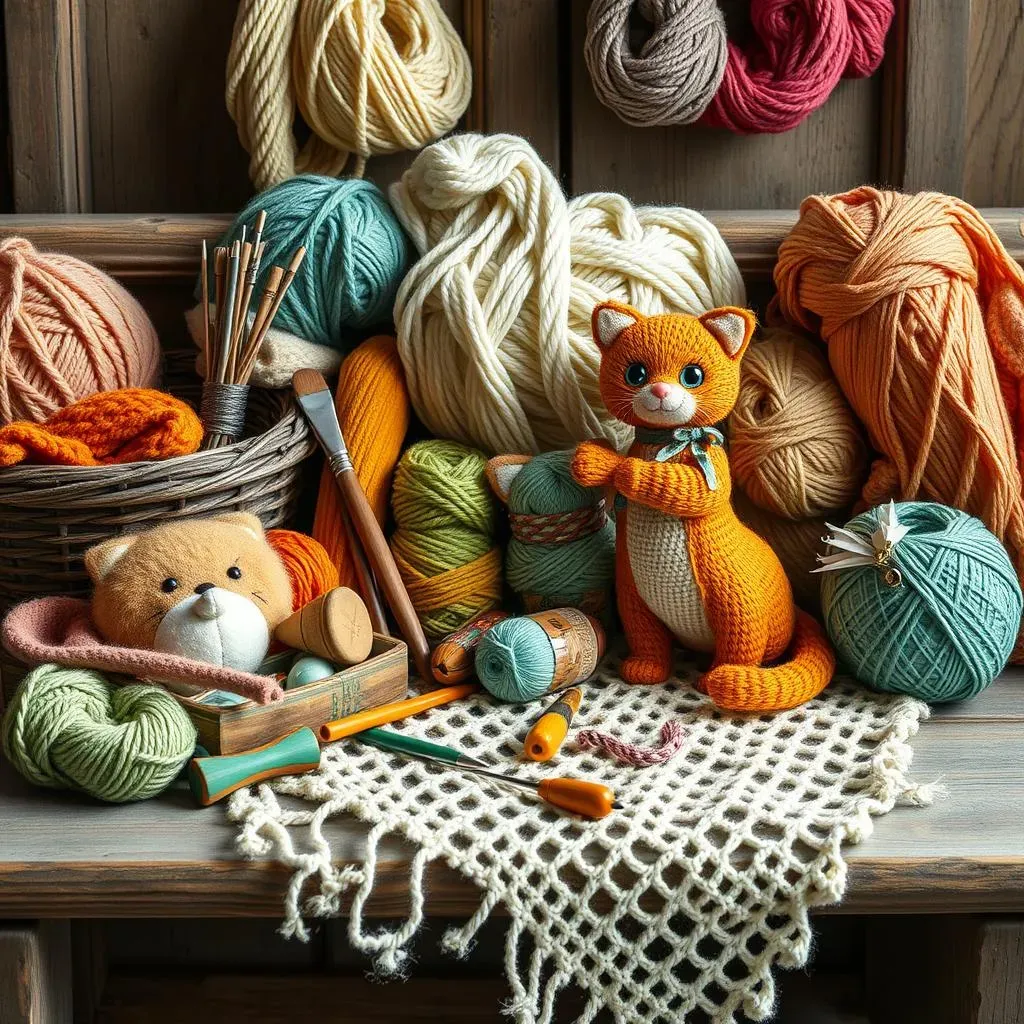
Alright, let's talk yarn, the heart of any crochet project! For your diy crochet cat, you'll want something soft and cuddly. I usually reach for DK weight yarn because it's not too thick and not too thin, it's just right – like Goldilocks would say. Chenille yarn is a fantastic choice, it makes your little kitty extra plush and huggable. But, if you're feeling adventurous, go ahead and experiment with different textures. Just make sure the yarn is easy to work with for you. After all, this is supposed to be fun, not a wrestling match with your yarn!
Hooked on Hooks and More
Now, for the hook! A 3mm crochet hook is my go-to for this project. It creates nice, tight stitches, which is crucial to stop the stuffing from peeking out. Think of it like building a tiny, yarny fortress. You'll also need a pair of scissors, because let's face it, yarn can sometimes have a mind of its own. And, of course, a yarn needle for weaving in those pesky ends – trust me, you don't want those bits sticking out and ruining your masterpiece. Finally, some stuffing. Polyester fiberfill is perfect for making your cat nice and squishy, like a real cat but without the claws!
Here's a quick list of what you'll need:
- DK weight yarn
- 3mm crochet hook
- Scissors
- Yarn needle
- Polyester fiberfill stuffing
Extra Bits and Bobs
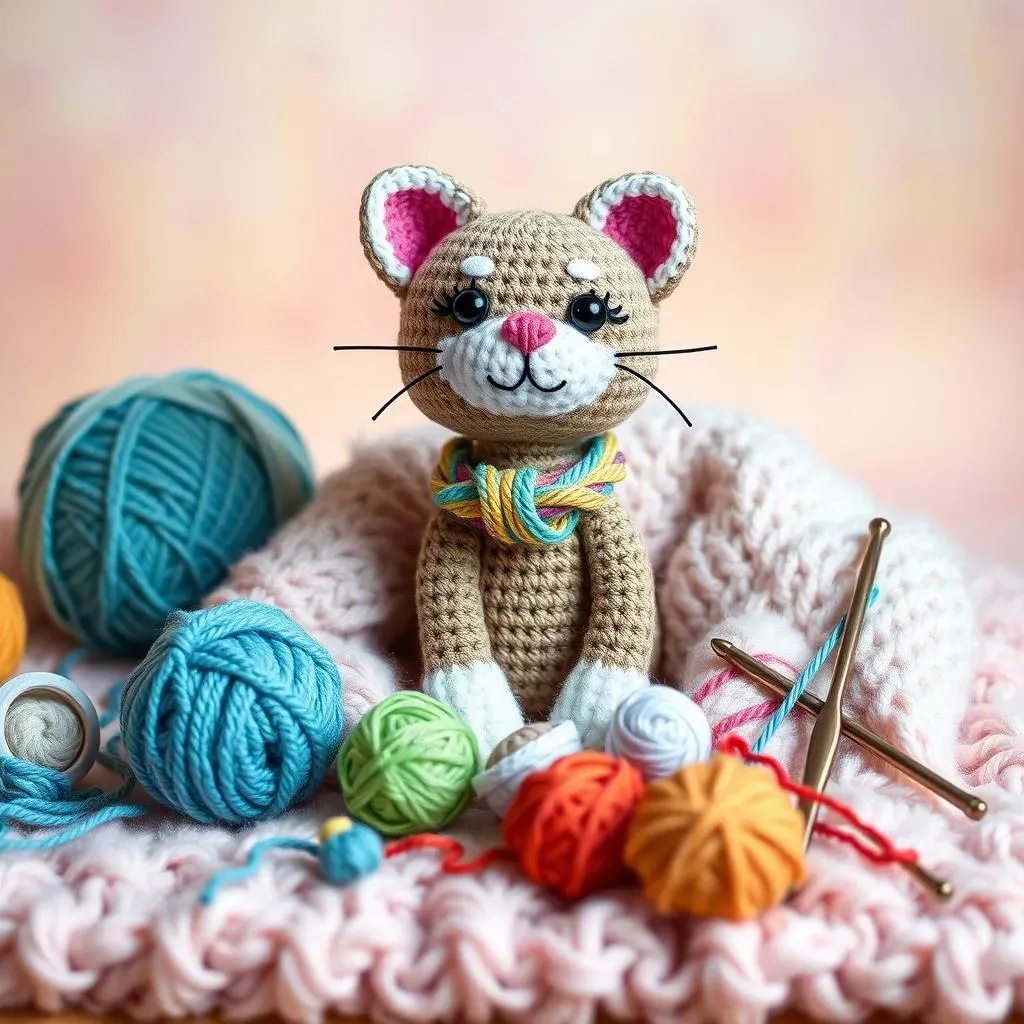
While the basics are vital, there are a few extras that can make your diy crochet cat even better. Stitch markers are like little helpers, they mark the start of rounds or specific stitches, which will be a life saver. If you're feeling fancy, grab some safety eyes or embroidery floss to make your cat unique. Some people like to add a bell to the collar for a fun touch, it's totally up to you! Remember, this is your creation, so don't be afraid to play around and make it your own. You can even crochet a tiny hat for your cat, if you are feeling particularly creative.
StepbyStep Guide to Crochet Your Own Cat

StepbyStep Guide to Crochet Your Own Cat
Starting with the Magic Ring
Okay, so you've got your yarn and hook ready, fantastic! Now, let's start this diy crochet cat adventure with the magic ring, it’s a game-changer. It's not as scary as it sounds, I promise. Think of it as the foundation of your little kitty. Basically, you make a loop of yarn, and then crochet your first round of stitches into that loop. This method ensures that there isn't a hole in the middle of your work. If you're new to this, don't worry, there are tons of videos online that can show you how to make a magic ring. Once you've got that down, you're ready to start building the body of your cat.
After your magic ring, you'll be working in rounds, increasing stitches to create the main body. It's like building a little ball, but with yarn. Don’t worry about making it perfectly round, a slight oval shape works great for a cat. Remember to keep your tension consistent, this means pulling your yarn the same way every time, this will make your stitches even. I always tell my friends, "Consistency is key!" when they're starting out. If you keep going with this, you will have a nice little ball, that will be the body of the cat.
Building Up the Body
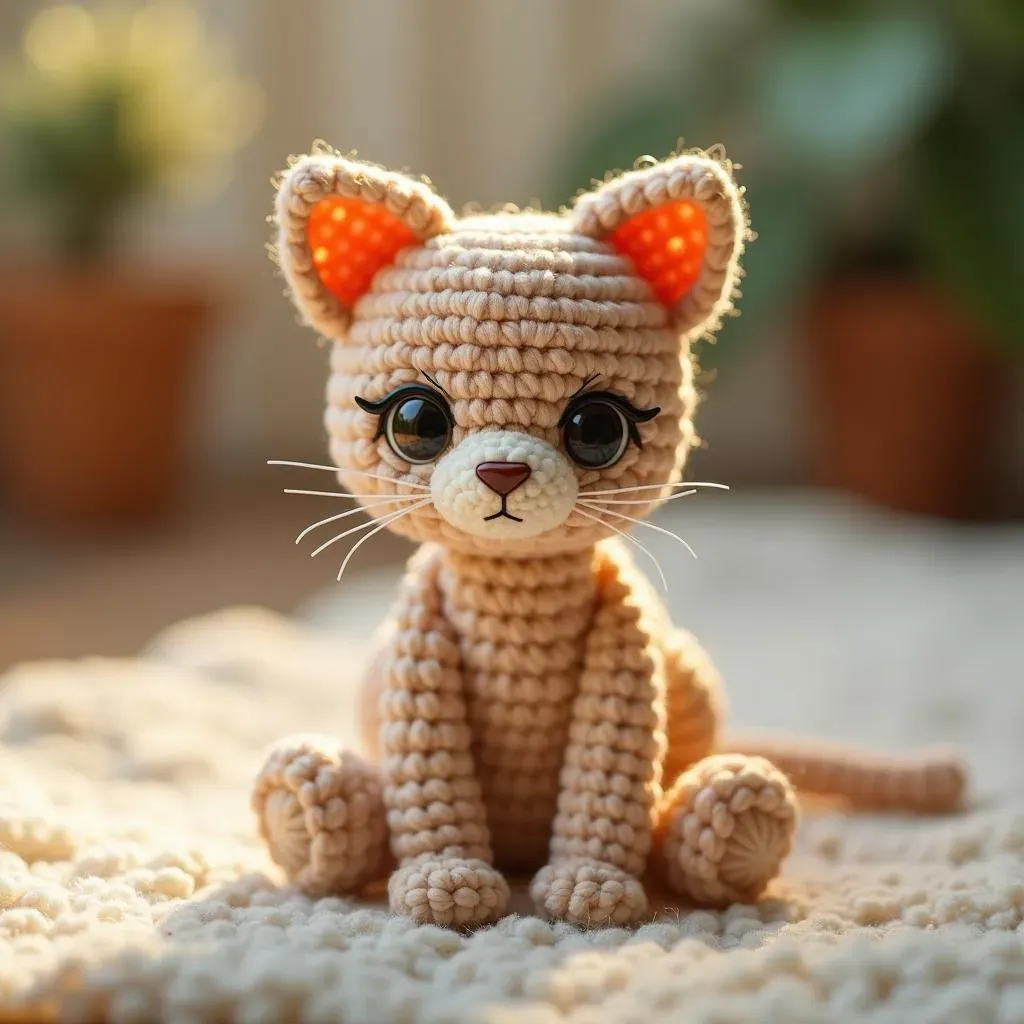
Now that you have the basic body, let’s add the ears and feet. You'll be crocheting these directly onto the body as you go, this is why it is a no-sew project! For the ears, it's just a matter of making a few small triangles, and for the feet, just small little rounds at the bottom. You can make them as big or as small as you want, depending on your preference. Feel free to play around with the shapes too, a bit of asymmetry can add character to your diy crochet cat. Remember, there's no right or wrong way to do this, it's all about having fun. Once you have the ears and feet done it is time to start with the stuffing, do not over stuff, you still need to crochet the body closed.
Once you have the body, ears, and feet crocheted, we move onto the tail. This part is pretty straightforward. You'll make a small chain and then work a few stitches into it to create a little tail. Attach it to the back of the cat, and you're almost done. After that, it is time to weave in any remaining ends, this will make your work neater. Finally, if you chose to use them, add the safety eyes or embroider them on. And just like that, your very own diy crochet cat is complete! How cool is that?
Step | Action |
|---|---|
1 | Create a magic ring |
2 | Crochet the body, increasing stitches in rounds |
3 | Add ears and feet directly onto the body |
4 | Stuff the cat |
5 | Crochet the tail and attach it |
6 | Weave in the ends and add eyes |
Tips and Tricks for a Perfect DIY Crochet Cat

Tips and Tricks for a Perfect DIY Crochet Cat
Tension: The Key to Neat Stitches
Okay, let's chat about tension, a real game-changer when you are making a diy crochet cat. This is all about how tightly or loosely you hold your yarn. If your tension is too tight, your cat might end up looking like a stiff little rock. If it's too loose, you'll have holes big enough for the stuffing to escape. The goal is to find that sweet spot where your stitches are even and consistent. I like to think of it as Goldilocks and the three bears, you want it to be just right! Practice makes perfect, so don't get discouraged if it takes a few tries to find what works for you.
Try to keep your hand relaxed as you crochet, this helps with a more even tension. It's like trying to write with a tense hand, it just doesn't work well. If you're noticing that your stitches are looking a bit wonky, try adjusting your grip on the yarn and the hook. Some people find it helpful to keep the yarn flowing smoothly from the ball, instead of pulling it directly. It’s all about finding that rhythm that feels natural. Once you find your perfect tension, your crochet cat will look much more professional.
Stuffing Savvy
Now, let's talk stuffing, it's more than just shoving fiberfill into a yarn creation. When you are making your diy crochet cat, you want to aim for a firm but squishy feel. Too much stuffing and your cat will be rock hard, too little and it'll be floppy. Think of it like a perfect pillow, you want it to have some give, but still hold its shape. I usually stuff in small amounts at a time, this helps me distribute it evenly. You can use your fingers or the end of your crochet hook to push the stuffing into all the corners and curves.
Be especially careful when you are stuffing the ears and feet, these areas can get lumpy easily. If you're finding that your stuffing is showing through the stitches, it might be a sign that you need to go down a hook size or crochet with tighter tension. Remember, you can always add more stuffing, but it is very tricky to take it out. So take your time and check as you go. With a bit of practice, you'll be a pro at stuffing!
Tip | Description |
|---|---|
Tension Control | Keep a consistent, relaxed grip on your yarn. |
Stuffing | Add small amounts of stuffing evenly. |
Stitch Markers | Use markers to keep track of rounds. |
Adding Personality
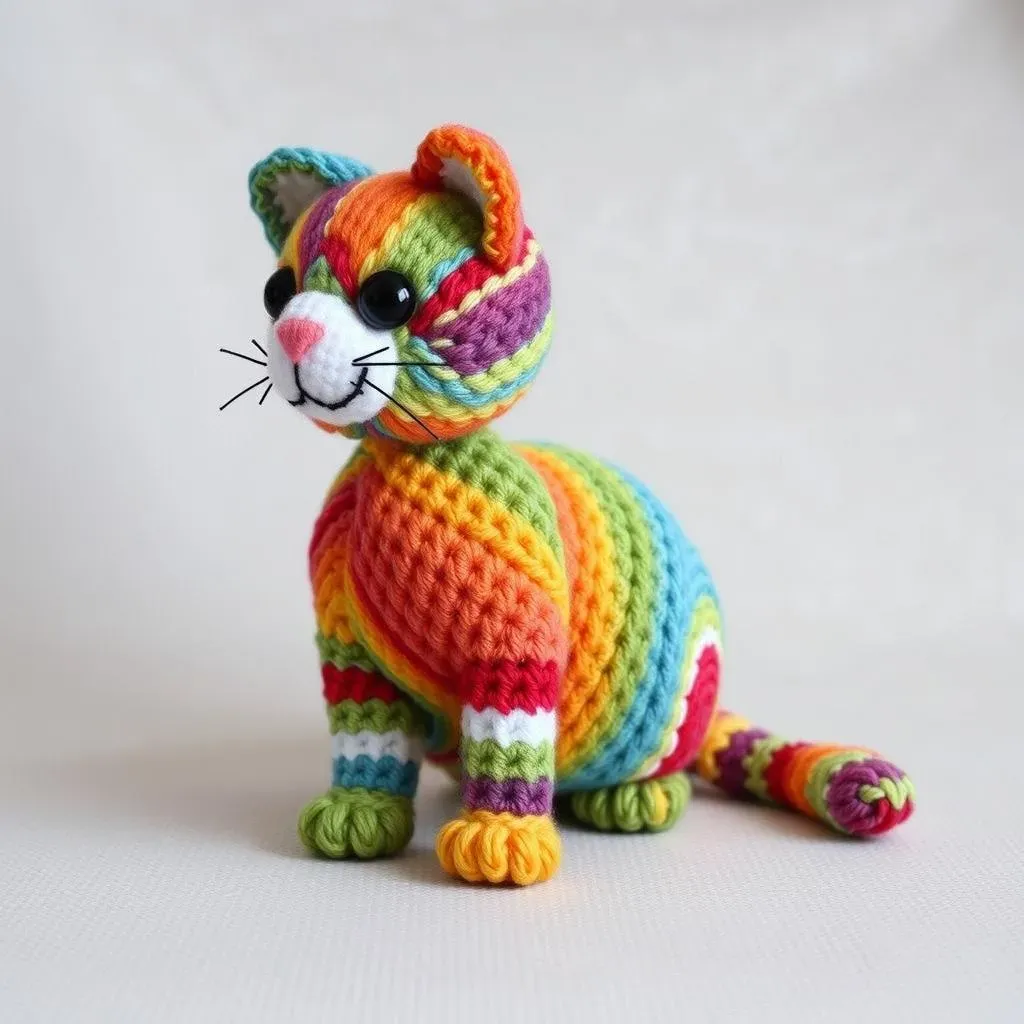
Finally, let's talk about adding a bit of personality to your diy crochet cat. This is where the fun really begins! You can use different colors of yarn to create stripes or patterns. You can add a little embroidered nose and mouth, or use safety eyes for a more polished look. Some people even like to add a tiny collar with a bell. The possibilities are endless! Don't be afraid to experiment and let your creativity shine. Remember, this is your creation, so make it as unique as you are.
If you're feeling extra creative, you could even crochet some little accessories for your cat, like a hat or a scarf. You can also play around with different stitch patterns to give your cat a unique texture. The best part about a handmade project is that no two are ever exactly the same. So embrace the little imperfections and enjoy the process of bringing your little kitty to life. And when you are done, do not be afraid to show off your creation, it is something that you have made yourself!
Showcase Your DIY Crochet Cat Creations

Showcase Your DIY Crochet Cat Creations
Alright, you’ve poured your heart into crafting your adorable diy crochet cat, now it's time to show it off to the world! Seriously, don't hide your little kitty away in a drawer. There are so many fun ways to share your creation and inspire others. I always find that seeing other people's makes helps me get ideas for my next project. It's like a big, cozy crochet community where everyone's showing off their unique takes on the same pattern. Think of it as your little yarny masterpiece finally getting its moment in the spotlight.
Social media is a fantastic place to start. Instagram, Pinterest, and even Facebook groups dedicated to crochet are just bursting with inspiration, and they are perfect for sharing your work. Take some cute photos of your diy crochet cat, maybe with a fun backdrop or posed in a funny way. Use relevant hashtags like #crochetcat, #diycrochet, #amigurumi, #handmade, and #yarncraft, it will help people find your work. Don't be shy about it, people love seeing handmade creations. Plus, you might just inspire someone else to pick up a hook and start their own crochet journey. It's a win-win! And if you are feeling extra fancy, why not make an entire family of crochet cats?
Platform | How to Share |
|---|---|
Post photos with relevant hashtags. | |
Create a board showcasing your makes. | |
Facebook Groups | Join crochet groups and share your projects. |
Beyond social media, consider gifting your diy crochet cat to a friend or family member, or maybe even donating it to a local charity. Handmade gifts are so special because they come from the heart. You could even sell your crochet cats at local craft fairs or markets, if you are feeling ambitious. You never know, you might just find a new passion for crafting and selling your work. The important thing is to celebrate your creativity and share your passion with the world. And remember, every stitch you make is a little piece of art.
So, go on, grab your camera, and let your diy crochet cat shine! Don't forget to tag me, I would love to see your little creations. Remember, sharing your makes is not just about showing off, it's about inspiring others and connecting with a community of fellow crafters. Happy crocheting!