Table of Contents
Ever watch your cat bat around a boring old toy and think, "I could make something way better?" Well, you're in luck! This article is all about creating your very own **diy felt mouse cat toy**. We're not talking about those flimsy, store-bought things that fall apart in minutes. This is a durable, catnip-infused masterpiece that your feline friend will adore. This guide will walk you through everything, from gathering your materials to putting the final touches on your handcrafted toy. We'll start by looking at the supplies you'll need, move onto a step-by-step guide for the actual construction, then we'll give you some tips to make your mouse extra special. Finally, we'll talk about how you can share your creations and make sure your cat stays safe while playing. Get ready to unleash your inner crafter, and let's make a toy that'll have your cat purring with delight!
Gathering Your Supplies for a DIY Felt Mouse Cat Toy
Gathering Your Supplies for a DIY Felt Mouse Cat Toy
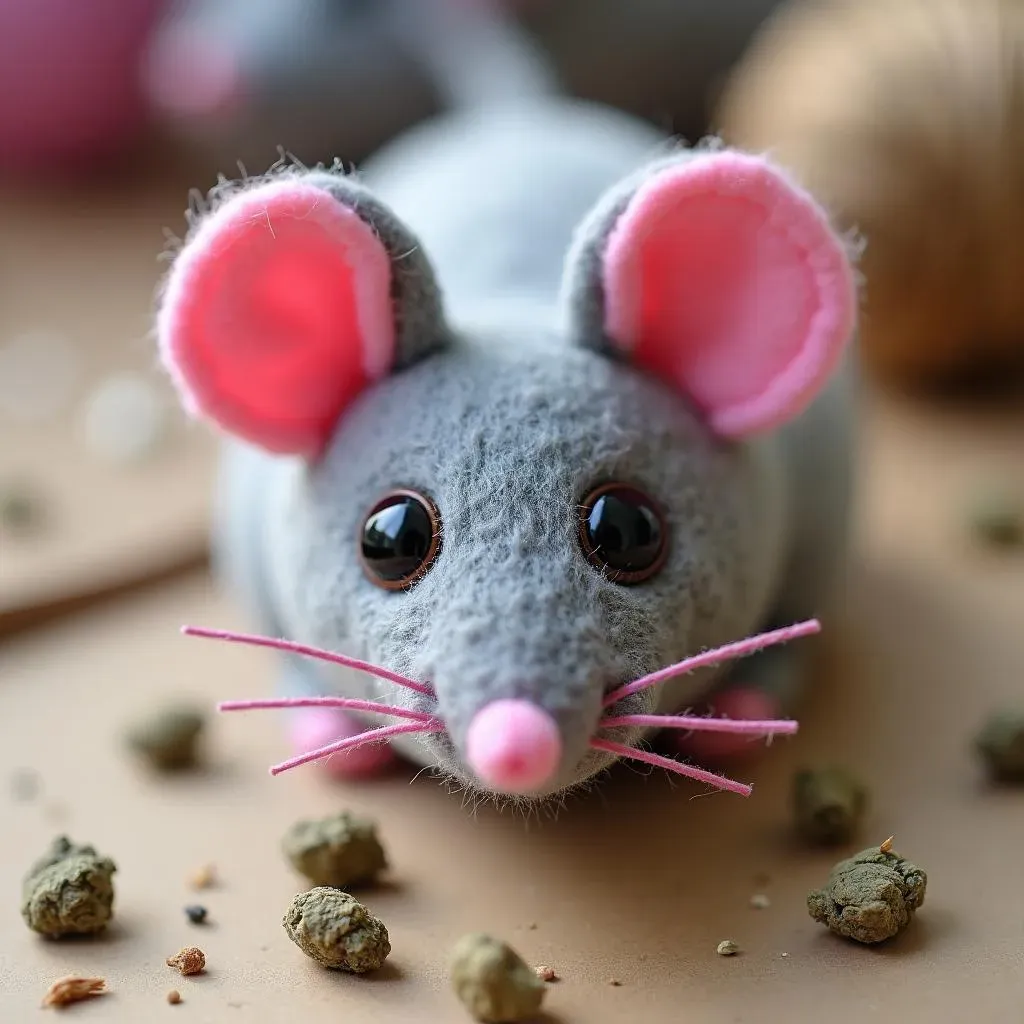
Okay, so you're ready to make a super cool **diy felt mouse cat toy**? Awesome! Before we get started, let's make sure we have all our bits and bobs ready. First up, you'll need some felt. I like to use wool felt because it's a bit sturdier and feels nice, but the craft store stuff works just fine too. Grab a few different colors if you're feeling fancy, maybe a grey for the mouse body and a pink for the ears. Then, you’ll need some embroidery thread. Any color will do, but I tend to match it to the felt for a clean look. Don't forget the most important part: catnip! Get the good stuff, the kind that makes your cat go wild. You'll also need some stuffing, like the kind you'd use for pillows, and a bit of twine or yarn for the tail. It's all fairly basic stuff, nothing too complicated, I promise.
StepbyStep Guide: Crafting Your DIY Felt Mouse Toy
StepbyStep Guide: Crafting Your DIY Felt Mouse Toy
Cutting the Felt
Your Mouse's Blueprint
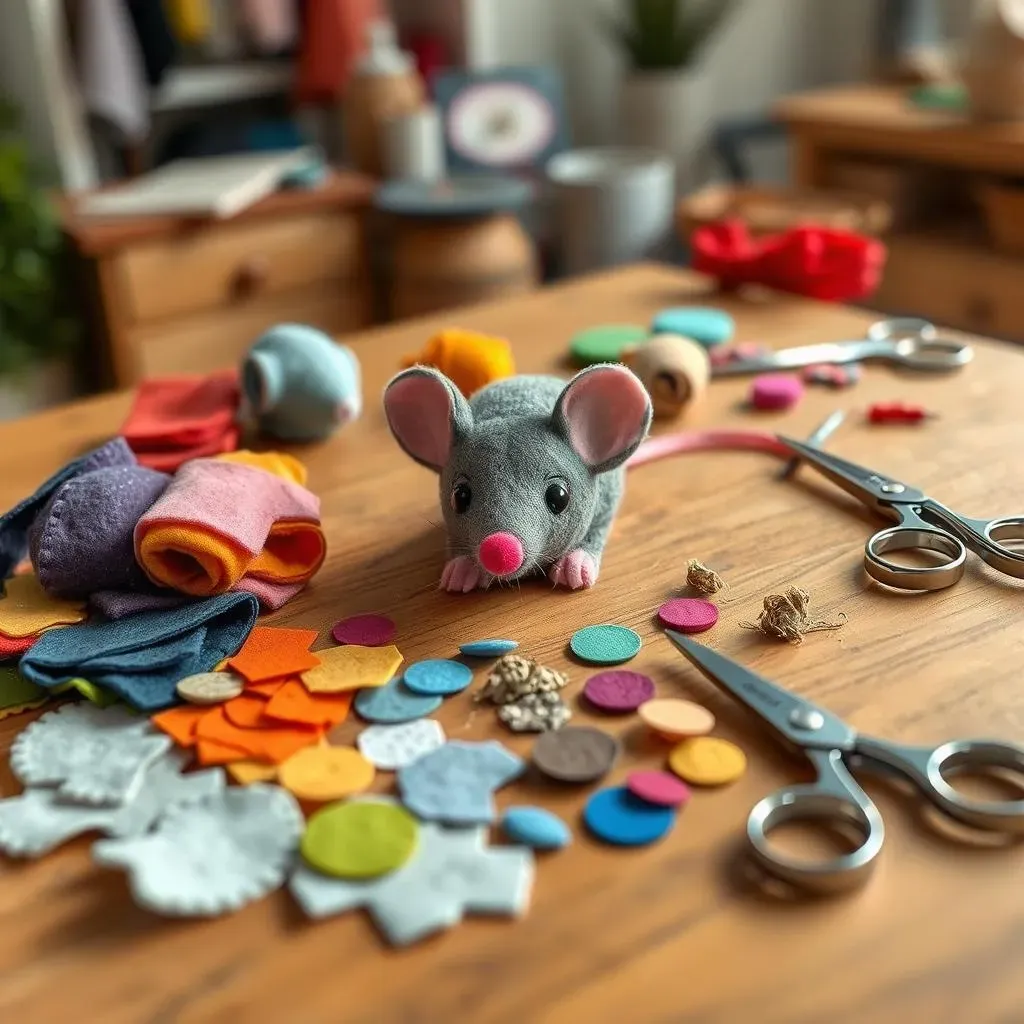
Alright, let's get to the fun part! First things first, you'll need a pattern. You can find some free ones online, or just sketch out a simple mouse shape on a piece of paper. Think of a teardrop for the body and two small circles for the ears. Once you have your pattern, cut out the pieces. Pin the paper pattern to your felt and carefully cut around them. I like to use sharp detail scissors for this, makes it easier to get those clean lines. Cut two body pieces and four ear pieces—two for each ear. Remember, precision is key here; the better the cut, the better the mouse will look in the end.
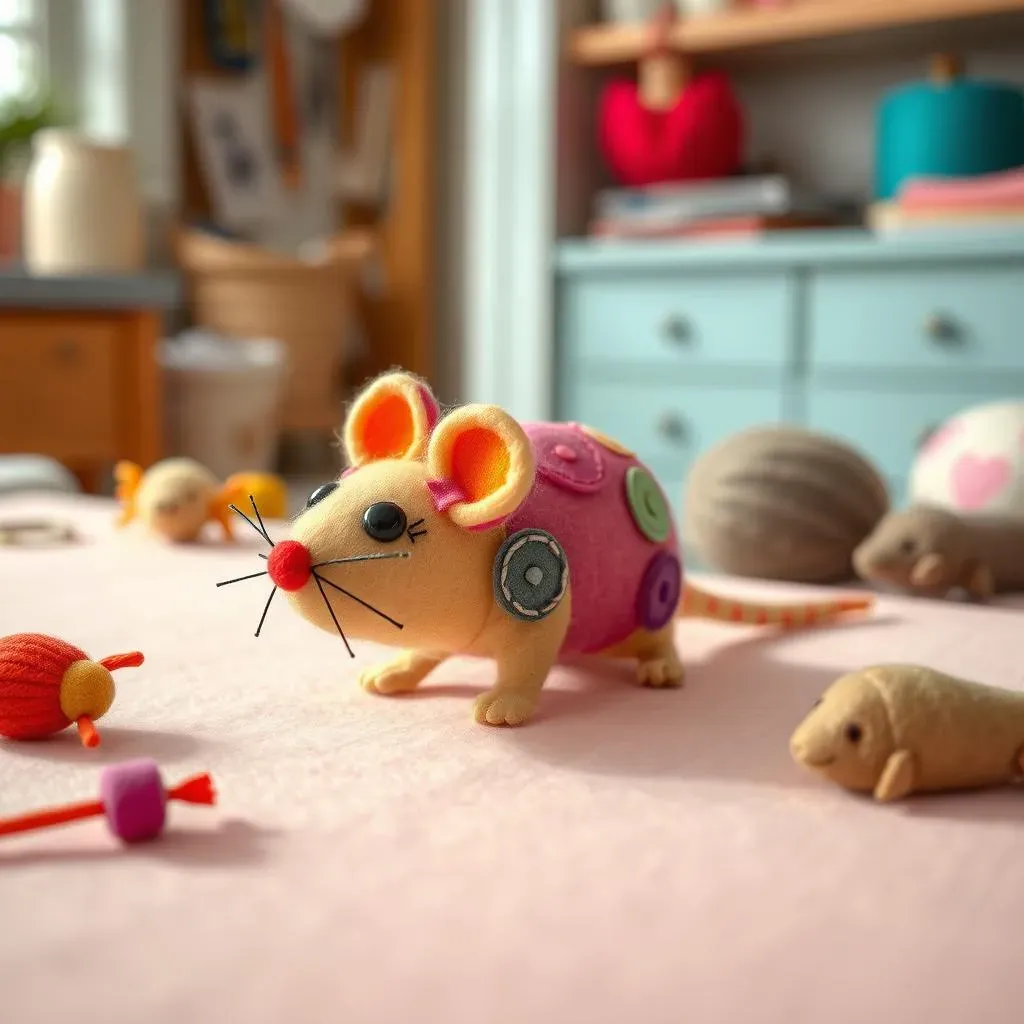
Now, don't sweat it if it's not perfect. This is a handmade toy, not a factory product. Little imperfections just add character. Think of it as your mouse having its own unique "personality." You can use different colors to make different mice! I made one with purple and green ears, it looked like a little alien mouse. It was pretty cute, and my cat still loved it.
Sewing and Stuffing
Bringing the Mouse to Life
Okay, so you've got all your felt pieces cut out. Now it's time for some sewing. Take your two body pieces and start stitching them together, leaving a small gap for stuffing. You can use a simple running stitch or a blanket stitch if you're feeling fancy. I like to keep my stitches small and close together, just to make sure the stuffing doesn't burst out during playtime. Once the body is sewn up, flip it inside out. This makes the stitches less visible and gives the mouse a nice, finished look. Now, it's time to stuff it! Start with a little bit of stuffing and then add in a good pinch of catnip. You want to make sure that catnip is mixed in with the stuffing, so it doesn't all clump in one spot.
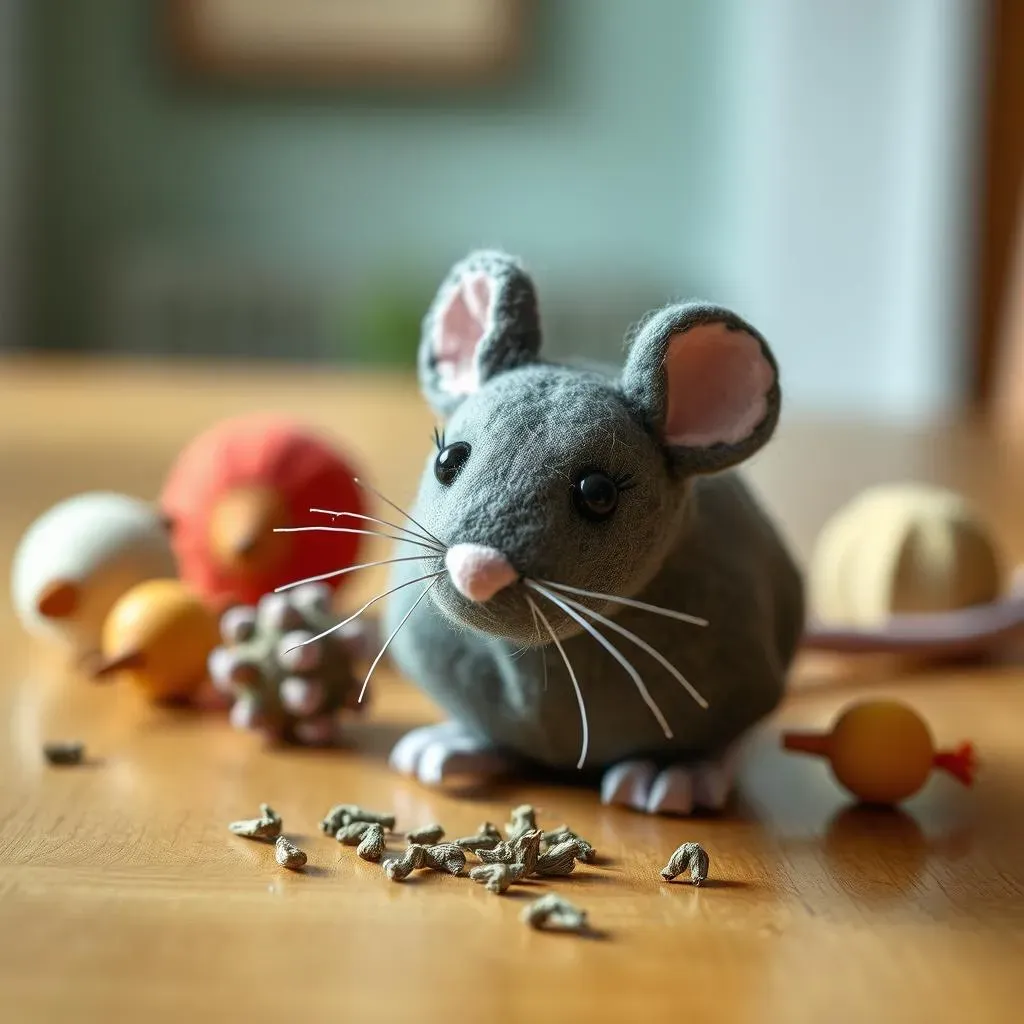
Once your mouse is nice and plump, sew up that final opening. Next, sew the ear pieces together, two by two, and then attach them to the top of the mouse's head. For the tail, tie a knot at one end of your twine and then sew it onto the back of the mouse. Voila! You now have a basic felt mouse. It’s starting to look like a proper **diy felt mouse cat toy**, isn't it? You can always add little details like stitched eyes or a nose if you want to get creative.
Step | Action | Tip |
|---|---|---|
1 | Cut out felt pieces | Use sharp scissors for clean lines |
2 | Sew body together | Leave a small opening for stuffing |
3 | Stuff with filling and catnip | Mix catnip well with the stuffing |
4 | Sew up the opening | Make sure it is secure |
5 | Attach ears and tail | Make sure it is secure |
Tips and Tricks for Perfecting Your DIY Felt Mouse Cat Toy
Tips and Tricks for Perfecting Your DIY Felt Mouse Cat Toy
Adding Extra Flair
Making Your Mouse Unique
Alright, so you've got the basics down, but why stop there? Let's talk about jazzing up your **diy felt mouse cat toy**. One simple trick is to use different stitch patterns. Instead of just a running stitch, try a blanket stitch around the edges for a more decorative look. You can also experiment with different colors of thread to make the seams stand out. Another idea? Add some stitched-on features. A few simple lines can create a cute little face, and some small beads or buttons (make sure they're sewn on super tight!) can act as eyes. I once made a mouse with a tiny stitched bow tie, and my cat seemed to appreciate the extra effort, or maybe he just liked the way it rolled around.
Don't be afraid to get creative with the shape too. Instead of a plain teardrop, try a slightly more rounded body or a longer, thinner design. You can even experiment with different ear shapes – triangles, ovals, or even little zigzags. The beauty of a handmade toy is that it doesn't have to be perfect, it just has to be fun! I've seen people make mice with little "pockets" for extra catnip, or even attach some feathers for added texture. The sky's the limit when it comes to customizing your little critter.
Durability and Safety
Ensuring Long-Lasting Fun
Now, while making a super cute mouse is all well and good, you also want to make sure it's going to last and, more importantly, be safe for your furry friend. One of the biggest issues with handmade toys is that they can fall apart easily. To make your **diy felt mouse cat toy** more durable, try using a thicker felt. Wool felt is great, but you could also double up on layers of craft felt if that's what you have on hand. Another tip is to use smaller, tighter stitches when you're sewing it together. The more secure the seams, the less likely your cat is to rip it open during playtime. I learned this the hard way when my cat destroyed my first attempt in about five minutes.
Safety is paramount, always. Make sure that any embellishments, like beads or buttons, are sewn on incredibly securely. You don't want your cat to swallow any small parts. Also, check your toys regularly for any signs of wear and tear. If you notice any loose threads or seams, it's best to repair them or retire the toy. And, of course, always supervise your cat while they're playing with their new toy, just to be on the safe side. A little bit of extra care can go a long way in making sure your cat has a safe and fun play experience.
Tip | Details |
|---|---|
Stitch Patterns | Experiment with blanket stitch or decorative seams. |
Embellishments | Use stitched details, beads, or buttons securely. |
Shape | Try different body and ear shapes. |
Material | Use thicker felt or double layers for durability. |
Safety Check | Regularly check for loose parts or wear and tear |
DIY Felt Mouse Cat Toy: Sharing, Customizing, and Safety
DIY Felt Mouse Cat Toy: Sharing, Customizing, and Safety
Okay, so you've become a master mouse maker, what's next? Well, the fun doesn't have to stop with just one! Making a **diy felt mouse cat toy** is so enjoyable that you might find yourself churning them out like a tiny mouse factory. Why not share the love? These little guys make fantastic gifts for your cat-loving friends. Imagine their faces when you give them a handmade, catnip-filled mouse. It's way more personal than anything you'd pick up at a pet store. I’ve had friends tell me their cats are obsessed with the mice I’ve made, which is a pretty great feeling. Plus, it's a fun way to get other people into the DIY spirit.
Customization is also key! Once you’ve nailed the basic mouse, you can start experimenting. Try using different fabrics, like corduroy or fleece, for a different feel. Or get really creative with the stuffing. I’ve heard of people adding things like dried lavender or chamomile along with the catnip for a calming effect. You could also make a whole family of mice – some big, some small, some with different colors and patterns. The possibilities are endless! And remember, safety is always the priority. Keep an eye on your cat while they play, and be sure to repair any damage as soon as it happens. A well-loved toy is a happy toy, but a safe toy is even better.
Sharing Ideas | Customization Ideas | Safety Reminders |
|---|---|---|
Gift to friends with cats | Experiment with different fabrics | Supervise your cat during playtime |
Inspire others to DIY | Add dried herbs to the stuffing | Regularly check for wear and tear |
Share your creations online | Make a variety of sizes and colors | Repair or replace damaged toys |
Wrapping Up Your DIY Felt Mouse Cat Toy Adventure
So, there you have it! You've journeyed from a pile of felt to a purr-fectly crafted **diy felt mouse cat toy**. Hopefully, you discovered that making toys for your feline friend can be fun and rewarding. Remember, each mouse you create can be unique, so don't be afraid to experiment with different colors, sizes, and even add some extra catnip for a real party. The best part? You get the satisfaction of knowing you made something with your own hands, and your cat gets a new favorite toy. Happy crafting, and may your house be filled with happy meows and playful pounces!