Table of Contents
Ever watched your cat stalk a dust bunny with the intensity of a lion hunting a gazelle? They’re natural-born hunters, and sometimes, a store-bought toy just doesn’t cut it. That's where the magic of a DIY mouse cat toy comes in. Forget those flimsy, mass-produced playthings; we're talking about creating something special, something infused with catnip, and something that'll withstand even the most enthusiastic kitty attacks. This isn't just about saving a few bucks; it’s about crafting a toy that your feline friend will absolutely adore. We'll walk you through each step, from gathering your materials to adding the final touches. This article will show you how to sew a simple yet durable catnip mouse toy, with tips to ensure it lasts. You'll discover how easy and rewarding it is to make a DIY mouse cat toy that provides endless entertainment for your furry companion. So, grab your needle and thread, and let’s get started on this fun project!
Gathering Your Supplies for a DIY Mouse Cat Toy
Gathering Your Supplies for a DIY Mouse Cat Toy
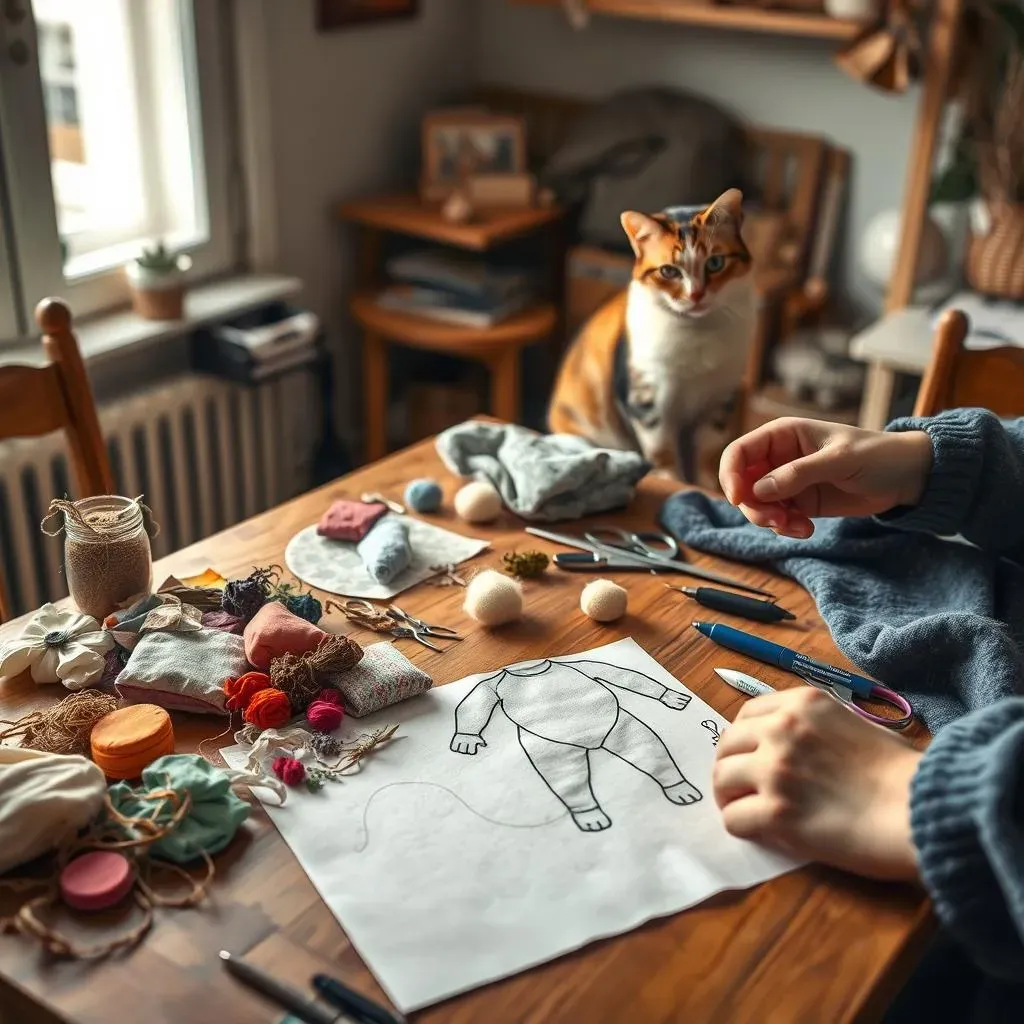
Alright, let's talk shop! Before we get our hands dirty, we need to gather our arsenal of crafting goodies. Think of it like prepping your kitchen for a baking marathon – you wouldn't start without the flour, right? For our DIY mouse cat toy, we're keeping things simple and budget-friendly. First off, you'll need some fabric scraps. Felt is fantastic because it doesn't fray, but cotton or even old t-shirt material will work just fine. Next, grab some embroidery floss or strong thread – we're not looking for a toy that falls apart after one good mauling. And of course, the pièce de résistance: catnip! Dried catnip is the magic ingredient that turns a simple toy into a feline obsession. Lastly, you'll need a bit of stuffing. You can use polyester fiberfill, or even just tear up some old fabric scraps. Oh, and don't forget a needle, scissors, and a marker for tracing our pattern.
Supply | Why You Need It | Alternative Options |
|---|---|---|
Fabric Scraps | Body of the mouse | Old t-shirts, denim |
Embroidery Floss | Sewing the mouse together | Strong thread |
Dried Catnip | To make the toy irresistible | Catnip alternatives (if your cat isn't a fan) |
Stuffing | To give the mouse its shape | Fabric scraps, cotton balls |
Needle, Scissors, Marker | For crafting and tracing | Standard crafting supplies |
StepbyStep Guide to Sewing a Catnip Mouse Toy
StepbyStep Guide to Sewing a Catnip Mouse Toy
Cutting the Pattern
Alright, now for the fun part! First, you need a pattern. I’ve got a super simple one for you: think of a rounded triangle with two little semi-circles for ears. You can freehand it or find a template online – no need for perfection here, cats aren't exactly picky art critics. Once you have your pattern, trace it onto your fabric scraps. I usually fold my fabric in half, so I get two identical pieces at once – a total time-saver. Now, carefully cut out the fabric pieces, ensuring you have two body pieces and four ear pieces (two for each ear). Remember, scissors are sharp, so take your time. We don't want any accidental finger-pricking incidents.
Once you’ve cut out all your pieces, let’s start with the ears. Take two ear pieces and sew them together, wrong sides facing out. You can use a simple running stitch around the semi-circle, leaving the straight edge open. Repeat this for the other ear. Next, it's time to attach the ears to the main body pieces. I like to position the ears about halfway down the curved edge of the triangle, then baste them in place. This means a quick, loose stitch just to hold them there temporarily. It's like giving them a little test run before the main event.
Sewing the Mouse
Now, we're bringing the mouse to life! Take your two main body pieces and line them up, right sides facing each other, with the ears tucked inside. Use a running stitch or a backstitch to sew around the edge, leaving a small opening at the bottom for stuffing. This part is a bit like closing a package, but with thread instead of tape. Make sure your stitches are reasonably close together, so the stuffing doesn’t try to escape later. Once you've sewn around most of the edge, turn the mouse right side out through the small opening. You can use a pencil or a chopstick to gently poke out the corners and get rid of any wrinkles. It’s like giving birth to a tiny, fabric rodent!
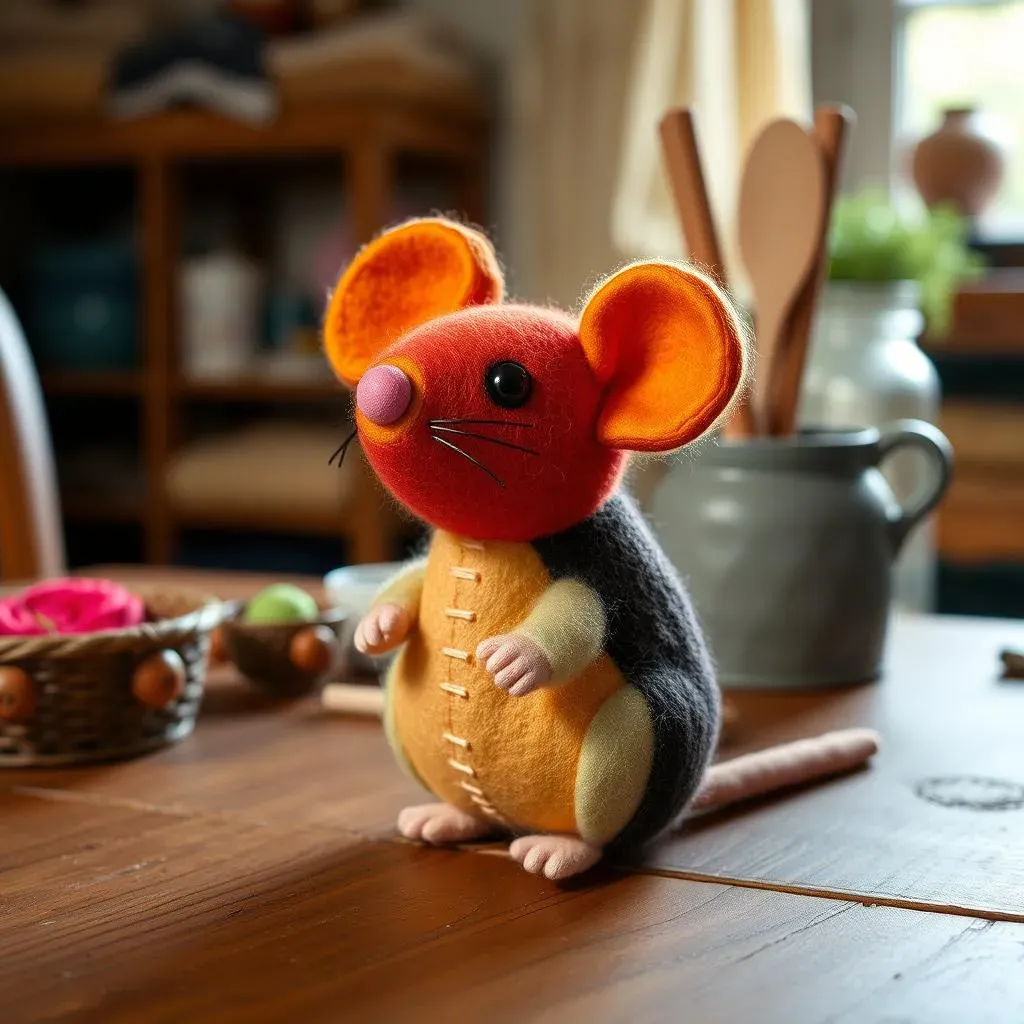
Finally, it's stuffing time! Grab your fiberfill or fabric scraps and start filling the mouse through the opening. Don't overstuff it; you still want it to be a little squishy, not rock hard. Once it's nicely plump, add a generous pinch or two of that catnip. This is the secret weapon that will turn your cat into a playful maniac. Now, carefully sew up the opening using a ladder stitch or a whip stitch. This will close the mouse up nice and tight. Give it a final once-over, and there you have it – your very own, handmade, catnip-infused mouse toy! Time to unleash it on your feline overlord and watch the chaos ensue.
Step | Action | Tips |
|---|---|---|
1 | Cut out fabric pieces | Fold fabric to cut two at once |
2 | Sew ear pieces together | Leave the straight edge open |
3 | Attach ears to main body | Baste them in place first |
4 | Sew body pieces together | Leave a small opening for stuffing |
5 | Turn right side out | Use a pencil to poke out corners |
6 | Stuff with filler and catnip | Don't overstuff, add catnip |
7 | Sew opening closed | Use a ladder or whip stitch |
Tips for a LongLasting DIY Mouse Cat Toy
Tips for a LongLasting DIY Mouse Cat Toy
Choosing Durable Materials
Okay, so you've just created the cutest little catnip mouse, and you're probably thinking, "How do I make sure this thing doesn't get shredded in five minutes?" Well, it all starts with choosing the right materials. Think of it like building a house; you wouldn't use cardboard for the foundation, would you? For our mouse toy, opt for fabrics that can withstand a bit of rough play. Wool felt is a great choice because it's thick and doesn't fray easily. If you're going the cotton route, try using a heavier canvas or denim material. Avoid thin, flimsy fabrics that'll tear apart at the first sign of a claw. And when it comes to thread, go for the strongest you can find. Embroidery floss or heavy-duty thread will hold the toy together, even when your cat decides to go full-on predator mode.
Another material tip is about the stuffing. Instead of using something soft like cotton balls that can be easily torn apart, consider using small pieces of fleece or tougher fabric. This will make it harder for your cat to pull out the stuffing. Remember, we're aiming for a toy that can handle some serious wrestling, not a delicate flower that wilts at the first sign of trouble. The more durable the materials, the longer your DIY mouse cat toy will survive the feline onslaught, and the happier your cat will be.
Reinforcing Seams and Edges
Alright, so you've got your tough fabrics and super-strong thread. Now, let's talk about how to make those seams and edges practically indestructible. When you're sewing the mouse together, don't just go with a basic running stitch; that's like using a single strand of spaghetti to hold up a bridge. Instead, opt for a backstitch or a whip stitch, which creates a much stronger seam. If you're feeling extra crafty, you can even go over the seams twice for extra reinforcement. It might take a little longer, but it's worth it when your cat is trying its hardest to rip the toy apart.
Another useful trick is to use a tight stitch around the edges, especially where the ears and the opening are. These are the most vulnerable spots, so they need extra love. You can also consider adding a little bit of fabric glue to the seams for added security. Think of it as building a fortress, with each layer of reinforcement acting as a defense against a cat's fierce attacks. By reinforcing those seams and edges, you're not just making a toy; you're building a small, cat-proof fortress of fun.
Reinforcement Technique | Why It Helps |
|---|---|
Backstitch or Whip Stitch | Creates stronger seams |
Double Stitching | Adds extra security to seams |
Tight Stitches Around Edges | Protects vulnerable areas |
Fabric Glue on Seams | Provides additional hold |
Regular Maintenance and Inspection
Even the toughest DIY mouse cat toy will eventually show some wear and tear. That's why it's important to do some regular check-ups, kind of like taking your car in for a tune-up. Every few days, give your cat's toy a thorough once-over. Look for any loose threads, torn seams, or stuffing that's starting to peek out. If you spot any damage, it's time to make some repairs. A quick stitch here and there can extend the life of the toy and prevent your cat from swallowing any loose bits. And, of course, if the toy is beyond repair, it's time to retire it and maybe make a new one.
Now, about the catnip – it tends to lose its potency over time. So, every couple of weeks, you might want to open the toy up (carefully!) and add a fresh pinch of catnip. It's like giving the toy a little boost of energy to keep your cat entertained. Think of it as a spa day for your cat’s favorite toy. By keeping a close eye on the toy and doing some regular maintenance, you're not just extending its lifespan, you're also ensuring your cat has a safe and stimulating toy to play with. Remember, a little bit of effort goes a long way in keeping your cat happy and entertained.
“The smallest feline is a masterpiece.” – Leonardo da Vinci. Remember your cat deserves a safe and well-maintained masterpiece toy.
Wrapping Up Your DIY Mouse Cat Toy
And there you have it – your very own handmade catnip mouse toy! It's a simple project, but it’s one that can bring a whole lot of joy to your feline friend. Remember, the key is to use durable materials and secure stitching, so your little hunter can play safely. It’s also a good idea to keep an eye on the toy and replace it when it starts to look worn out or if the stitching begins to come undone. This isn't just about making a toy; it's about creating something special for your cat, using your own hands. So, go ahead and make a few! They make great gifts for other cat lovers too, or even consider donating them to your local animal shelter. Happy crafting, and even happier playing!