Table of Contents
Let's be real. You drop twenty bucks on a fancy cat toy, complete with bells and whistles, only for your feline overlord to ignore it and play with the cardboard box it came in. Sound familiar? Cat toys can be expensive, and finding one that actually holds your cat's attention longer than five minutes feels like hitting the jackpot. But what if you could bypass the pet store lottery and create something guaranteed to pique their interest? That's where making homemade catnip toys for cats comes in.
Why Make Homemade Catnip Toys for Cats?
Why Make Homemade Catnip Toys for Cats?
Save Your Wallet, Spoil Your Cat
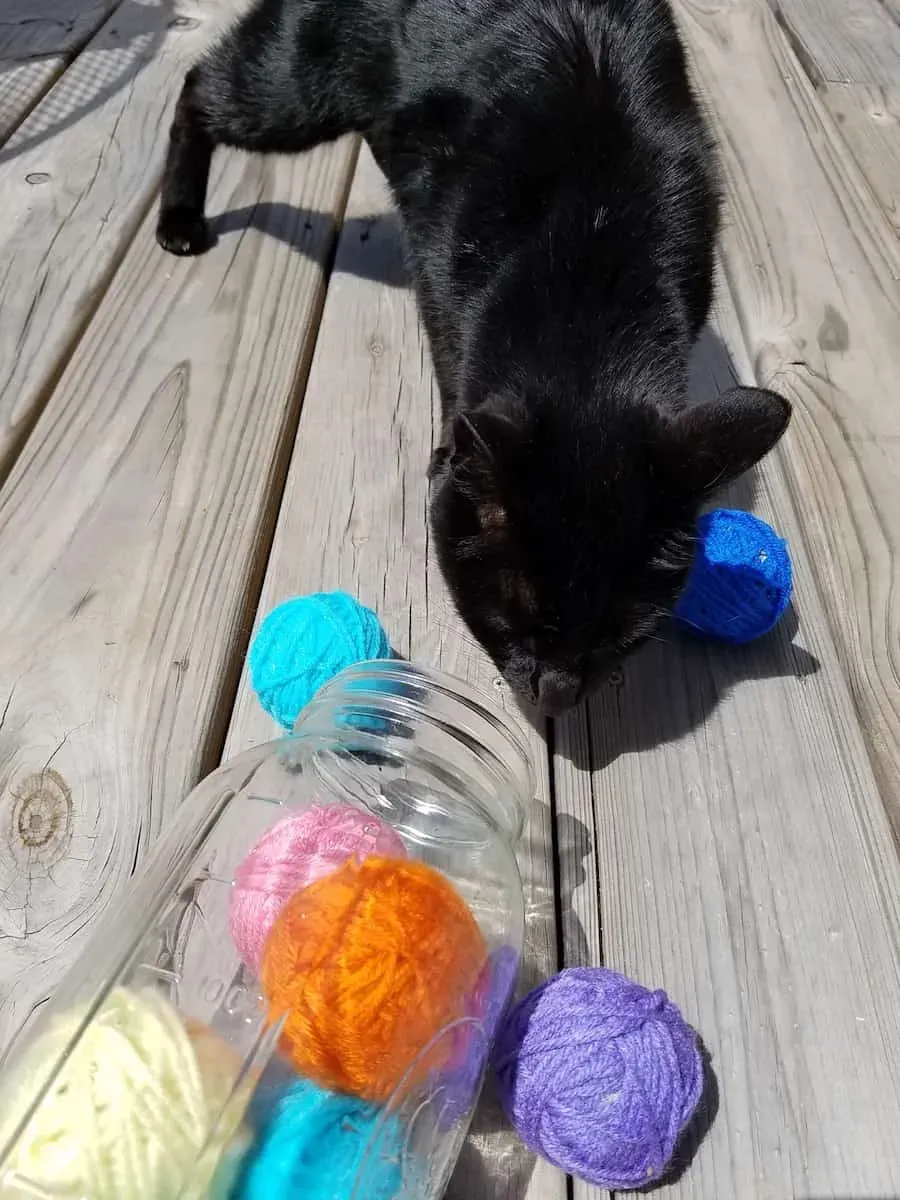
Let's face it, pet supplies aren't cheap. Those cute little felt mice or feathered danglers can cost a few bucks each, and how long do they really last? Usually, until your cat decides to dismember them or shove them under the couch forever. Making homemade catnip toys for cats is a fantastic way to save some cash while still giving your furball something they'll actually love. You can use scraps of fabric, old socks, even bits of yarn. It's recycling meets cat entertainment, and your bank account will thank you.
Control What Goes Into the Toy
When you buy toys, you don't always know what materials were used. Are they safe if your cat chews on them? Are there small parts that could break off? Making homemade catnip toys for cats eliminates this worry. You pick the fabric – maybe some old cotton or felt – and you know exactly what's inside. No weird plastics, no questionable dyes, just good, safe materials and that irresistible catnip. It offers peace of mind knowing your cat is playing with something you made with their safety in mind.
- Cost-Effective: Uses materials you already have.
- Customizable: Make toys the perfect size and shape for your cat.
- Safe Materials: You choose what goes into the toy.
- Stronger Bond: Making something shows you care.
- Endless Variety: Get creative with different designs.
It's a Bonding Experience (Sort Of)
your cat probably won't sit there and help you sew, but the act of creating something specifically for them is pretty rewarding. There's a certain satisfaction in watching your cat go absolutely bonkers over a little fabric mouse you stitched together yourself. It's a small act of love, a tangible way to enrich their environment and provide stimulation. Plus, bragging rights. "Oh, this? Yeah, I made this homemade catnip toy for my cat. They're obsessed."
Simple NoSew Homemade Catnip Toys
Simple NoSew Homemade Catnip Toys
Quick & Easy Fun for Your Feline
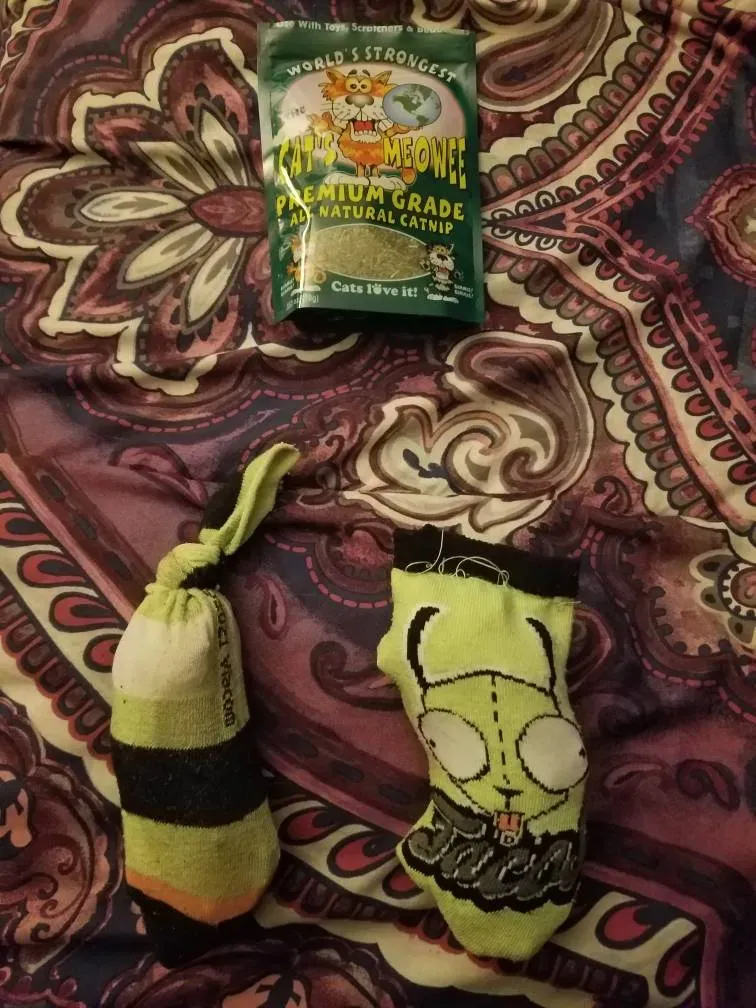
Alright, maybe you're not a sewing machine wizard, or maybe the idea of threading a needle makes you break out in a cold sweat. No problem. You can still whip up fantastic Simple NoSew Homemade Catnip Toys with minimal effort and zero stitching skills. Think repurposed socks, old t-shirts, or even just a sturdy paper bag. The goal here is containment and crinkle-factor, often enhanced by a generous pinch of dried catnip. It's the fastest route from "My cat is bored" to "My cat is currently wrestling a sock full of herbs."
Getting Crafty: Sewing Homemade Catnip Toys
Getting Crafty: Sewing Homemade Catnip Toys
so you've mastered the sock-and-catnip shuffle and now you're thinking, "Maybe I can handle a needle and thread." Welcome to the slightly more advanced, but still totally doable, world of sewn homemade catnip toys for cats. This is where you can get a bit more creative with shapes – mice, fish, simple squares – and make toys that hold up better to enthusiastic batting and bunny-kicking. You don't need a fancy sewing machine; a simple hand stitch works just fine. Grab some sturdy fabric scraps – felt, cotton twill, even old denim works great for durability – and some stuffing. Cut out two identical shapes, stitch them together leaving a small opening, stuff with poly-fil or fabric scraps mixed generously with dried catnip, and then stitch that opening closed. It's not rocket science, and the result is a more robust toy built to withstand serious feline affection (or aggression, depending on the cat).
Beyond the Toy: Growing Your Own Catnip
Beyond the Toy: Growing Your Own Catnip
Why Grow Your Own? Freshness Matters
you've mastered the sock toy and maybe even sewn a little felt mouse. Now you're buying those tiny bags of dried catnip from the pet store, and the cost starts adding up, or worse, your cat gives it a sniff and walks away unimpressed. That usually means the catnip isn't fresh. Think of it like ground coffee versus freshly roasted beans – there's a difference. Growing your own catnip ensures you have a constant supply of potent, aromatic leaves that will drive your cat wild. It's surprisingly easy, and frankly, a little smug when you can just snip off a sprig for your latest batch of homemade catnip toys for cats instead of running to the store.
Getting Started: Plant It Right
Catnip (Nepeta cataria) isn't picky, which is great because most of us aren't master gardeners. You can start from seed or buy a small plant. Seeds are cheaper but take longer; a small plant gives you a head start. Plant it in well-drained soil where it gets a good amount of sun – four to six hours minimum. Be warned: this stuff spreads. Seriously. If you plant it directly in the ground, it might try to take over your yard like a furry-obsessed ground cover. Consider planting it in a pot or container to keep its enthusiasm in check. A sunny windowsill works too, just make sure the pot is big enough.
- Choose a sunny spot (at least 4-6 hours of sun).
- Use well-drained soil.
- Plant in a container if you don't want it to spread aggressively.
- Water when the top inch of soil feels dry.
- Don't fertilize too much; it prefers leaner soil.
Harvesting Your Bounty for Toys
You don't need to wait for flowers, in fact, harvesting before it flowers can make the plant bushier and delay its spreading via seed. When your plant is a decent size, say 18 inches tall with good-sized leaves, you can start harvesting. Just snip off stems or individual leaves. The best time is usually in the morning after the dew has dried. To dry it, tie small bundles of stems together and hang them upside down in a cool, dry, dark place. An attic or shed works well. Once the leaves are completely dry and crumbly, strip them from the stems and store them in an airtight container. Now you've got a stash of prime, potent catnip ready for all your homemade catnip toys for cats.
Your Cat, Your Craft Project
So there you have it. Ditch the guilt of ignoring the pet store aisle and embrace your inner craft guru, even if your crafting skills peak at tying a knot. Making homemade catnip toys for cats isn't rocket science, and honestly, your cat probably won't judge your stitching anyway. They just want the good stuff inside. You've got the power to create endless entertainment for pennies, keep your recycling bin a little less full, and maybe, just maybe, earn a moment of genuine affection before they inevitably pass out in a catnip-induced stupor. Give it a shot. Your wallet and your cat might just thank you.