Table of Contents
Looking to spoil your furry friend with a handmade gift? Learning how to crochet a cat blanket is a rewarding project that's both fun and practical. Not only will your feline companion appreciate the cozy warmth, but you'll also enjoy the creative process of crafting something special just for them. Whether you're a seasoned crocheter or just picking up a hook for the first time, this guide will walk you through everything you need to know to create a purr-fectly comfy cat blanket. We'll start by helping you choose the ideal yarn and hook for a soft, durable, and cat-friendly blanket. Then, we'll cover the essential crochet stitches, making it easy for beginners to get started. You'll learn how to crochet a basic square blanket, a simple and satisfying project that can be customized to any size. But it doesn't stop there! We'll also explore creative ways to add unique touches to your blanket, from colorful borders to playful textures. Finally, we'll share tips on how to care for your finished creation, ensuring it stays clean, fresh, and beloved by your cat for years to come. So, grab your hook and yarn, and let's get crocheting!
Choosing the Right Yarn and Hook for Your Crochet Cat Blanket
Choosing the Right Yarn and Hook for Your Crochet Cat Blanket
Yarn Fibers: Softness, Safety, and Washability
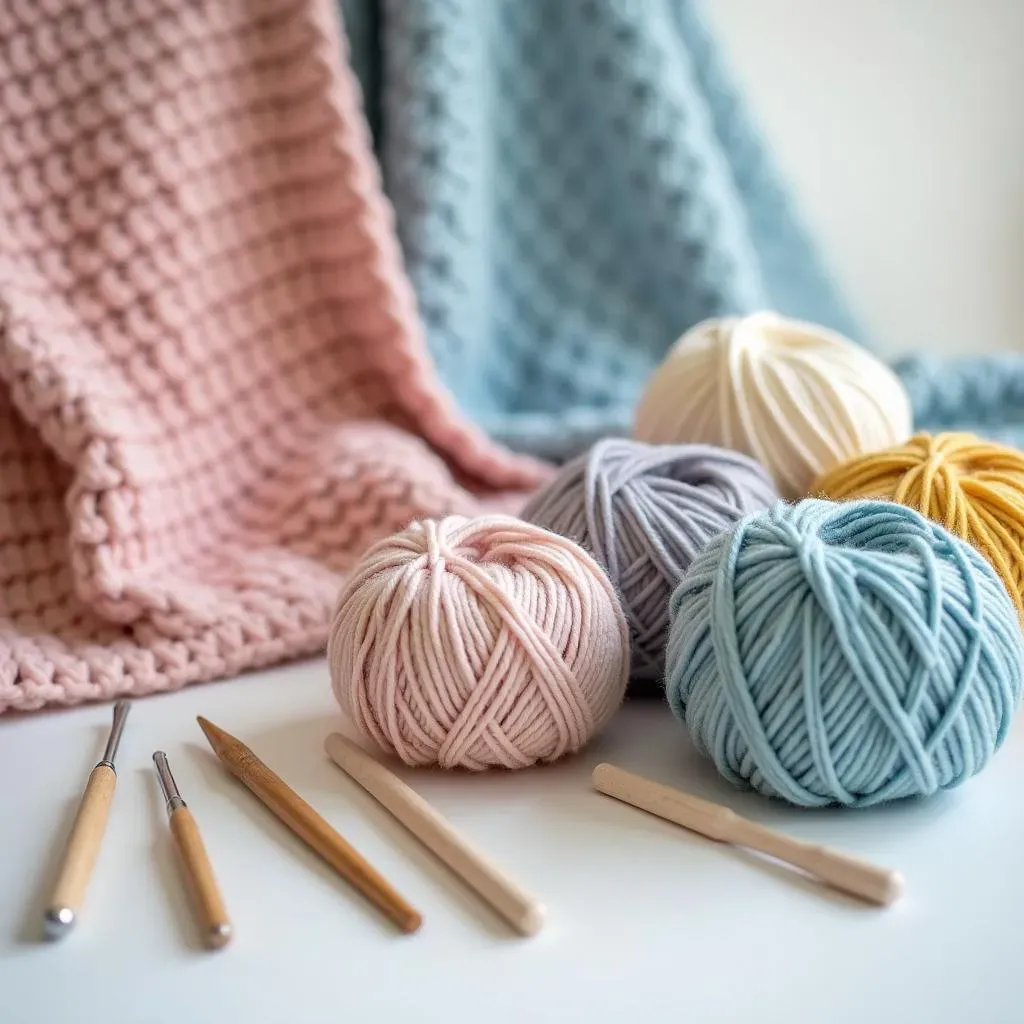
so you're diving into the world of crochet cat blankets? Awesome! First things first, let's talk yarn. Choosing the right yarn is crucial for a few reasons: your cat's comfort, the blanket's durability, and, let's be honest, your sanity when it comes to washing it. You'll want to focus on softness, safety, and how easy it is to clean.
For softness, think about yarns like merino wool, which is super gentle, but can be a bit pricey and might need special care. Acrylic yarns are a great budget-friendly option and are usually machine washable. Cotton is another good choice – it's breathable, durable, and easy to care for, but it might not be as snuggly as wool or acrylic. Avoid anything too scratchy or textured that might irritate your cat's skin.
Safety-wise, make sure the yarn is free from any harmful dyes or chemicals. Look for yarns labeled as "baby-safe" or "OEKO-TEX certified." And, of course, consider the washability factor. Cats are messy creatures, so a yarn that can handle a spin in the washing machine is a lifesaver!
Hooking It Up: Size Matters!
Now that you've got your yarn sorted, let's chat about hooks. The size of your crochet hook will determine the size and tightness of your stitches, which affects the overall look and feel of your blanket. The yarn label will usually recommend a specific hook size, but it's always a good idea to do a test swatch to see if you like the result.
If you're using a thicker yarn, you'll need a larger hook, and vice versa. A smaller hook will create tighter stitches, resulting in a denser, more compact blanket. A larger hook will give you looser stitches, making a more open and drapey blanket. For cat blankets, I usually prefer a medium-sized hook (around a US size H/8 or 5.0 mm) for a good balance of warmth and breathability.
Don't be afraid to experiment with different hook sizes to find what works best for you and your yarn. And remember, comfort is key! Choose a hook that feels good in your hand and doesn't cause any strain or fatigue. There are ergonomic hooks available with cushioned handles, which can be a game-changer if you're planning on crocheting for extended periods.
Yarn and Hook Pairing Guide
To simplify the process, here's a quick guide to help you pair the right yarn with the appropriate hook size:
Yarn Weight | Recommended Hook Size (US) | Recommended Hook Size (Metric) |
|---|---|---|
Fingering/Sock (1) | B/1 - E/4 | 2.25 - 3.5 mm |
Sport (2) | E/4 - 7/G | 3.5 - 4.5 mm |
DK/Light Worsted (3) | 7/G - I/9 | 4.5 - 5.5 mm |
Worsted/Aran (4) | I/9 - K/10.5 | 5.5 - 6.5 mm |
Bulky/Chunky (5) | K/10.5 - M/13 | 6.5 - 9 mm |
This table is just a starting point, so feel free to adjust the hook size based on your personal preference and the specific yarn you're using. Happy crocheting!
Essential Crochet Stitches for a Simple Cat Blanket Pattern

Essential Crochet Stitches for a Simple Cat Blanket Pattern
Getting Started: The Foundation Chain
Alright, so you've got your yarn and hook – now it's time to dive into the stitches! For a simple cat blanket, you really only need to master a few basics. First up is the foundation chain. Think of this as the backbone of your blanket, the row from which everything else grows. To make a foundation chain, you'll start with a slip knot on your hook, then yarn over and pull through the loop. Repeat that yarn over and pull through motion until you've reached your desired width. Pro tip: don't chain too tightly, or your blanket will end up wonky! Aim for a relaxed tension, almost like you're giving the yarn a gentle hug.
The Single Crochet Stitch: Your Go-To for a Dense Fabric
Next, let's tackle the single crochet stitch. This is your workhorse stitch, perfect for creating a dense, warm fabric that your cat will love to snuggle on. To single crochet, insert your hook into the second chain from the hook, yarn over, and pull through a loop (you'll have two loops on your hook). Then, yarn over again and pull through both loops. Boom! You've just made a single crochet stitch. Repeat this across the entire row, and then chain one and turn to start your next row. Keep those rows coming, and watch your blanket grow!
Here's a quick recap of the single crochet stitch:
- Insert hook into stitch.
- Yarn over, pull through a loop (2 loops on hook).
- Yarn over, pull through both loops.
The Double Crochet Stitch: For a Faster, More Open Weave
Want something a bit quicker and with a more open texture? Then the double crochet stitch is your friend. This stitch is taller than the single crochet, meaning you'll cover more ground with each stitch. To double crochet, yarn over, insert your hook into the third chain from the hook, yarn over, and pull through a loop (you'll have three loops on your hook). Then, yarn over and pull through the first two loops, yarn over again, and pull through the last two loops. Ta-da! You've got a double crochet. Chain three and turn at the end of each row to maintain the height.
Here's a quick recap of the double crochet stitch:
- Yarn over, insert hook into stitch.
- Yarn over, pull through a loop (3 loops on hook).
- Yarn over, pull through first two loops.
- Yarn over, pull through last two loops.
Mixing It Up: Creating Texture with Different Stitches
Once you're comfortable with single and double crochet, you can start experimenting with combining them to create interesting textures. Try alternating rows of single and double crochet for a ribbed effect, or use different stitch patterns to create stripes or geometric designs. The possibilities are endless! Don't be afraid to get creative and have fun with it. Your cat won't judge your stitch choices, I promise!
Here's an example of mixing stitches:
StepbyStep: How to Crochet a Basic Square Cat Blanket
StepbyStep: How to Crochet a Basic Square Cat Blanket
Sizing It Up: How Big Should Your Blanket Be?
Before you even start stitching, let's figure out what size you want your cat blanket to be. A good rule of thumb is to measure your cat while they're sleeping (if you can sneak up on them!) and add a few inches on each side. Most cats are happy with a blanket that's around 18x24 inches, but if you have a particularly large or sprawling feline, you might want to go bigger. Remember, it's always better to err on the side of too big than too small – cats love to burrow!
Consider where your cat likes to nap. Is it on the couch, in a cat bed, or on a windowsill? Tailor the blanket size to fit their favorite spot. And don't forget to think about the yarn you're using. Thicker yarns will create a denser blanket, so you might not need as large of a finished size. Also, a square is easiest for beginners, but rectangles and even circles work too!
Here are some common cat blanket sizes:
- Small (for kittens or small cats): 12x18 inches
- Medium (for average-sized cats): 18x24 inches
- Large (for larger cats or multi-cat households): 24x36 inches
The Foundation Row: Setting the Stage for Success
you've got your size in mind, so now it's time to create your foundation row. Using your chosen yarn and hook, make a slip knot and chain the number of stitches needed to reach your desired width. Remember to keep your tension relaxed! If you're aiming for an 18-inch wide blanket and using a medium-weight yarn, you'll probably need to chain around 60-70 stitches. But again, it's always a good idea to do a test swatch to be sure.
Once you've chained your desired length, it's time to start your first row of stitches. If you're using single crochet, insert your hook into the second chain from the hook. If you're using double crochet, insert your hook into the third chain from the hook. Continue stitching across the entire row, making sure to keep your stitches even and consistent. As you reach the end of the row, chain one (for single crochet) or three (for double crochet) and turn your work to start the next row.
Here's a tip for keeping your edges straight: make sure you're always working into the correct stitch at the beginning and end of each row. This will prevent your blanket from becoming wonky or uneven.
Here’s a handy checklist for a perfect foundation row:
Step | Description |
|---|---|
1 | Make a slip knot on your hook. |
2 | Chain the number of stitches needed for your desired width. |
3 | Keep your tension relaxed to avoid a tight foundation. |
4 | Begin your first row of stitches into the correct chain. |
Row After Row: Building Your Cozy Creation
Now comes the fun part: building your blanket row by row! Continue working your chosen stitch pattern across each row, making sure to chain one or three at the end of each row before turning. Keep going until you've reached your desired length. This is where you can really get into a rhythm and let your creativity flow.
If you're using a solid color, just keep stitching away until you reach the end. But if you want to add some stripes or color changes, now's the time to do it! Simply tie on a new color at the end of a row and continue stitching. You can create stripes of any width you like, or even experiment with more complex colorwork patterns.
As you crochet, take breaks to stretch your hands and arms, and make sure you're sitting in a comfortable position. Crocheting can be surprisingly tiring, so it's important to take care of yourself. And don't forget to occasionally drape the blanket over your cat to get their seal of approval!
Adding Fun and Unique Touches to Your Crochet Cat Blanket
Adding Fun and Unique Touches to Your Crochet Cat Blanket
Bordering on Brilliant: Edging Ideas
so you've got your basic blanket done – congrats! But why stop there? Adding a border can really elevate your creation and give it a polished, professional look. Plus, it's a great way to use up any leftover yarn you have lying around. There are tons of different edging techniques you can try, from simple single crochet borders to more elaborate shell or picot edges. A contrasting color can make your blanket pop, or you can use a variegated yarn for a fun, whimsical touch. And if you're feeling extra fancy, you can even add some fringe or tassels!
When choosing a border, consider the overall style of your blanket. A simple, minimalist blanket might look best with a clean, understated border, while a more colorful or textured blanket can handle a bolder, more decorative edge. And don't be afraid to experiment! Try out different border patterns on a swatch of your blanket to see what you like best. Remember, it's all about having fun and creating something that you and your cat will love.
Here are a few popular border options:
- Single Crochet Border: Simple, clean, and easy to execute.
- Crab Stitch Border: Adds a unique, textured edge.
- Shell Stitch Border: Creates a decorative, scalloped look.
- Picot Edge: Adds small, delicate points along the edge.
Appliqués and Embellishments: Adding Personality
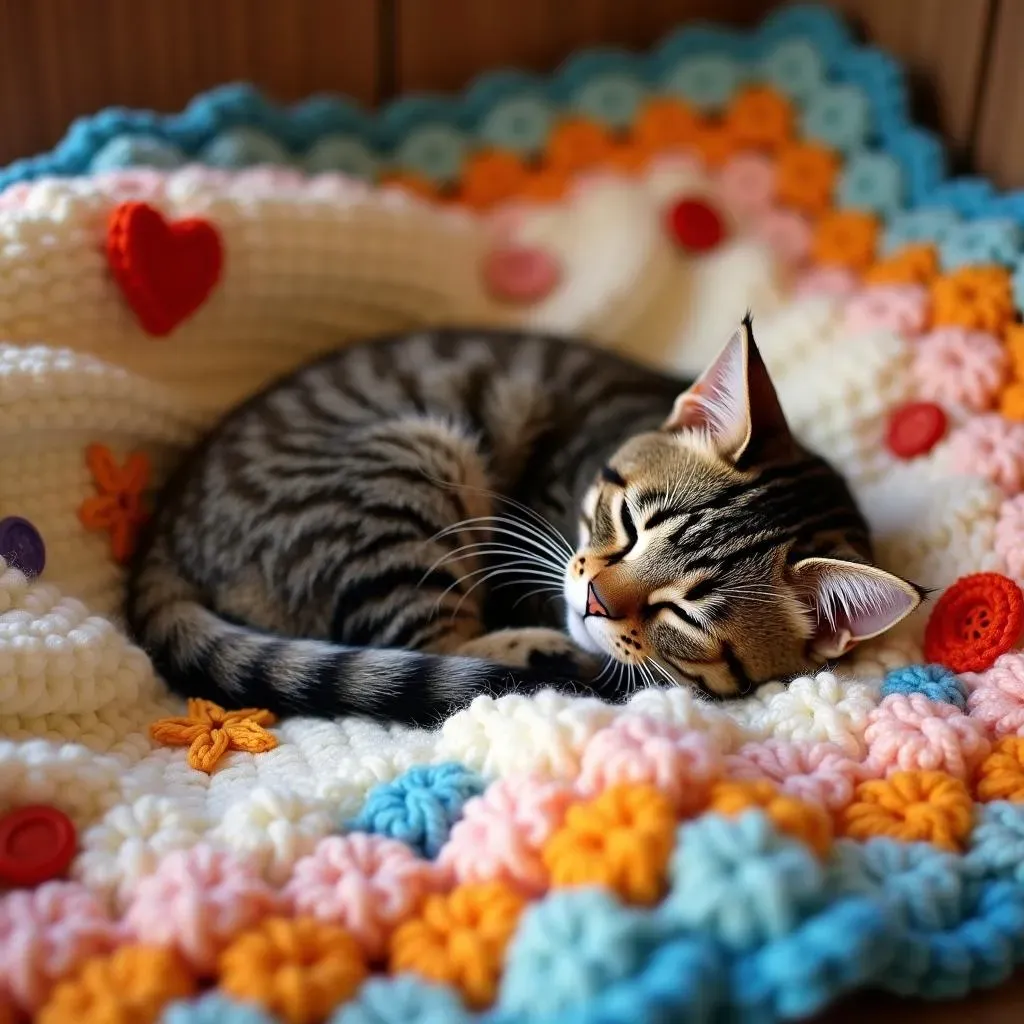
Want to take your cat blanket to the next level? Consider adding some appliqués or embellishments! This is where you can really let your creativity shine and personalize the blanket to reflect your cat's unique personality. You can crochet small shapes like hearts, stars, or even tiny cat faces and sew them onto the blanket. Or, you can use felt or fabric scraps to create more intricate designs. Buttons, beads, and embroidery are also great options for adding texture and visual interest.
When adding embellishments, make sure they're securely attached and won't pose a choking hazard to your cat. Avoid using anything too small or delicate that could easily be pulled off and swallowed. And always supervise your cat when they're using the blanket, especially if it has small embellishments. With a little creativity and caution, you can create a truly one-of-a-kind cat blanket that your feline friend will adore.
Embellishment Type | Pros | Cons |
|---|---|---|
Crochet Appliqués | Safe, durable, customizable | Can be time-consuming to make |
Felt Shapes | Easy to cut and sew, variety of colors | May not be as durable as crochet |
Buttons/Beads | Adds texture and visual interest | Potential choking hazard, must be securely attached |
Caring for Your Finished Crochet Cat Blanket: Washing and Maintenance
Caring for Your Finished Crochet Cat Blanket: Washing and Maintenance
Washing Wisdom: Keeping It Clean and Cozy
Alright, you've poured your heart and soul into crocheting this amazing cat blanket. Now, let's talk about keeping it clean! Cats, bless their furry little hearts, can be messy. So, regular washing is a must. Before you toss it in the machine, check the yarn label for specific washing instructions. Most acrylic and cotton yarns can be machine washed on a gentle cycle with cold water. However, more delicate fibers like merino wool might require hand washing. Always use a mild detergent that's free from harsh chemicals or dyes, as these can irritate your cat's skin.
To protect your blanket during washing, consider placing it in a mesh laundry bag. This will prevent it from getting snagged or stretched out. And whatever you do, avoid using bleach! Bleach can damage the fibers and leave behind a residue that's harmful to your cat. After washing, gently squeeze out any excess water (don't wring!) and lay the blanket flat to dry. Avoid putting it in the dryer unless the yarn label specifically allows it, as high heat can cause shrinkage and damage.
Here’s a quick reminder:
Drying Dos and Don'ts: Preserving Your Handiwork
So, your blanket is washed, but now what? Drying it properly is just as important as washing it correctly. As I mentioned earlier, air drying is usually the safest bet, especially for delicate yarns. Lay the blanket flat on a clean, dry surface, reshaping it as needed. You can also use a drying rack, but make sure it's sturdy enough to support the weight of the wet blanket. Avoid hanging the blanket, as this can cause it to stretch out of shape.
If you absolutely must use a dryer, choose the lowest heat setting and check the blanket frequently to prevent over-drying. Add a few dryer balls to help fluff the blanket and reduce static cling. And whatever you do, avoid using dryer sheets! Dryer sheets contain chemicals that can be harmful to your cat. Once the blanket is dry, give it a good shake to fluff it up and remove any lingering wrinkles.
Here is a table that shows you what you can do:
Drying Method | Pros | Cons |
|---|---|---|
Air Drying (Flat) | Gentle, prevents shrinkage | Takes longer to dry |
Air Drying (Rack) | Allows for better air circulation | May leave rack marks if not positioned carefully |
Dryer (Low Heat) | Faster drying time | Risk of shrinkage or damage |
Maintenance Matters: Extending the Life of Your Blanket
Beyond washing and drying, there are a few other things you can do to keep your cat blanket in tip-top shape. Regular vacuuming can help remove loose hair and debris, preventing it from building up and becoming difficult to remove. If your cat has an accident on the blanket, spot clean it immediately with a mild detergent and water. Avoid rubbing the stain, as this can spread it and damage the fibers. Instead, blot it gently with a clean cloth.
To prevent your cat from scratching or chewing on the blanket, provide them with plenty of scratching posts and chew toys. And if your cat is prone to shedding, consider using a lint roller to remove loose hair on a regular basis. With a little bit of care and attention, you can keep your crochet cat blanket looking beautiful and feeling cozy for years to come. Your cat will thank you for it!
- Vacuum regularly to remove loose hair.
- Spot clean stains immediately.
- Provide scratching posts and chew toys.
- Use a lint roller to remove excess hair.
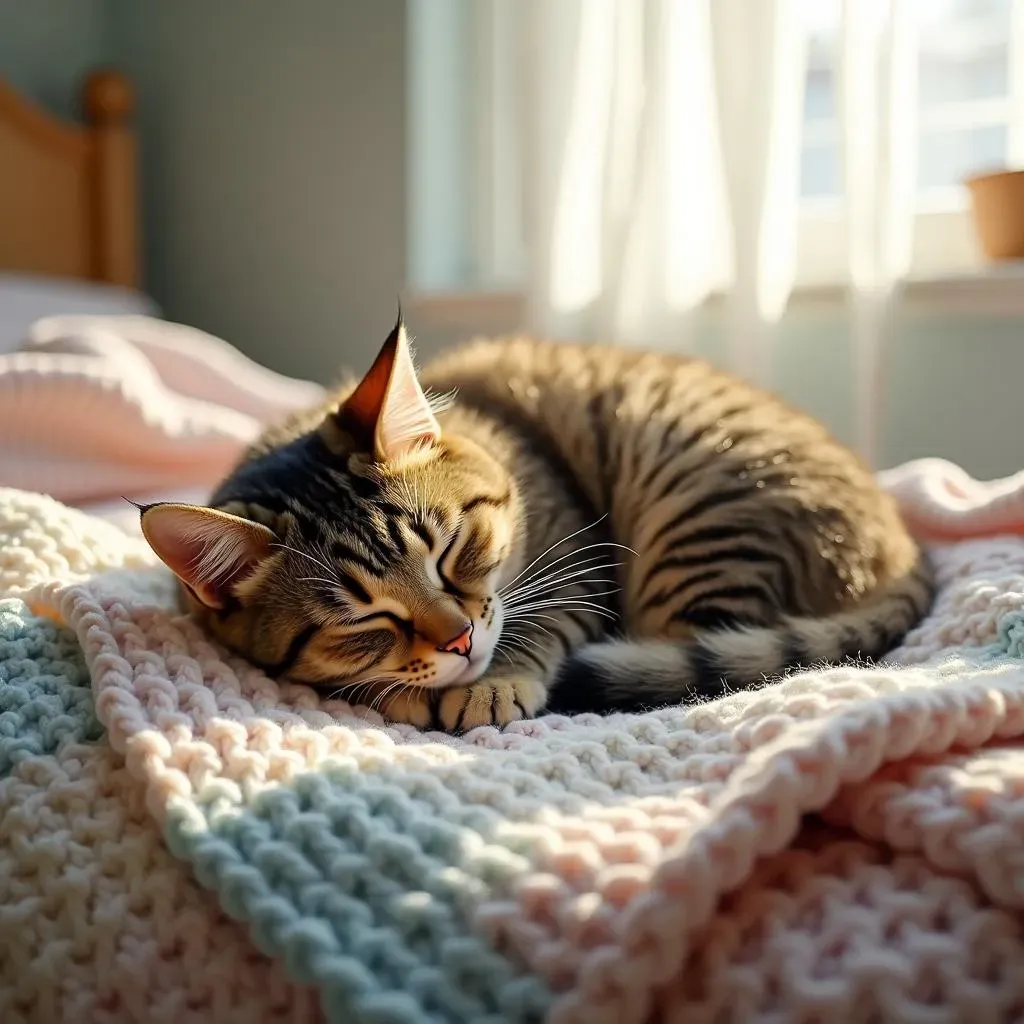
A Cozy Conclusion to Your Crochet Cat Blanket Journey
Congratulations! You've reached the end of our guide on how to crochet a cat blanket. Hopefully, you've not only learned the essential techniques but also discovered the joy of creating something special for your feline friend. From choosing the perfect yarn to adding personalized touches, every step of the process is an opportunity to express your creativity and show your love. So, go ahead, cast off that final stitch, and present your handmade masterpiece to your deserving cat. We're sure they'll curl up and enjoy the warmth and comfort of their new favorite blanket for many naps to come!