Table of Contents
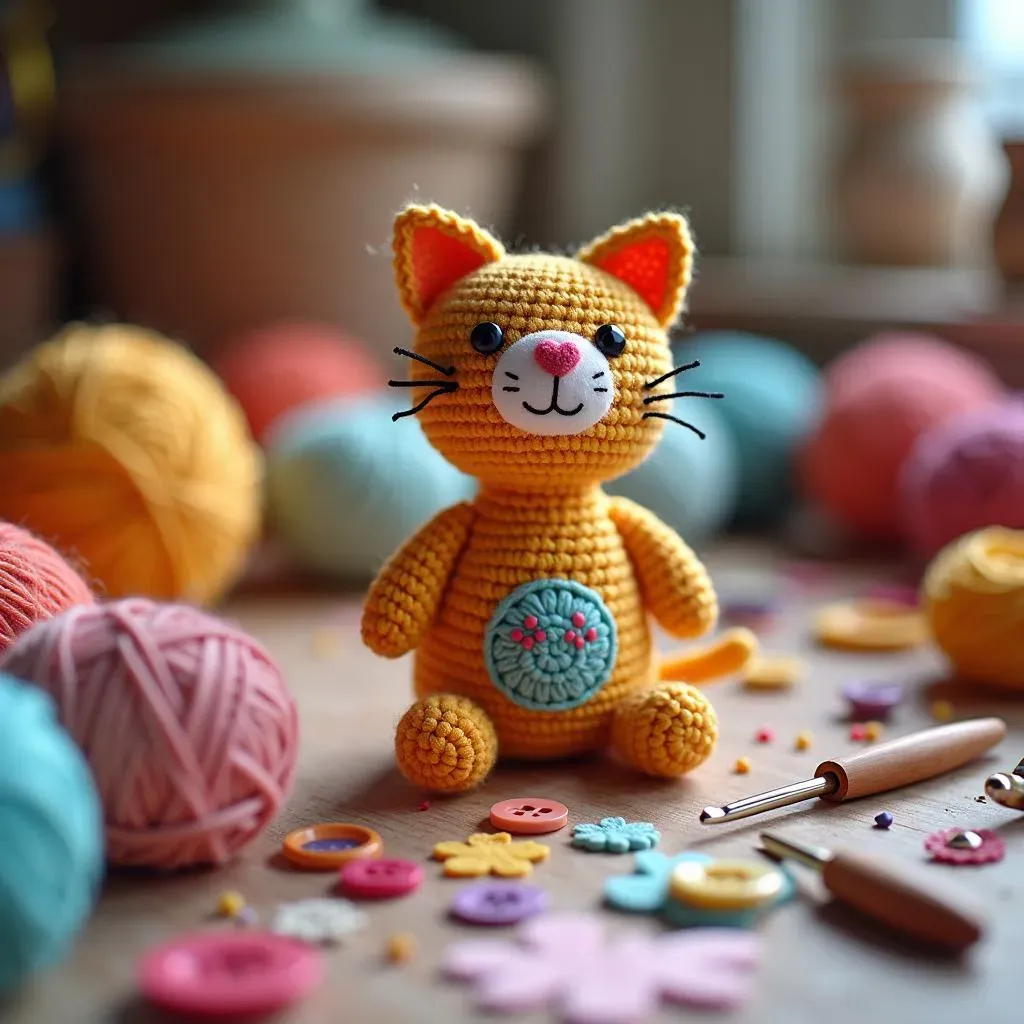
Ever wondered how to crochet a cat for beginners? If you're itching to learn a new craft or just want to create an adorable, handmade gift, crocheting a cat is a fantastic starting point. This guide is designed to gently walk you through each stage, from gathering your supplies to adding the final, purr-fect touches.
Essential Supplies for Crocheting Your First Cat
Essential Supplies for Crocheting Your First Cat
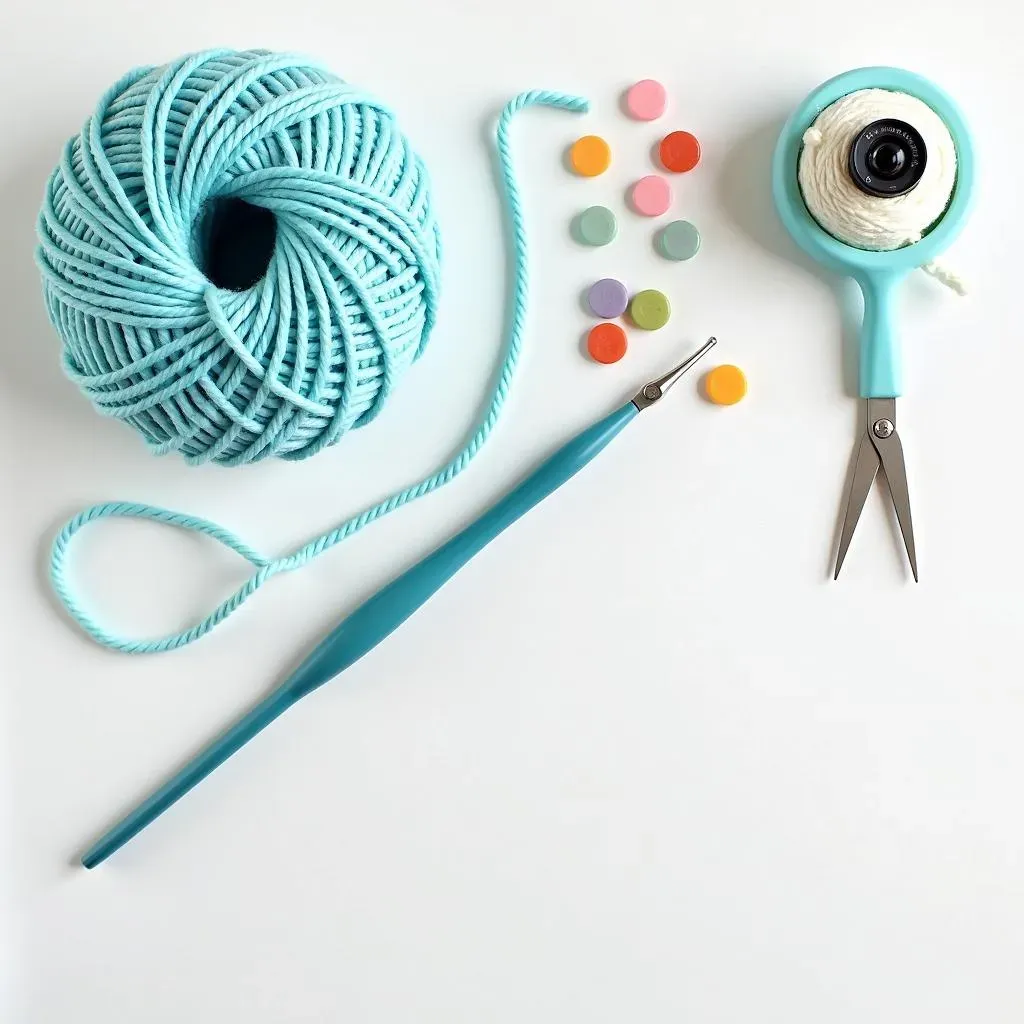
Alright, so you're ready to dive into crocheting a cute kitty? Awesome! First things first, let's gather your arsenal. You'll need yarn, of course. For beginners, I recommend a smooth, light-colored yarn like worsted weight acrylic or cotton. It's easier to see your stitches. A crochet hook that matches your yarn weight is crucial – usually, a size H-8 (5mm) hook works well for worsted weight yarn. Grab some stitch markers; these little lifesavers will help you keep track of your rounds. A yarn needle with a large eye is perfect for weaving in those pesky ends. And finally, don't forget a pair of scissors to snip the yarn. With these essentials, you're all set to start your crochet cat adventure!
Supply | Why You Need It |
|---|---|
Yarn (Worsted Weight Acrylic or Cotton) | Easy to work with, shows stitches clearly |
Crochet Hook (Size H-8 / 5mm) | Matches yarn weight, comfortable to hold |
Stitch Markers | Keeps track of rounds, prevents mistakes |
Yarn Needle | Weaving in ends, finishing touches |
Scissors | Cutting yarn, trimming excess |
EasytoFollow Crochet Stitches for Beginners: Crafting the Cat's Body
EasytoFollow Crochet Stitches for Beginners: Crafting the Cat's Body
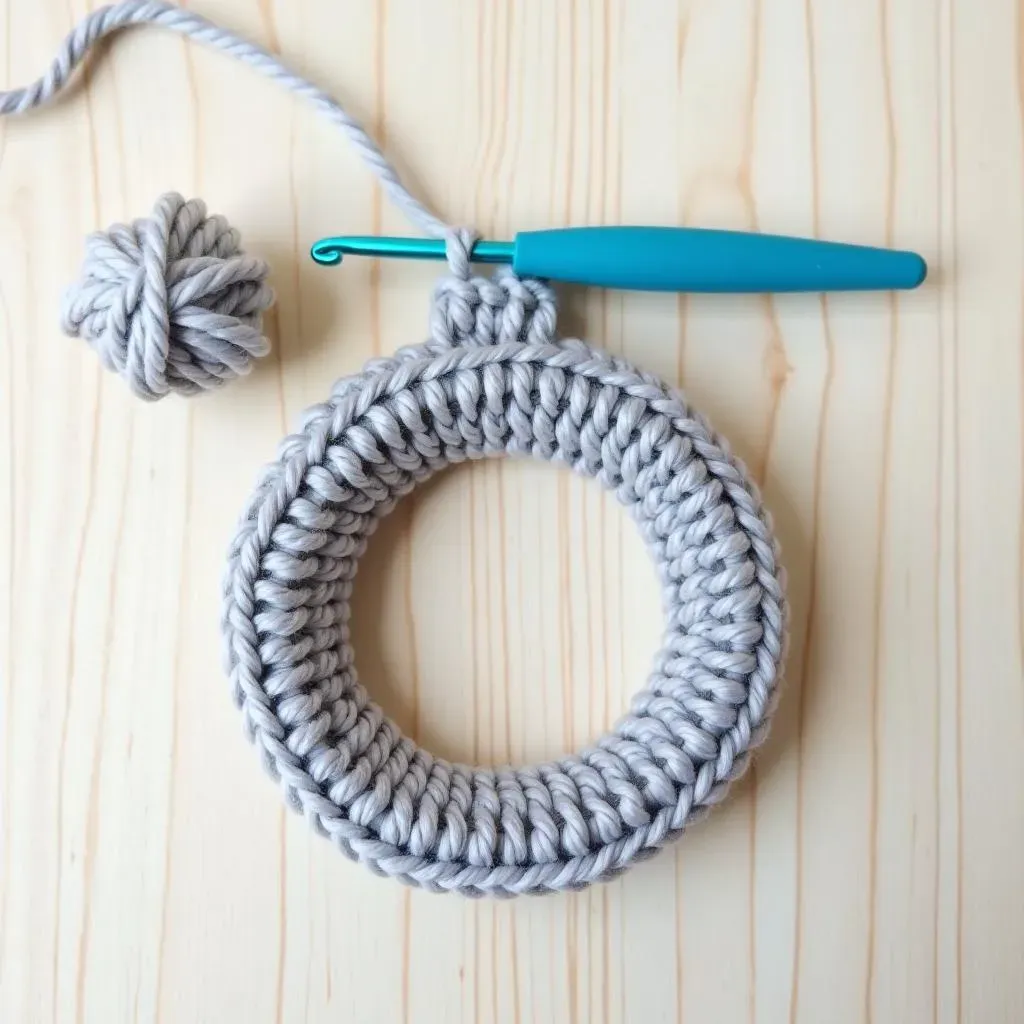
Getting Started: The Magic Ring or Chain Method
Alright, let's get this kitty's body started! There are two main ways to begin: the magic ring or the chain method. The magic ring is awesome because it closes up super tight, leaving no hole in the middle. But if that feels tricky, no worries! Just chain 2, then work your stitches into the second chain from the hook. Both ways work perfectly fine, so pick whichever feels comfier.
Now, for the main stitch, we'll be using single crochet (sc). It's the foundation of amigurumi (that's the fancy name for crocheted toys!). If you're not familiar, single crochet is super simple: insert your hook into the stitch, yarn over, pull through a loop (you'll have two loops on your hook), yarn over again, and pull through both loops. Boom! You've single crocheted.
Increasing and Shaping: Building the Body
To give your cat's body some shape, we'll use increases. An increase is just two single crochet stitches worked into the same stitch. This makes the circle get bigger. Now, here's a little tip: don't put your increases all in the same spot each round. Stagger them around to keep your circle nice and round, not pointy. Think of it like drawing a circle – you want it smooth, not with harsh corners.
As you crochet, you'll notice the body starting to form a little cup shape. That's exactly what we want! Just keep following your pattern, increasing as directed, until you reach the desired size. Remember to count your stitches each round, especially when you're starting out. It's way easier to catch a mistake early on than to frog (that's crochet-speak for "rip it out") a whole bunch of rows!
Stuffing and Closing: Giving Your Cat Some Fluff
Once your cat's body is the right size, it's time to stuff it! Poly-fil is the classic choice, but you can also use scrap yarn or even old t-shirts cut into small pieces. The key is to stuff it firmly, but not so much that the stitches are stretched out. You want it to be cuddly, not rock-hard. As you stuff, make sure to get into all the nooks and crannies, especially the bottom.
To close up the body, we'll use decreases. A decrease is when you single crochet two stitches together. This makes the circle get smaller, eventually closing it up. Again, stagger your decreases for a smoother finish. Once you've closed the hole, weave in the end of your yarn with your yarn needle, and snip off the excess. Ta-da! You've got a cat body!
- Magic Ring/Chain: Choose your preferred starting method.
- Single Crochet (sc): Master this stitch for the entire body.
- Increases: Add two sc in one stitch to expand the shape.
- Stuffing: Use Poly-fil or yarn scraps to fill the body firmly.
- Decreases: Crochet two stitches together to close the opening.
StepbyStep Guide: Shaping the Head and Adding Feline Features
StepbyStep Guide: Shaping the Head and Adding Feline Features
Crafting the Basic Head Shape
Alright, now that we have the body, let's make a head! Start with the same magic ring or chain method you used for the body. Then, work in single crochet, increasing to form a sphere. The key to a good head shape is even increases. Follow your pattern closely, and don't be afraid to use those stitch markers! As you crochet, you'll see the sphere start to take shape. Remember, it doesn't have to be perfect – cats come in all shapes and sizes!
Once you've reached the desired size, start decreasing to close up the sphere. Stuff it firmly as you go, just like you did with the body. The head should be round and plump, ready to attach to the body. Leave a long tail of yarn when you finish, because we'll use that to sew the head onto the body later.
And here's a pro tip: if you want a more defined head shape, try using a slightly smaller hook than you used for the body. This will make the stitches tighter and the head more firm.
Adding the Ears: Triangle Time!
No cat is complete without ears! For simple triangle ears, start with a chain. Then, work in rows of single crochet, decreasing at the beginning and end of each row. This will create a triangle shape. The size of your chain determines the size of your ears, so experiment to find what looks best. I personally like to make a few different sizes and then hold them up to the head to see which ones I like best.
Once you've crocheted your triangles, fold the bottom edge slightly to give the ears a bit of dimension. Then, use your yarn needle to sew them onto the head. Position them evenly on top of the head, angling them slightly forward for a cute, alert look. Don't be afraid to play around with the placement until you're happy with the result. A little bit of asymmetry can actually add to the charm!
- Basic Head Shape: Form a sphere using single crochet and increases/decreases.
- Triangle Ears: Crochet small triangles and attach them to the head.
- Placement: Experiment with ear placement for a unique look.
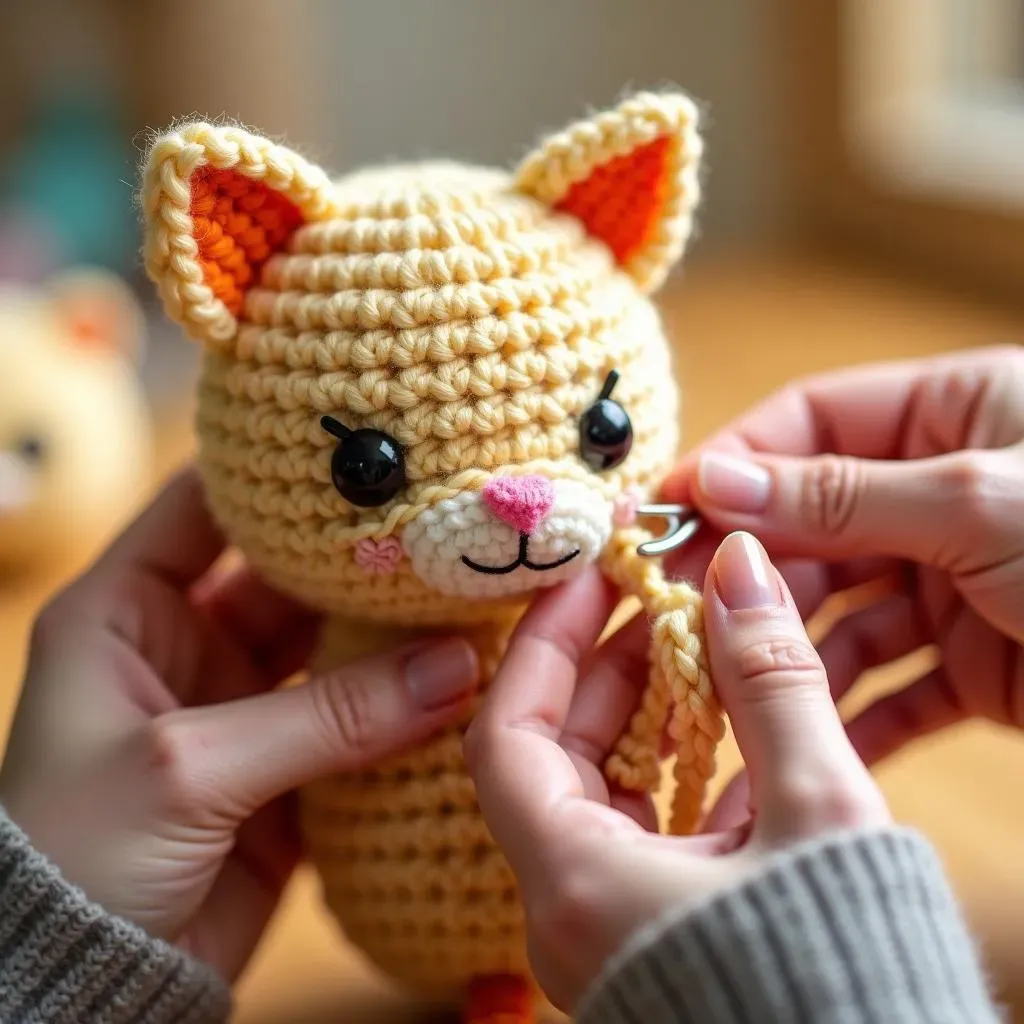
Embroidering the Face: Eyes, Nose, and Whiskers
Now comes the fun part: giving your cat some personality! Use embroidery floss to add the eyes, nose, and whiskers. For the eyes, you can either embroider small circles or use safety eyes (those plastic eyes that snap into place). If you're using safety eyes, make sure to attach them securely, especially if the cat is for a child. For the nose, a simple triangle shape works well. And for the whiskers, just stitch a few straight lines on either side of the nose.
Don't be afraid to get creative with the facial features! You can use different colors of embroidery floss, experiment with different shapes, or even add little details like eyebrows or a mouth. The face is what gives your cat its unique character, so have fun with it! Just remember to keep it simple and symmetrical (unless you're going for a wonky, cartoonish look, which is also totally cool!).
Feature | How to Add It |
|---|---|
Eyes | Embroidered circles or safety eyes |
Nose | Embroidered triangle shape |
Whiskers | Straight embroidered lines |
Assembling Your Crochet Cat: Joining Body Parts and Adding Details
Assembling Your Crochet Cat: Joining Body Parts and Adding Details
Joining the Head and Body: A Seamless Connection
Alright, it's time to bring your kitty to life! Grab that long yarn tail you left on the head, and let's get sewing. Position the head on top of the body, centering it as best you can. Then, using your yarn needle, stitch the head securely to the body. Go around and around, picking up stitches from both the head and the body. Make sure to pull the yarn tight enough so that there are no gaps, but not so tight that you distort the shape of the head or body.
As you sew, keep checking the position of the head. You want it to be straight and balanced. If it's tilting to one side, adjust your stitches accordingly. And don't be afraid to use pins to hold the head in place while you sew. They can be a lifesaver, especially if you're working with slippery yarn. Once you're satisfied with the placement, tie off the yarn securely and weave in the end.
And here's a little secret: if you want the head to be extra secure, try using a double strand of yarn. This will make your stitches stronger and less likely to come undone. It's especially helpful if the cat is going to be played with a lot.
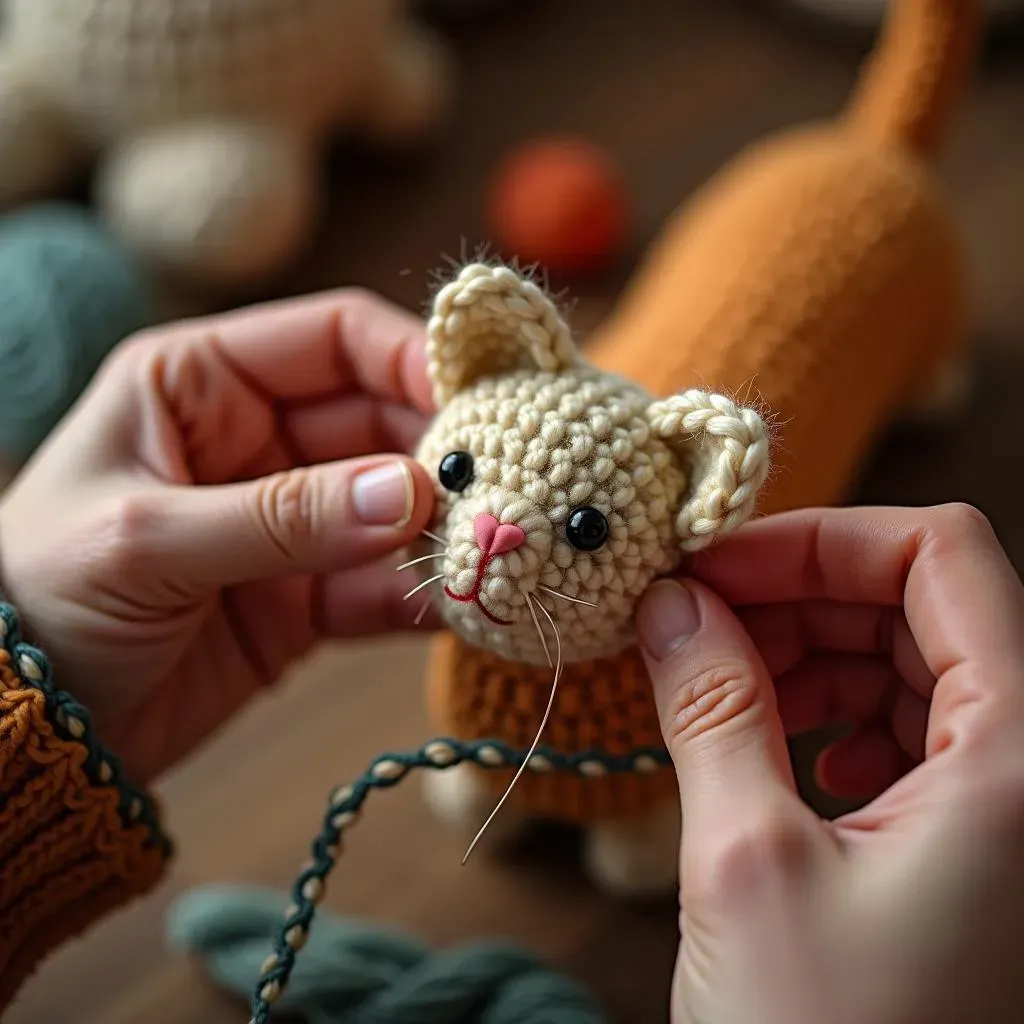
Attaching the Ears: Position and Stitching
Now that the head is attached, let's add those ears! Take those cute little triangles you crocheted earlier, and position them on top of the head. Experiment with different angles and placements until you find what looks best. Some people like to angle the ears forward for an alert look, while others prefer to keep them straight up for a more relaxed vibe. It's totally up to you!
Once you've found the perfect spot, use your yarn needle to sew the ears securely to the head. Stitch around the base of each ear, picking up stitches from both the ear and the head. Make sure to pull the yarn tight enough so that the ears stand up straight, but not so tight that they curl or bend. Again, pins can be your friend here. Use them to hold the ears in place while you sew.
And here's a fun idea: if you want your cat to have floppy ears, don't stuff them! Just leave them empty and let them flop over naturally. It's a super cute look!
- Head Placement: Center the head on the body and pin it in place.
- Sewing Technique: Use a whip stitch to securely attach the head.
- Ear Positioning: Experiment with ear placement for desired expression.
Adding the Finishing Touches: Tail, Embellishments, and More
Your cat is almost complete! Now it's time for those final touches that will really make it shine. Start by crocheting a tail. A simple chain or a small tube of single crochet works great. Attach it to the back of the body, positioning it so that it curves slightly upward. If you want a posable tail, insert a piece of wire into the tail before you sew it on.
Next, consider adding some embellishments. A little bow around the neck, a tiny bell on the tail, or even some embroidered spots can add a lot of personality. Get creative and have fun with it! Just remember to keep it safe, especially if the cat is for a child. Avoid small parts that could be a choking hazard.
Finally, give your cat a good once-over. Trim any loose ends, adjust any stitches that look out of place, and give it a good cuddle. You did it! You crocheted a cat!
Detail | Suggestion |
|---|---|
Tail | Simple chain or stuffed tube |
Embellishments | Bow, bell, spots, etc. |
Safety | Ensure all parts are securely attached |
Personalizing Your Crochet Cat: Tips for Unique Designs and Finishes
Personalizing Your Crochet Cat: Tips for Unique Designs and Finishes
so you've got the basic cat down. Now comes the really fun part: making it uniquely yours! Think about what kind of cat you want to create. A sleek Siamese? A fluffy Persian? A mischievous tabby? The possibilities are endless! Start by playing with yarn colors. Use stripes, spots, or even color-blocking to create a custom pattern. Then, consider adding some extra details. A little collar with a bell? Embroidered paw prints? A tiny hat? Don't be afraid to experiment and let your creativity run wild. After all, it's your crochet cat, and it should reflect your personal style!
Another great way to personalize your crochet cat is to play with different textures. Use fuzzy yarn for a super cuddly cat, or try adding some felt or fabric scraps for extra details. You can even crochet little accessories like blankets or toys to go with your cat. The more you personalize it, the more special it will be!
Personalization Idea | How to Achieve It |
|---|---|
Unique Color Patterns | Stripes, spots, color-blocking |
Extra Details | Collars, hats, embroidered details |
Texture Play | Fuzzy yarn, felt, fabric scraps |
Conclusion: Your Crochet Cat Creation
Congratulations! You've successfully navigated the world of crochet and created your very own adorable cat. From selecting your yarn to stitching those final details, you've proven that anyone can master the basics of crochet with a little patience and the right guidance. Your new feline friend is more than just a craft project; it's a testament to your creativity and willingness to learn. So, display your handmade treasure with pride, and remember, this is just the beginning of your crochet journey. Who knows what other amazing creations you'll bring to life next?