Table of Contents
Is your cat turning your sofa into a scratching post or batting your favorite pens off the desk? Cats are natural-born players, but sometimes their playful energy gets misdirected. That's where knowing how to crochet cat toys comes in handy! Not only is it a fantastic way to keep your feline friend entertained, but it's also a creative outlet for you. Forget those expensive store-bought toys that fall apart in minutes. With a little yarn and some basic crochet skills, you can create durable, engaging, and personalized toys that your cat will adore.
Why Crochet Cat Toys are a Feline's Best Friend
Why Crochet Cat Toys are a Feline's Best Friend
Endless Entertainment, Zero Furniture Casualties
Let's face it, cats are adorable little chaos agents. They're wired to hunt, pounce, and play, and if you don't provide them with appropriate outlets, your curtains, carpets, and sanity might suffer. That's where crochet cat toys swoop in to save the day! These aren't just cute distractions; they're a way to redirect your cat's natural instincts into safe and healthy play.
Think of it this way: a crochet mouse filled with catnip is far more appealing than the corner of your brand-new rug. By offering engaging and stimulating toys, you're not just entertaining your cat, you're also protecting your belongings from becoming their personal playground. It's a win-win!
Safe, Customizable, and Purr-sonalized
Ever worry about what your cat is chewing on? Many store-bought toys contain questionable materials or small parts that could be a choking hazard. Crochet cat toys offer a safer alternative. You have complete control over the materials used, ensuring that your furry friend is playing with something non-toxic and durable.
Plus, the possibilities are endless! You can customize the size, shape, color, and filling of your crochet toys to perfectly match your cat's preferences. Does your cat go wild for crinkle balls? Add some cellophane inside! Obsessed with catnip? Load it up! You can even personalize the toys with your cat's name or favorite colors. It's a way to show your love and create something truly unique for your beloved companion.
Bonding Time and Mental Stimulation
Playing with your cat isn't just about physical exercise; it's also a crucial part of bonding and mental stimulation. Interactive play sessions using crochet toys can strengthen the connection between you and your cat, creating a deeper sense of trust and affection. The unpredictable movements of a toy mouse on a string, or the enticing scent of catnip in a crochet ball, can engage your cat's mind and keep them mentally sharp.
A bored cat is often a destructive cat. By providing regular play opportunities with engaging crochet toys, you're helping to prevent boredom and anxiety, which can lead to behavioral problems. A stimulated and happy cat is a well-behaved cat, making crochet toys an essential tool for any responsible cat owner.
Ultimately, crochet cat toys are more than just playthings; they're an investment in your cat's well-being and your own peace of mind.
Essential Crochet Supplies for Crafting Cat Toys

Essential Crochet Supplies for Crafting Cat Toys
Yarn: Choosing the Right Fiber
Alright, let's talk yarn! When it comes to crocheting cat toys, you want something that's both soft on those little paws and durable enough to withstand some serious playtime. Cotton yarn is a fantastic choice. It's natural, washable, and comes in a rainbow of colors. Acrylic yarn is another popular option; it's budget-friendly, easy to care for, and available in a wide variety of textures. However, be mindful of potential shedding, as you don't want your cat ingesting loose fibers. Avoid using novelty yarns with embellishments like sequins or beads, as these could be a choking hazard.
My personal favorite is a sturdy worsted weight cotton. It holds up well to enthusiastic chewing and is easy to work with. Plus, it's readily available at most craft stores. Look for yarn that's labeled as "mercerized" for extra strength and shine. And don't be afraid to experiment with different colors and textures to create visually appealing toys that will capture your cat's attention!
Hooks, Stuffing, and Safety First!
Now that you've got your yarn sorted, let's gather the rest of your essential supplies. You'll need a crochet hook in a size that corresponds to your yarn weight. A size G/6 (4.0 mm) hook is a good starting point for worsted weight yarn. You'll also need some stuffing to give your toys shape and squishiness. Poly-fil is a common and affordable option, but you can also use scraps of yarn or fabric for a more eco-friendly approach. Just make sure whatever you use is clean and free of small parts.
Safety is paramount when crafting cat toys. Invest in a pair of sharp scissors for trimming yarn ends, and use a yarn needle to weave in those ends securely. This will prevent your cat from pulling them out and potentially swallowing them. If you're adding embellishments like bells or rattles, make sure they're securely attached and enclosed within the toy so your cat can't access them. And always supervise your cat during playtime to ensure they're not chewing on or ingesting any part of the toy.
Supply | Why You Need It | My Recommendation |
|---|---|---|
Cotton Yarn | Durable, washable, safe | Lily Sugar'n Cream |
Crochet Hook (G/6) | For creating the stitches | Susan Bates Silvalume |
Poly-fil Stuffing | To give the toy shape | Fairfield Poly-fil |
Yarn Needle | Weaving in yarn ends | Dritz Yarn Needle Set |
Scissors | Trimming yarn | Gingher Knife Edge Scissors |
StepbyStep: How to Crochet a Simple Cat Toy Mouse
StepbyStep: How to Crochet a Simple Cat Toy Mouse
Getting Started: The Magic Circle and Basic Stitches
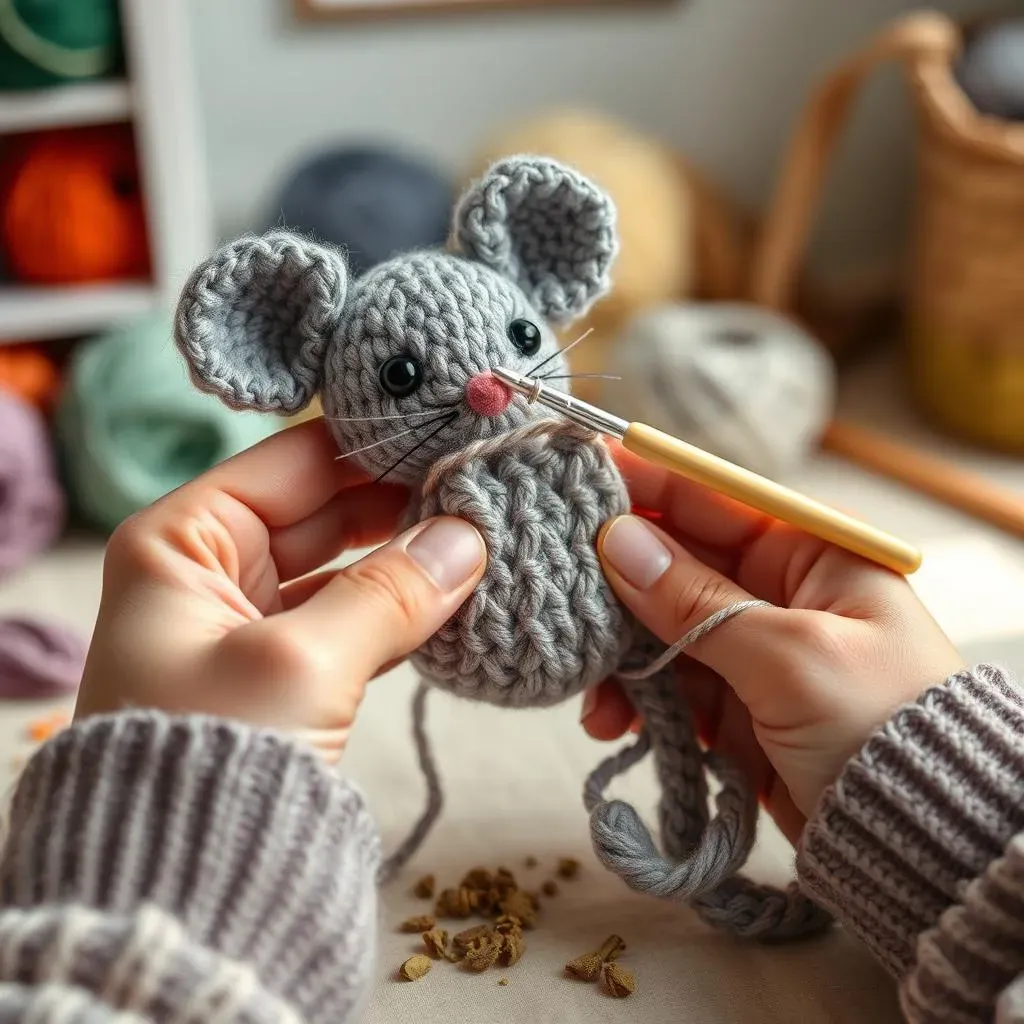
Alright, let's get our crochet hooks ready and make a super cute cat toy mouse! Don't worry if you're a beginner; this pattern uses just a few basic stitches. We'll start with the magic circle, which is a fantastic way to create a closed, seamless beginning for your crochet projects. If you're not familiar with the magic circle, there are tons of helpful tutorials on YouTube. Once you've mastered that, you'll need to know how to do a single crochet (sc). That's the main stitch we'll be using for the entire mouse. Easy peasy!
To begin, create a magic circle. Chain 1 (this doesn't count as a stitch). Then, work 6 single crochet stitches into the magic circle. Pull the tail of the magic circle tight to close the center. Now you're ready to start shaping the body of the mouse! Remember to count your stitches as you go to ensure your mouse stays symmetrical. And don't be afraid to frog it (rip it out) if you make a mistake. We all do it!
Shaping the Body: Increasing and Decreasing
Now comes the fun part: shaping the body of the mouse. We'll be using increases and decreases to create that classic mouse-like silhouette. An increase is simply working two single crochet stitches into the same stitch. This will make your circle wider. A decrease is working two single crochet stitches together, effectively reducing the number of stitches in your round. This will make your circle smaller.
For round 2, work 2 single crochet stitches in each stitch around (12 stitches total). This is your increase round. For round 3, alternate between 1 single crochet and 2 single crochet in the next stitch (18 stitches total). This will give your mouse some girth. Rounds 4-6, single crochet in each stitch around (18 stitches total). This will create the body of the mouse. Now it's time to start decreasing to shape the head. Round 7, alternate between 1 single crochet and single crochet two stitches together (12 stitches total). Round 8, single crochet two stitches together 6 times (6 stitches total). Fasten off, leaving a long tail for sewing.
Finishing Touches: Ears, Tail, and Catnip!
Your mouse is almost complete! Now it's time to add the finishing touches that will make it irresistible to your feline friend. First, stuff the mouse firmly with your chosen filling. Don't be shy; a well-stuffed mouse will hold its shape better and be more fun for your cat to play with. Before you close up the opening, sprinkle in a generous pinch of catnip. This will drive your cat wild! Then, using your yarn needle and the long tail you left, sew up the opening securely.
For the ears, chain 4. Slip stitch into the second chain from the hook, single crochet in the next chain, and slip stitch in the last chain. Fasten off, leaving a long tail for sewing. Make two ears. Sew the ears onto the top of the mouse's head. For the tail, chain 15. Fasten off, leaving a long tail for sewing. Sew the tail onto the back of the mouse. And there you have it! A simple, adorable, and cat-approved crochet mouse. Get ready for some serious playtime!
Part | Instructions | Tips |
|---|---|---|
Body | Magic circle, single crochet, increases/decreases | Count stitches carefully! |
Ears | Chain 4, slip stitch, single crochet | Sew on securely. |
Tail | Chain 15 | Make it long and floppy. |
Stuffing | Poly-fil or yarn scraps | Add catnip for extra fun! |
Beyond the Basics: Creative Crochet Cat Toy Patterns to Try
Beyond the Basics: Creative Crochet Cat Toy Patterns to Try
Wiggly Worms and Crinkly Balls: Textural Delights
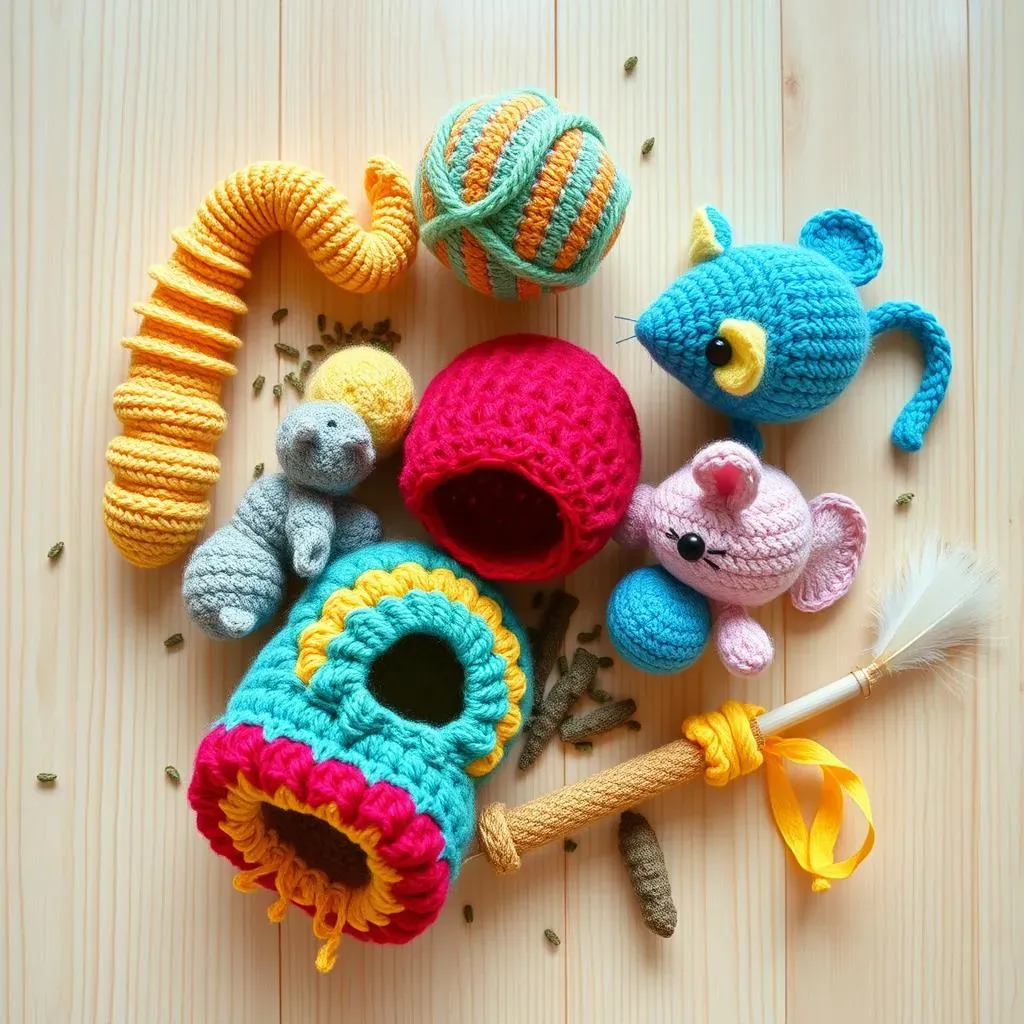
So, you've mastered the basic mouse? Awesome! Now it's time to unleash your inner artist and explore some more creative crochet cat toy patterns. Let's start with texture. Cats are incredibly sensitive to different textures, so incorporating a variety of materials into your toys can make them even more engaging. Think about crocheting a long, wiggly worm with different stitch patterns to create bumps and ridges. Or how about a crinkly ball filled with cellophane to create a satisfying crunch? You can even add small pieces of fleece or felt for a soft and fuzzy feel. The possibilities are endless!
When experimenting with textures, remember to prioritize safety. Make sure any added materials are securely attached and won't come loose during playtime. Avoid using anything that could be a choking hazard, like small beads or buttons. And always supervise your cat while they're playing with their new textured toys to ensure they're not ingesting anything they shouldn't be.
Toy Idea | Texture Element | Why Cats Love It |
|---|---|---|
Wiggly Worm | Varying stitch patterns (bobbles, ridges) | Stimulates tactile senses |
Crinkly Ball | Cellophane filling | Provides auditory stimulation |
Fuzzy Mouse | Fleece or felt accents | Offers a soft, comforting feel |
Catnip Caves and Cozy Cocoons: Comfort and Security
Not all cat toys have to be about active play. Sometimes, cats just want a cozy place to curl up and relax. That's where crochet cat caves and cocoons come in! These enclosed spaces provide a sense of security and comfort, making them the perfect spot for a catnap. You can crochet a simple dome-shaped cave using sturdy yarn and a tight stitch pattern. Or, for a more elaborate design, try crocheting a cocoon with a small opening for your cat to peek out of. Add a soft cushion or blanket inside for extra comfort, and sprinkle with catnip to make it even more enticing.
When crocheting cat caves and cocoons, consider the size of your cat. You want to make sure the opening is large enough for them to easily enter and exit, but not so large that they feel exposed. Use a yarn that's soft and durable, and avoid using any embellishments that could be a choking hazard. And always supervise your cat when they're using their new cave or cocoon to ensure they're safe and comfortable.
Fishing Poles and Feather Wands: Interactive Fun
Want to take your playtime to the next level? Try crocheting a fishing pole or feather wand! These interactive toys allow you to engage with your cat in a fun and stimulating way. For a fishing pole, crochet a long, sturdy handle and attach a length of yarn or string to the end. Then, crochet a small toy (like a mouse or a bird) and attach it to the other end of the string. For a feather wand, crochet a handle and attach a bunch of colorful feathers to the end. Swirl the pole or wand around to entice your cat to chase, pounce, and play.
When creating interactive toys, safety is key. Make sure the handle is long enough to keep your hands away from your cat's claws, and use a strong, durable string or yarn to prevent breakage. Attach the toy or feathers securely to prevent them from coming loose during playtime. And always supervise your cat during interactive play to ensure they're not getting tangled in the string or ingesting any of the materials.
Don't Forget the Catnip!
No matter what kind of crochet cat toy you're making, don't forget the catnip! This magical herb is irresistible to most cats and can turn even the simplest toy into a source of endless entertainment. You can buy catnip in loose form and sprinkle it inside your toys before you close them up. Or, for a longer-lasting effect, you can buy catnip-filled batting or stuffing and use it to fill your toys. Just be aware that some cats can become overstimulated by catnip, so it's best to use it in moderation.
With a little creativity and some basic crochet skills, you can create a whole arsenal of amazing cat toys that will keep your feline friend happy, healthy, and entertained for hours on end. So grab your hook, some yarn, and get ready to crochet your way to kitty bliss!
Happy Hooking and Happy Cats!
So, you've learned how to crochet cat toys and explored a world of paw-sible patterns! Armed with your hook, yarn, and a dash of creativity, you're now equipped to craft a treasure trove of toys that will keep your feline friend entertained for hours. Remember, each stitch is a testament to your love and care, resulting in toys that are not only fun but also safe and durable. Now, go forth and create, experiment with different patterns, and most importantly, enjoy the rewarding experience of making your cat's playtime extra special. Happy hooking, and here's to many happy cats!