Table of Contents
Hey there, future rope toy artisans! Welcome to kittentoyland.org, your one-stop shop for all things cute and cuddly – especially when it comes to homemade fun! Today, we're diving headfirst into the wonderful world of rope toy assembly. Whether you're a seasoned crafter or a complete newbie, this guide will walk you through everything you need to know to create amazing, durable, and totally adorable rope toys for your furry friends. We'll cover everything from basic knots to more advanced techniques, ensuring you can whip up a fun, safe toy in a jiffy. Get ready to let loose your creativity and provide your pets with hours of entertainment. We're confident that after reading this comprehensive guide on rope toy assembly, you'll be a rope toy making pro in no time!
Simple Rope Toy Assembly for Beginners

Simple Rope Toy Assembly For Beginners
Hey there, fellow rope toy enthusiast! Let's get started on making some seriously awesome toys for our furry friends. I'm going to show you how easy it is, even if you've never tied a knot in your life (don't worry, I'll hold your hand – metaphorically, of course!). Think of it like building with LEGOs, but instead of tiny plastic bricks, we're using rope! It's all about simple knots and a bit of creativity. We'll start with the absolute basics, perfect for first-timers. You'll be surprised how quickly you can make a fun, durable toy.
First, gather your materials. You'll need some sturdy rope – cotton or hemp work great, and you can find it at most craft stores, or even repurpose old rope if you're feeling resourceful! Check out our guide on choosing the right materials for more ideas. Next, decide on the size and shape of your toy. A simple loop is a great starting point. Cut the rope to the desired length, leaving extra for tying. A good length is around 12-18 inches, depending on your cat's size. Remember, safety first! Always make sure the knots are tight and there aren't any loose ends that could be a choking hazard. For more on safety, check out our toy safety guide.
Material | Quantity | Notes |
|---|---|---|
Sturdy Rope (Cotton or Hemp) | 1-2 meters | Choose a thickness appropriate for your cat's size and play style |
Scissors | 1 pair | Sharp scissors make clean cuts |
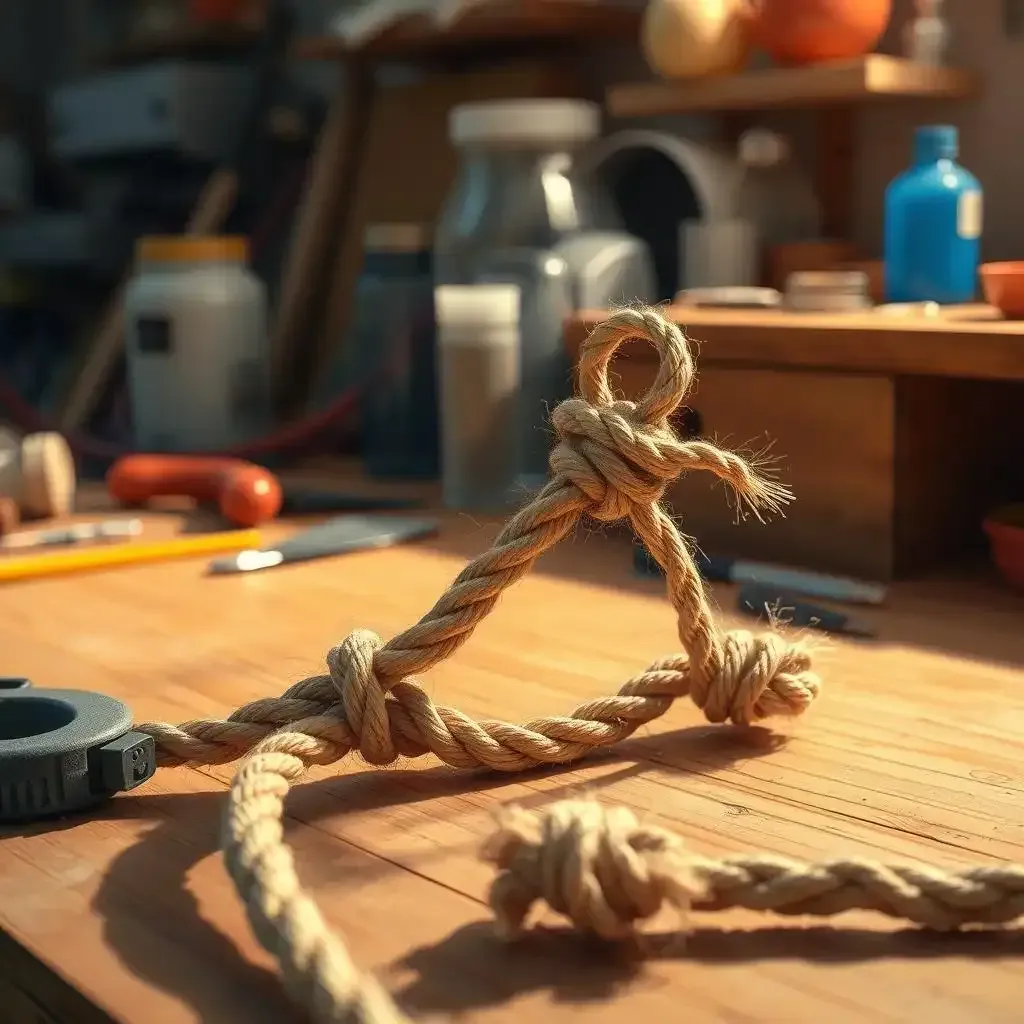
Now, for the knotting! The simplest knot is a basic overhand knot. Make a loop in the rope, then pass the loose end over the top of the loop and under itself, pulling it tight. It's like making a tiny, secure loop. This is the foundation for most simple rope toys. Once you've made your first loop, you can add more loops to create a longer toy. Try a few different knot types to add some fun texture and challenge. Once you've made your loops, secure the ends by tying another overhand knot to create a simple, but super strong rope toy. If you want to get really fancy, you could even braid the rope before making your loops.
Let's talk about adding some extra flair! You can easily personalize your rope toy. For example, you could use different colored ropes, or try braiding them together before knotting. You can also add some knots to make it a bit more interesting for your furry pal. For more ideas, check out our page on DIY cat toys for more ideas! After you've finished your toy, give it a good sniff test – make sure there are no loose threads or anything that could be harmful to your pet. Remember to always supervise your cat during playtime. A bored cat can be a destructive cat! Check out our page on engaging cat toys for more inspiration.
- Choose sturdy rope.
- Tie simple overhand knots.
- Secure the ends tightly.
- Add extra loops or braids for fun.
- Always supervise playtime.
Remember, these are just the basics. As you gain confidence, you can experiment with more complex knots and designs. The possibilities are endless! I love how simple yet rewarding this craft is. It's a great way to bond with your pet while creating something unique and special. And the best part? You can always make another one if your cat destroys their first creation (which they totally will!). It's all part of the fun. For more advice on choosing the perfect toy for your cat, check out our guide on choosing the perfect cat toy.
Think of the joy on your cat's face when they get their paws on their new toy! It's priceless. And you know what else is priceless? The satisfaction of creating something awesome with your own two hands. Let's move on to some more advanced techniques! Before we do, here's a little tip: keep your rope scraps! You can use them to make smaller toys or even add them to existing toys to add extra texture and interest.
Advanced Rope Toy Assembly Techniques
Braiding and Knotting Combinations
Okay, so you've mastered the basic overhand knot. That's awesome! But let's kick things up a notch. Think of braiding as the fancy frosting on your rope toy cake. It adds visual appeal *and* makes the toy more durable. You can braid three or more strands of rope together before you start knotting. It’s like making a super strong, colorful rope braid, and then turning that braid into a fun toy. Try different braid patterns – a simple three-strand braid is a great start, but you can get really creative with more complex braids. Once you've got your braid, you can use your overhand knots to create loops, or try other fun knots like square knots or even figure-eight knots. The possibilities are endless! You can even incorporate different textures of rope into your braid for a more unique feel.
- Experiment with different braid patterns.
- Try combining different types of knots.
- Incorporate various rope textures.
For more inspiration on unique cat toys, check out our guide on unique toys . Remember, safety is always paramount. Make sure all your knots are secure and there are no loose ends that could pose a choking hazard to your furry friend. Always supervise playtime, of course!
Adding Extra Elements
Want to make your rope toys even more irresistible? Let's add some extra pizzazz! Think of it like adding sprinkles to your ice cream. You can easily incorporate other materials into your rope toy designs. Small, sturdy bells can add a fun jingle to playtime. Just make sure they're securely attached and can't be easily pulled off. Similarly, you could tie on a few colorful ribbons or pieces of soft fabric. These additions can add visual stimulation and make the toy even more exciting for your cat. Remember, though, to keep the additions safe and secure; nothing should be easily chewed off and swallowed.
Added Element | Attachment Method | Safety Considerations |
|---|---|---|
Small Bells | Securely tied or sewn | Ensure they can't be easily detached |
Ribbons | Tied securely into knots | Avoid long, dangling ribbons |
Soft Fabric Scraps | Woven into the rope or tied on | Check for loose threads |
If you're looking for more creative ideas, check out our article on for some fantastic inspiration! It's all about letting your creativity run wild while still keeping your cat's safety top of mind.
Creating More Complex Shapes
Ready for a real challenge? Let's create more intricate designs! Think of this as moving from simple baking to creating a stunning cake masterpiece. Instead of simple loops, you can start experimenting with different shapes. You could create a fish shape by carefully knotting and shaping the rope. A simple spiral is another fun option. This is where your knotting skills really shine – you can use a combination of overhand knots, square knots, and other knots to create more complex structures. The key is to experiment! Don't be afraid to try different techniques and see what works best for you. Remember, practice makes perfect!
"The best way to learn is by doing. Don't be afraid to make mistakes; they're just opportunities to learn." - Unknown
For more advanced knotting techniques, check out our comprehensive guide on rope toy assembly. Once you master these techniques, you'll be amazed by the range of incredible, one-of-a-kind rope toys you can create for your furry friends. And remember, always supervise your cat's play to ensure their safety! Happy crafting!
Troubleshooting Common Rope Toy Assembly Problems

Troubleshooting Common Rope Toy Assembly Problems
Knots Coming Loose
So, you've tied your knots, and they're… not staying tied? This is a super common problem, especially when you're starting out. It's like trying to build a sandcastle on a windy beach – if your foundation isn't strong, the whole thing falls apart! The most likely culprit is using loose knots. Remember, those knots need to be TIGHT. Think of them as tiny, strong hugs for your rope. If you're using a simple overhand knot, make sure you pull it nice and snug. If you're using more complicated knots, double-check your technique – there are tons of online tutorials that can help you perfect your knot-tying skills. Sometimes, the rope itself might be the problem. If it's too slippery or worn, it'll be harder to get a secure knot. Choose a rope that's sturdy and has a bit of grip. For more info on choosing the right rope, check out our guide on .
- Tighten your knots firmly.
- Double-check your knotting technique.
- Use a sturdy rope with good grip.
Rope Fraying
Frayed rope is a total buzzkill. It looks messy, and more importantly, it's a potential hazard for your cat. Those loose strands could be a choking hazard, and no one wants that! The solution is pretty straightforward: prevent fraying before it happens. When you cut your rope, try to make a clean cut with sharp scissors. A jagged edge is more likely to fray. You can also seal the ends of your rope to prevent fraying. A dab of fabric glue or even clear nail polish can work wonders. This is like giving your rope a little mini-manicure to keep it looking and feeling its best. For more on keeping your rope toys in top condition, check out our article on rope toy care. If your rope is already frayed, try carefully trimming the loose ends. If the fraying is extensive, you might have to start over with a new piece of rope.
Problem | Solution |
|---|---|
Loose Knots | Tighten knots, check technique, use sturdy rope |
Fraying Rope | Clean cuts, seal ends, trim loose strands |
Final Thought
So there you have it! From simple knots to more intricate designs, rope toy assembly is a fun and rewarding process. Remember, safety is key, so always supervise your pets while they play with their new toys. With a little patience and practice, you can create countless unique rope toys, saving money and giving your furry friends the best homemade presents imaginable. Happy crafting, and happy playing!